How to adjust shifting on a MTB – simple fixes that will sort your gear changes
There are multiple adjustments that can be made when your gears become noisy or start slipping and skipping. Here's everything you need to know to fix things yourself
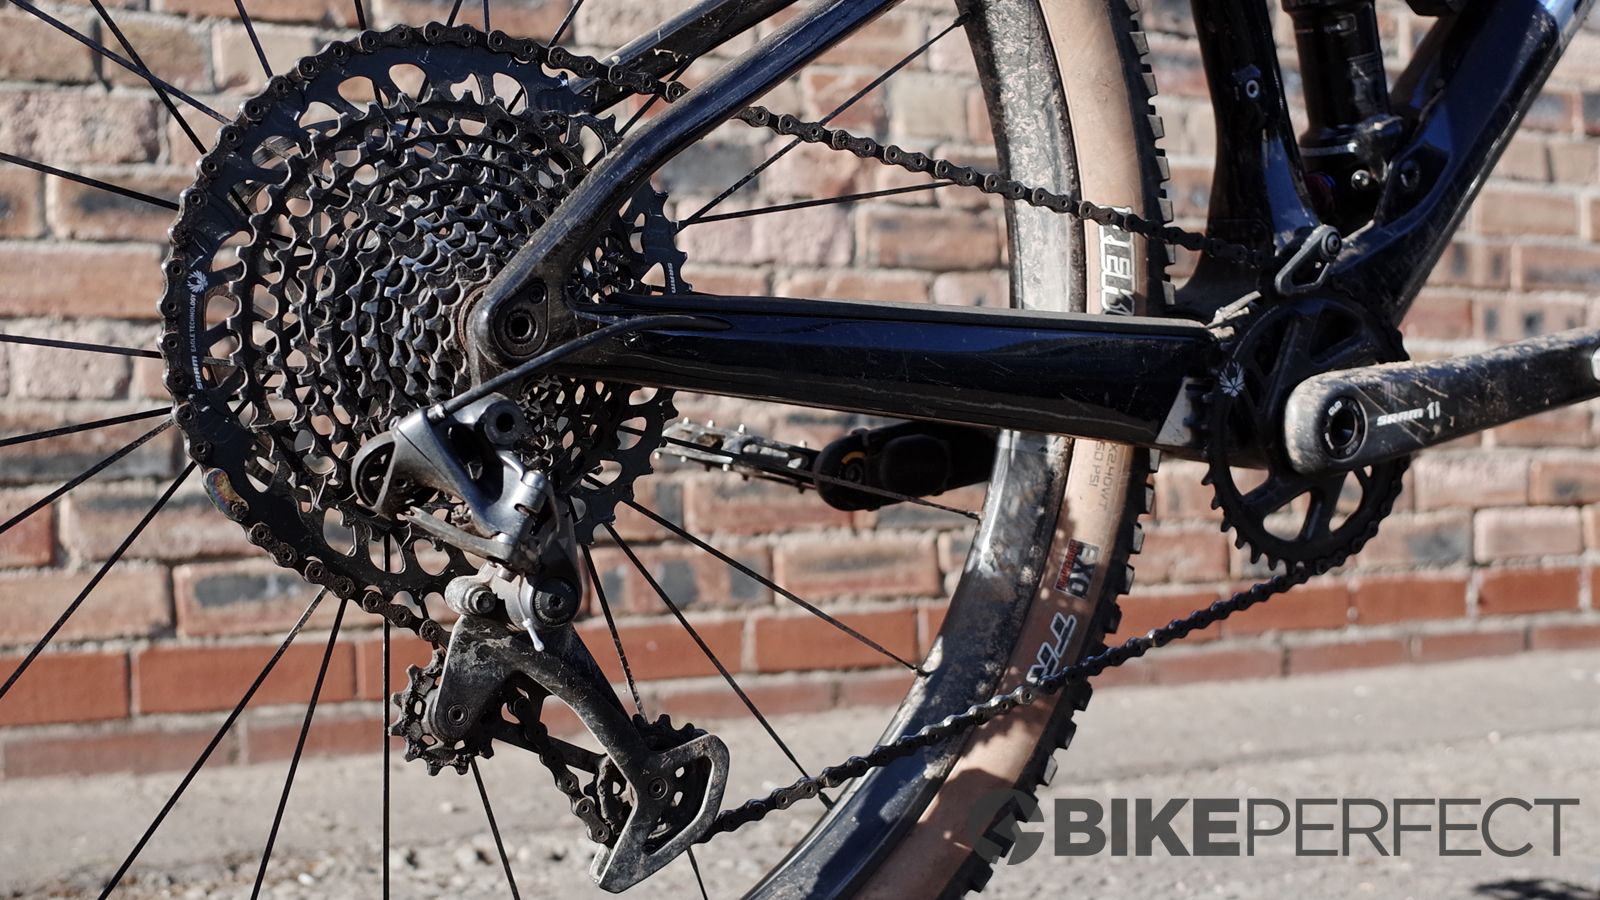
One of the most frustrating things that can plague a bike ride is imprecise or poor gear shifting. When a derailleur has been adjusted correctly, a bike’s shifting will work flawlessly providing quick and accurate shifts whenever you need them. But when your derailleur’s screws are loosened by trail vibrations or your gear cable has stretched over time and is now at the wrong tension, a good ride can turn into a frustrating experience.
While there are a number of different derailleur manufacturers, they all use the same basic principles for adjustments and adjusting your bike’s shifting is a relatively simple process – but it can be tricky. Even for experienced mechanics, fine-tuning smooth shifting performance can be a trial-and-error process to diagnose what’s causing the shifting problem.
Luckily, you don’t need any complicated tools. You’ll really only need either an Allen key or Phillips head screwdriver that fits your derailleur’s bolt heads – which can often be found on the best MTB multi-tools. Before you set to work diagnosing your shifting problems though, you'll make the whole process a lot easier by cleaning your mountain bike first.
1. Rule out other problems
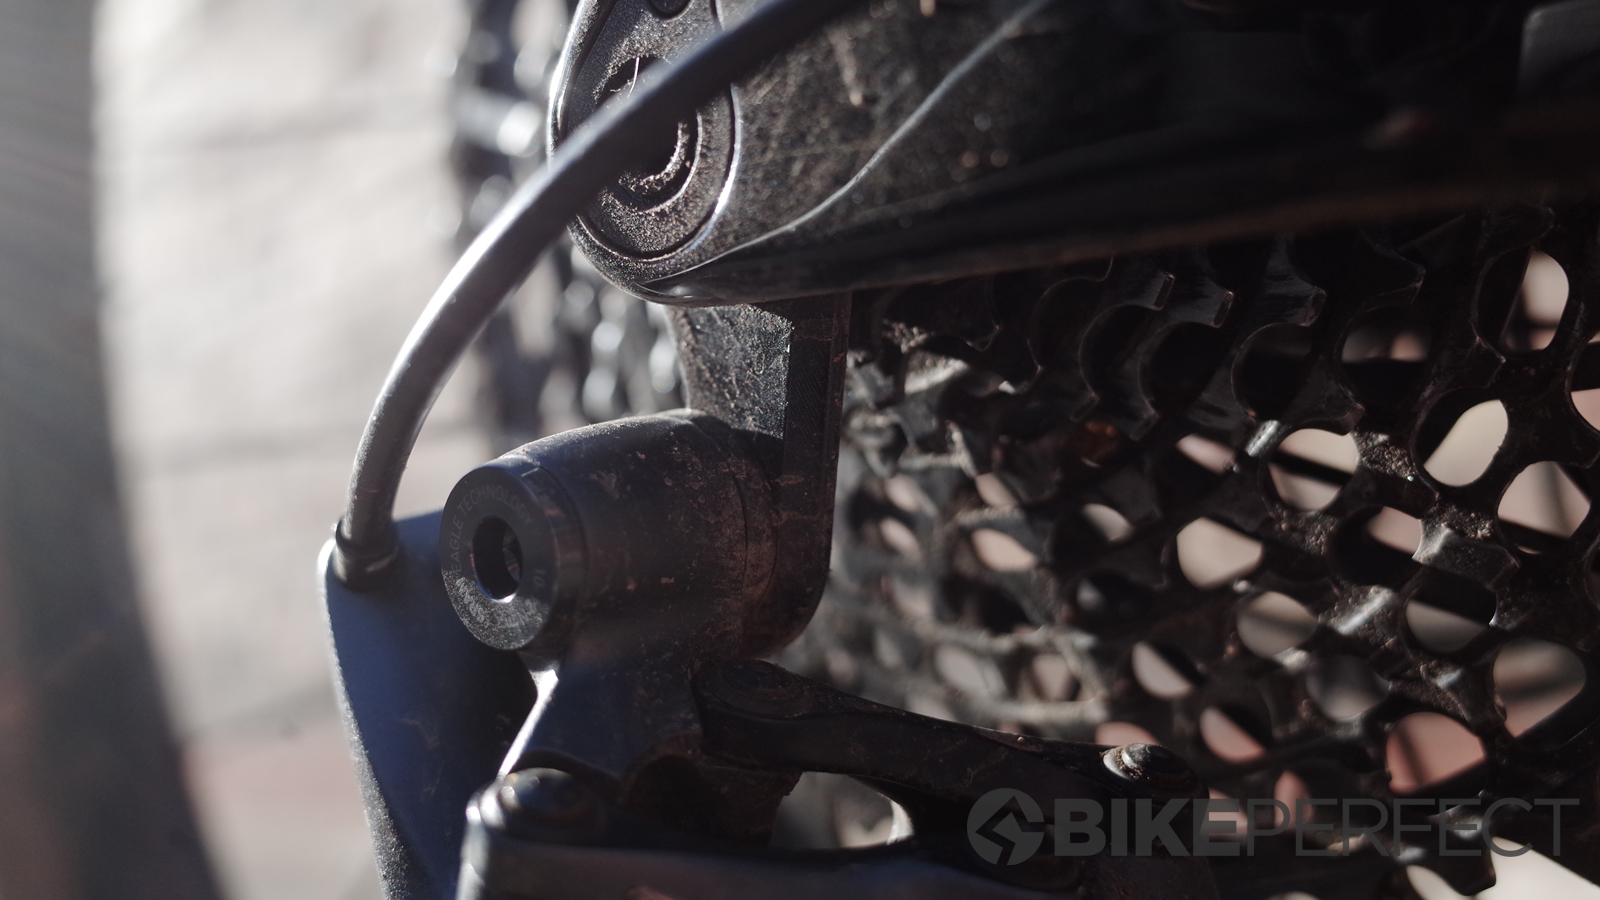
Before adjusting your shifting, check to see if the problem you're experiencing isn’t being caused by something else. One possibility is a bent derailleur or derailleur hanger. The hanger is bolted onto a bike’s rear triangle and is what the derailleur mounts to. It can be bent in crashes or impacts from trail debris. If the derailleur or its hanger is bent, they can sometimes be straightened. In the worst cases, the hanger or derailleur will have to be replaced, with the derailleur being the more expensive of the two.
It’s also worth checking if the bolts connecting the derailleur to the hanger and the hanger to the frame are tight. In some cases, they can loosen by themselves, which will cause shifting problems. This can also damage the derailleur and hanger.
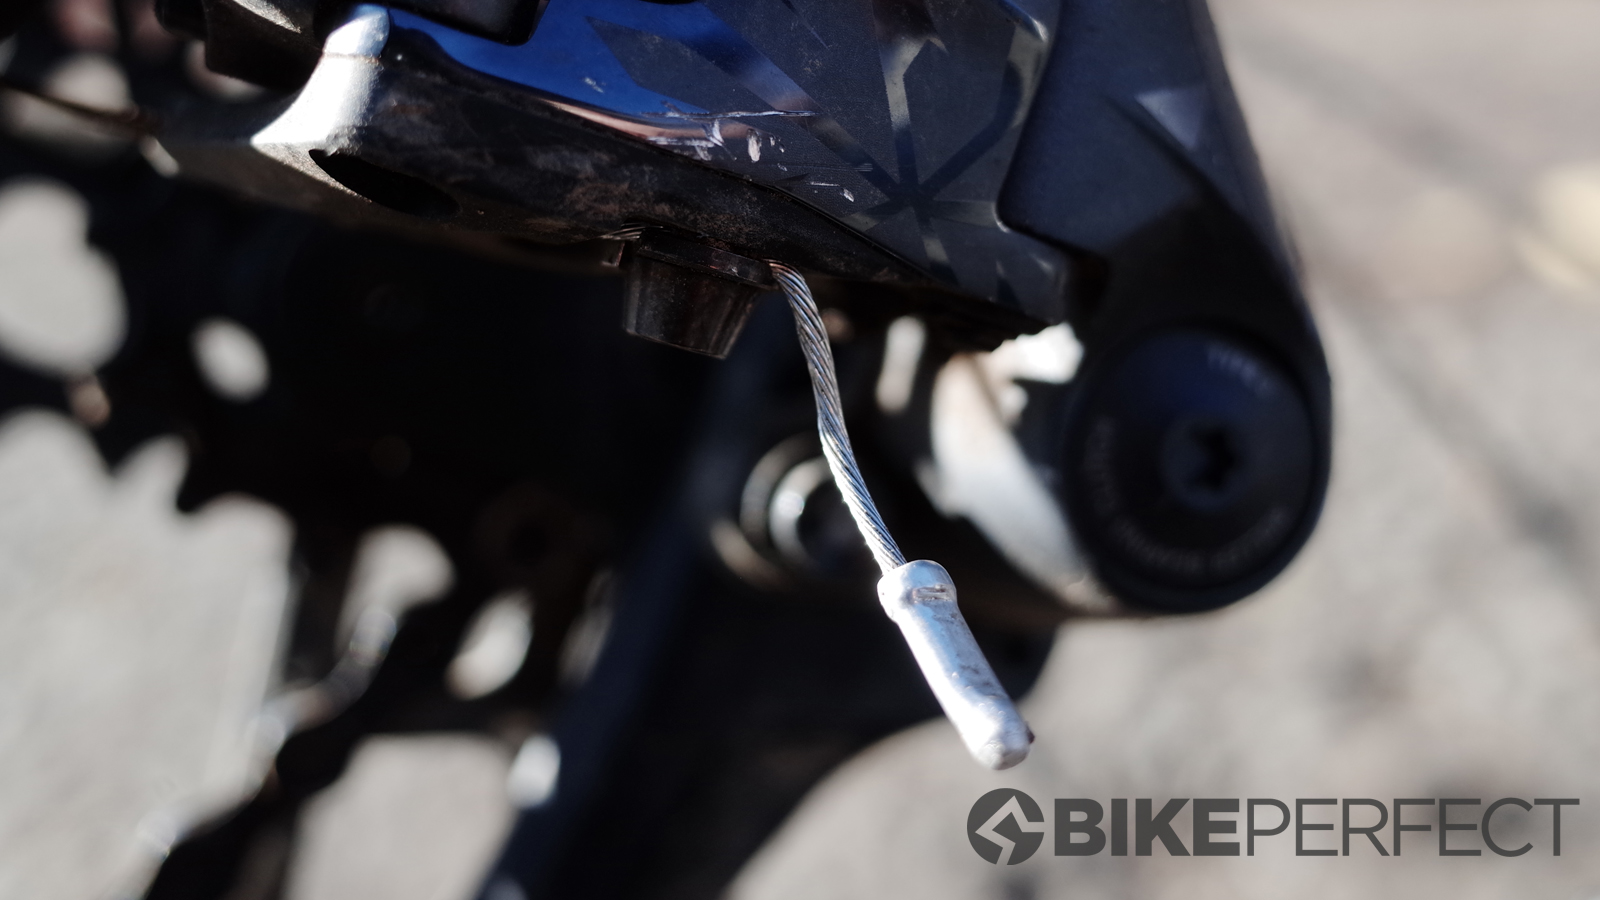
Another thing to check is the gear cable. If the cable is frayed at the end, it’s time to replace it. Plus, if the inner cable and housing have been ridden for a while and are getting old, replacing the inner, and perhaps the outer housing too, will also improve shifting performance, and is relatively cheap to do.
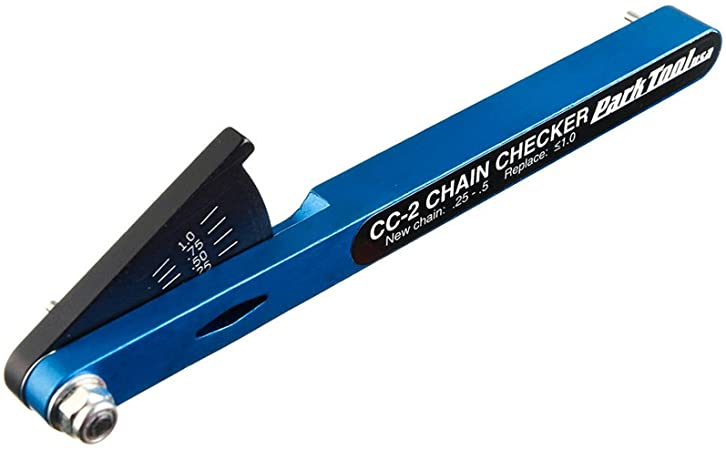
Finally, shifting will be impacted by worn-out drivetrain components, like the cassette, chain, and chainring. A chain wear tool can be used to check this and if your chain is too worn, it will need replacing. If you need a new one, have a look at our guide to the best chains for mountain bikes, gravel and road.
As for your cassette and chainring/s, inspect the teeth to see if any look broken or signs of excessive wear. Be aware that chainring teeth can be different shapes by design though, so don't mistake them for damage. Chains tend to wear out much more quickly than anything else, then cassettes and finally chainrings – which tend to be the toughest of the lot.
2. Limit screws
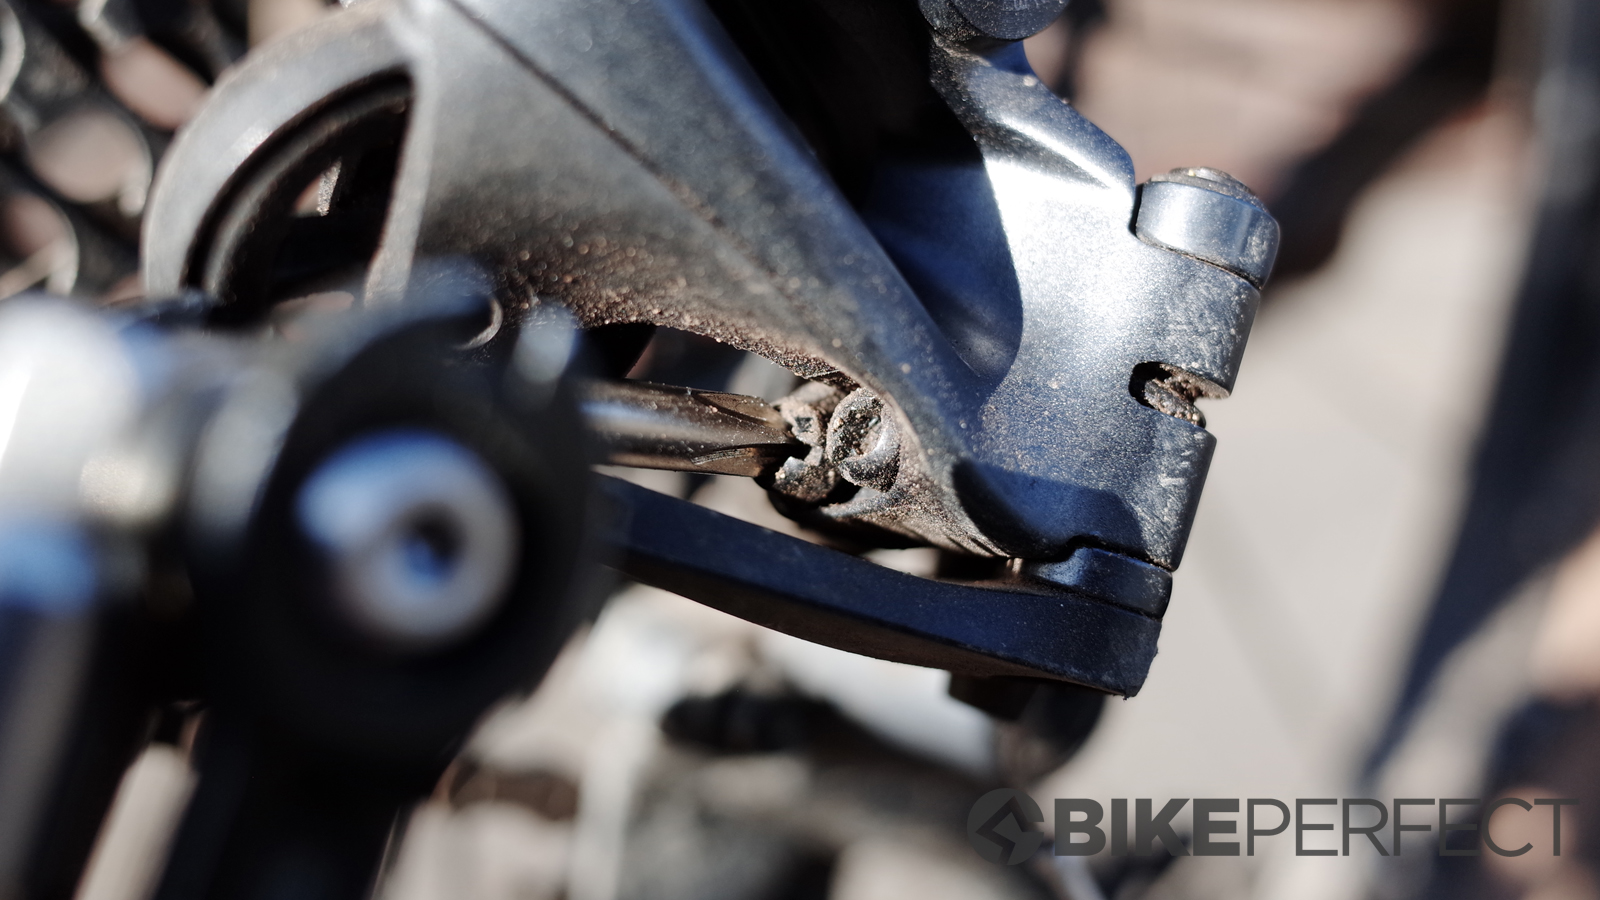
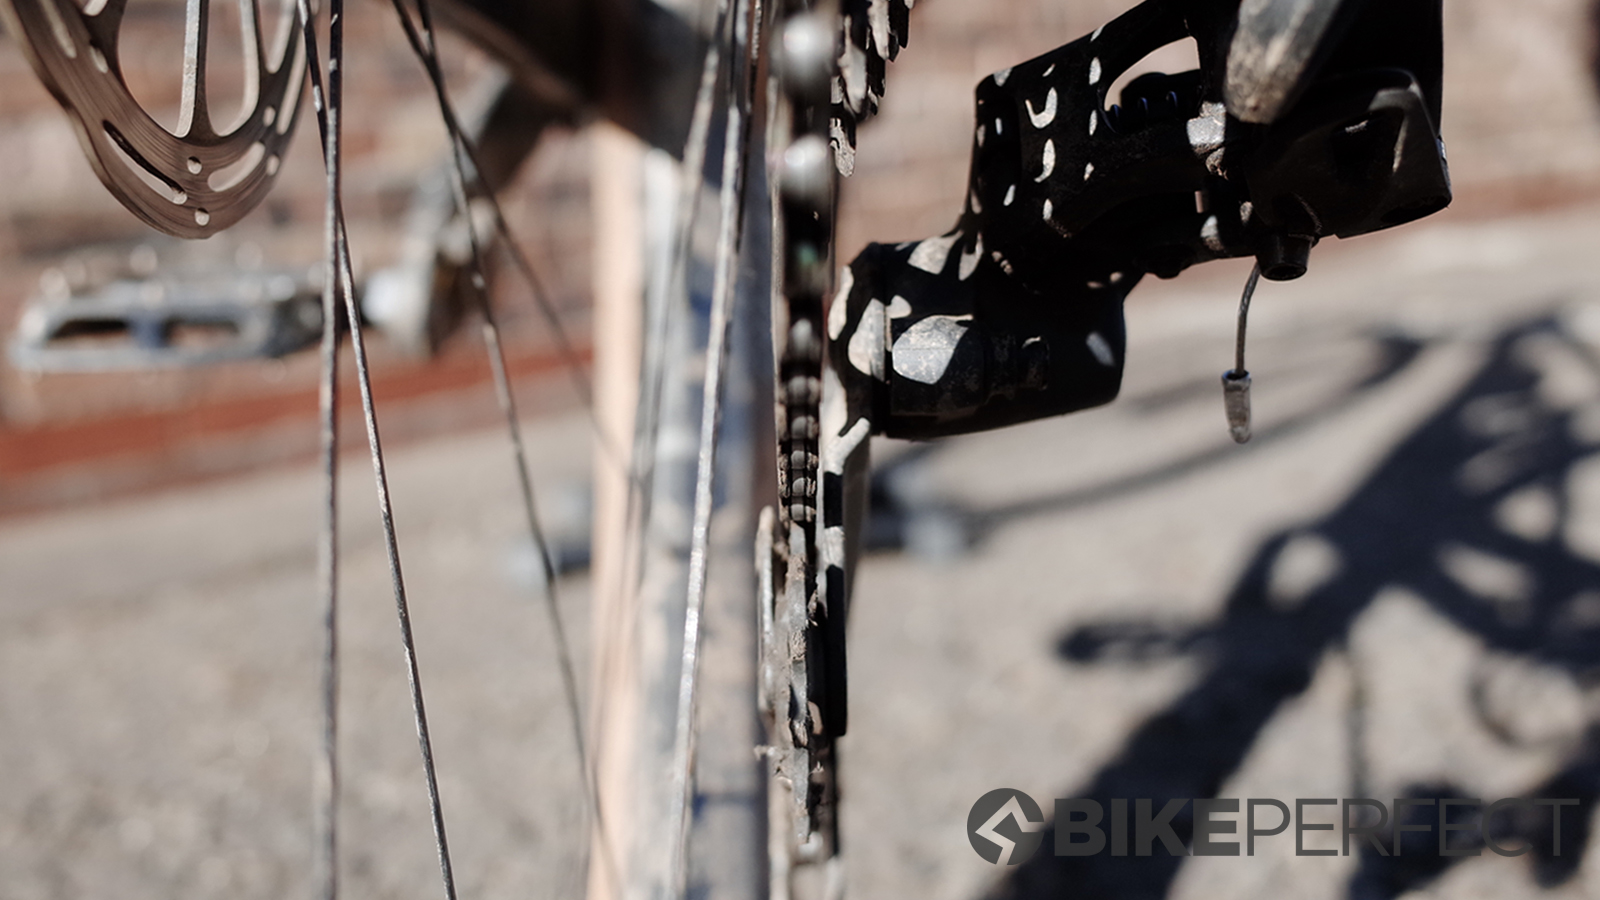
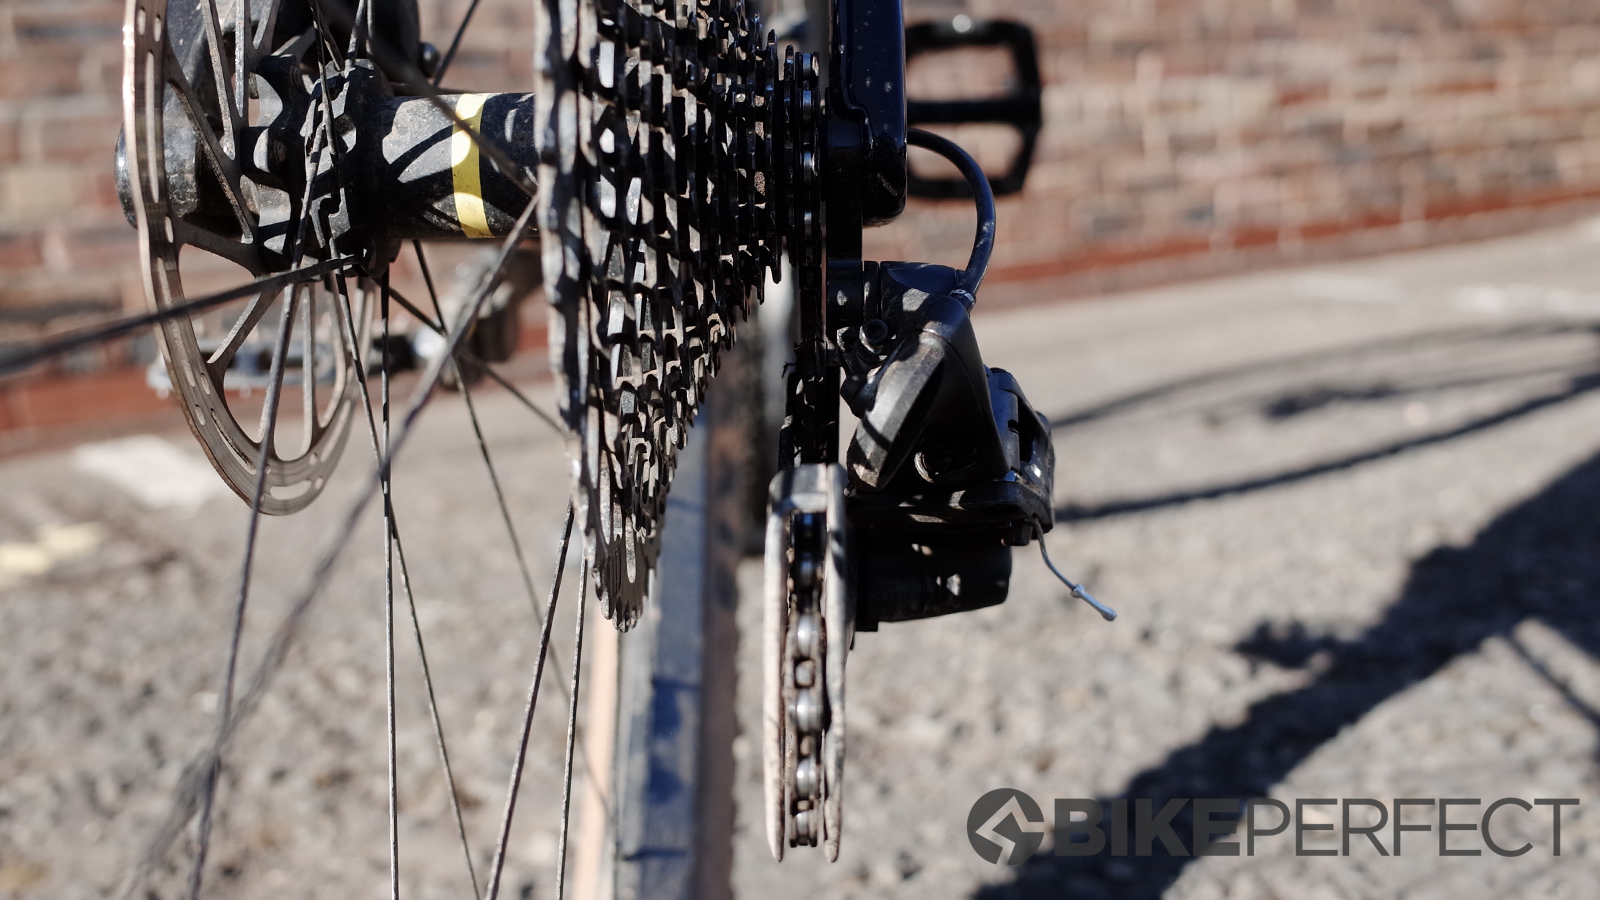
There are two limit screws on a derailleur that sit right next to each other. The screws set how far the derailleur will travel up or down the cassette. They stop the chain from being thrown into the wheel’s spokes or jammed into the chainstay. They will often be labeled H and L, but if they aren’t, you can twist them and see which way the derailleur travels.
The L or Low-gear screw stops the chain from shifting into your wheel spokes. This unpleasant occurrence will happen if the bolt is too loose. If your chain is being thrown into the spokes, tighten the screw until your chain can shift properly onto the largest sprocket, but no further.
The H or High-gear screw controls how far down the cassette the derailleur can shift. On modern derailleurs, looseness is not much of a problem, but if this screw is too tight, you won’t be able to shift into your smaller sprockets. Loosen it until you can.
Before you start twiddling the stop screws though, it's important to note that it's unlikely that you'll suddenly start getting issues with them if you've not had them before. Incorrect gear cable tension is much more likely to be the cause of your problems,
3. Cable adjustment
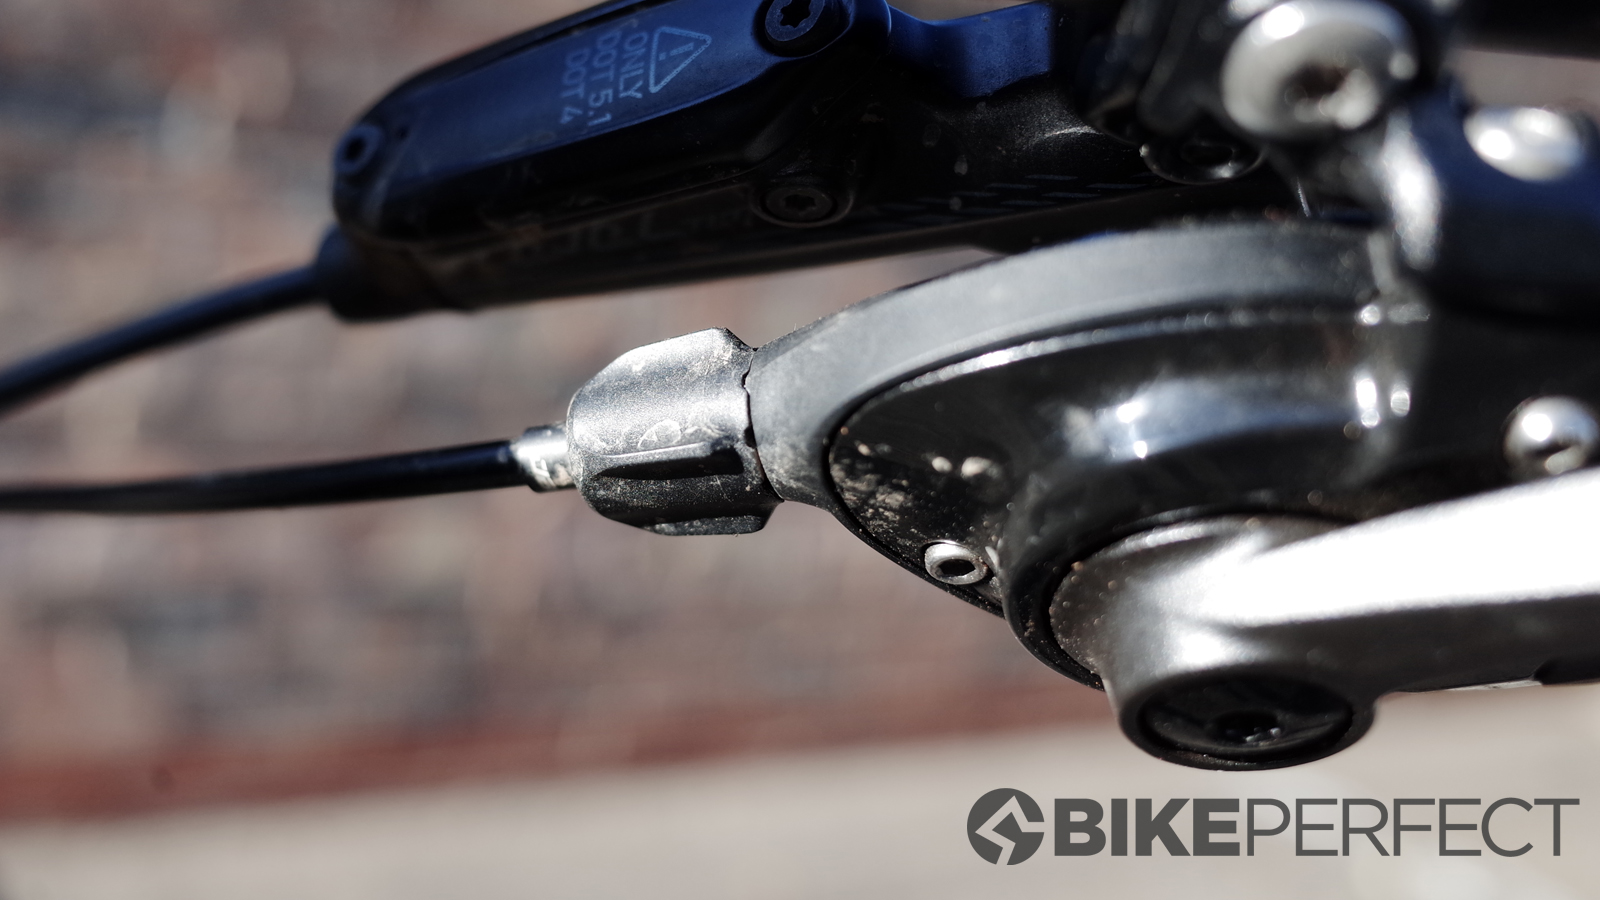
If you can shift into both your highest and lowest sprockets correctly, the shifting problem will be one of two things. More than likely, it will be an issue with the cable tension, aka indexing, as gear cables stretch and need adjusting over time. All modern bikes have what’s known as index shifting, as opposed to the friction shifting of yesteryear.
Index shifting means that the shift lever will have a detent, or small groove, which tells the lever to stop. This way, each click of the lever corresponds with a sprocket on the derailleur.
Shimano was the first brand to bring index shifting to the mass market in the ‘80s, so your bike will have this type of shifting unless you’re working on a very vintage bike.
The indexing is adjusted by how long the gear cable is, a.k.a the cable’s tension. If the cable is too loose or tight the shifting will be off. Tension can be fine-tuned by barrel adjusters. Modern mountain bikes won’t have a barrel adjuster on the derailleur, but they will have one on the shifter.
Turning the barrel adjuster counterclockwise will tighten the cable and help the derailleur travel up the cassette. Turning the barrel clockwise will loosen the cable and help the derailleur travel down the cassette. This adjustment can be used when you feel the derailleur hesitating before it pushes the chain up or down a gear when you shift.
4. B screw
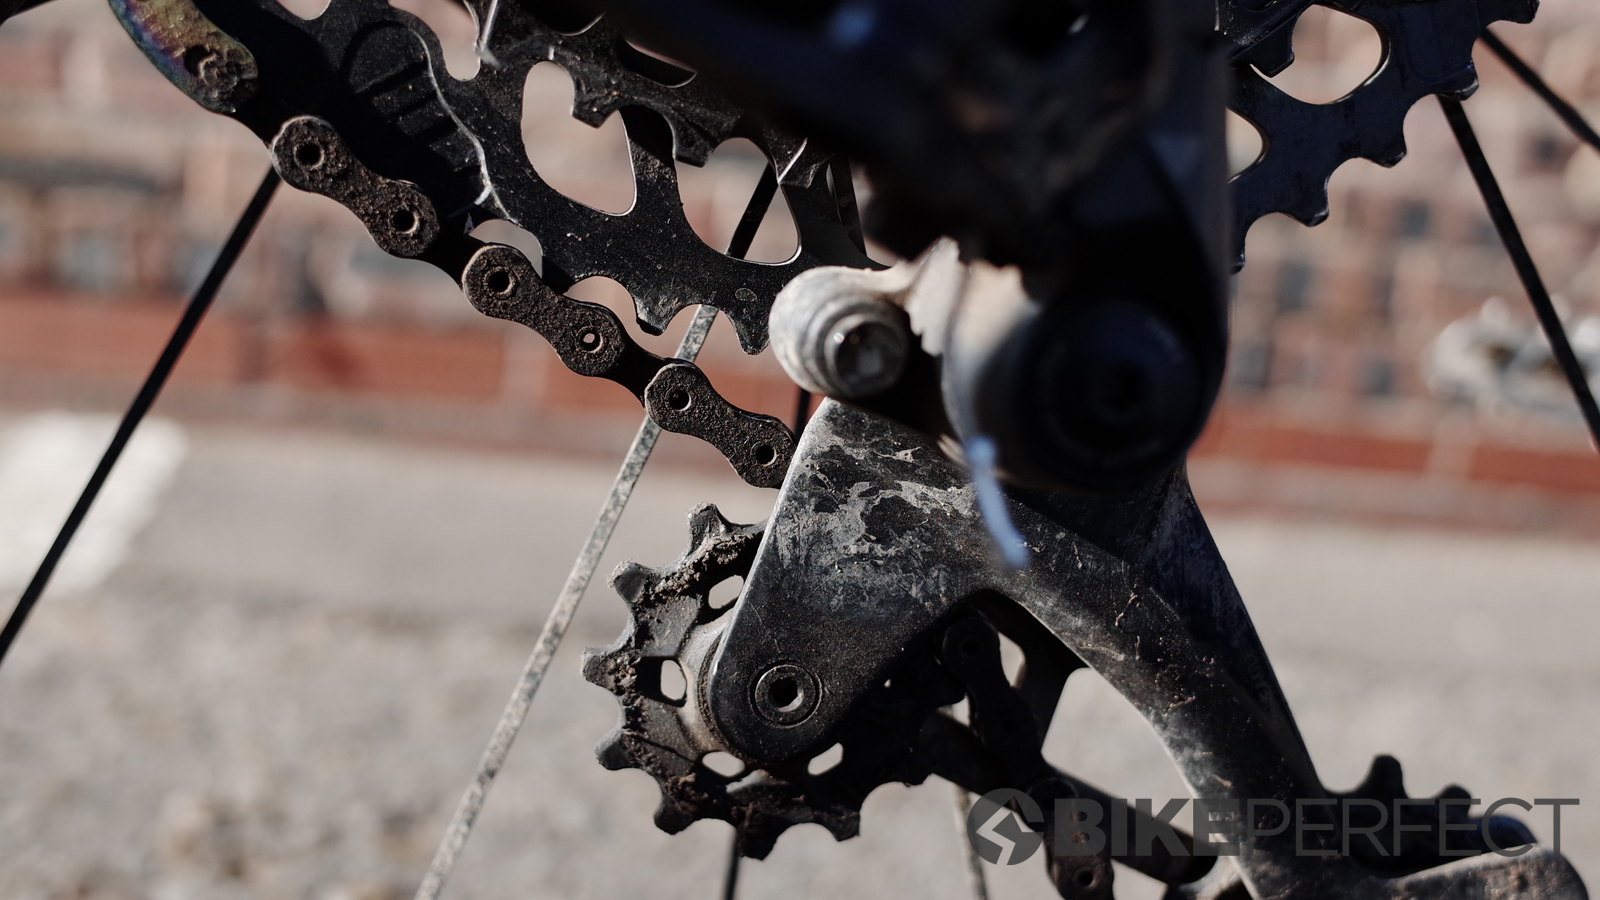
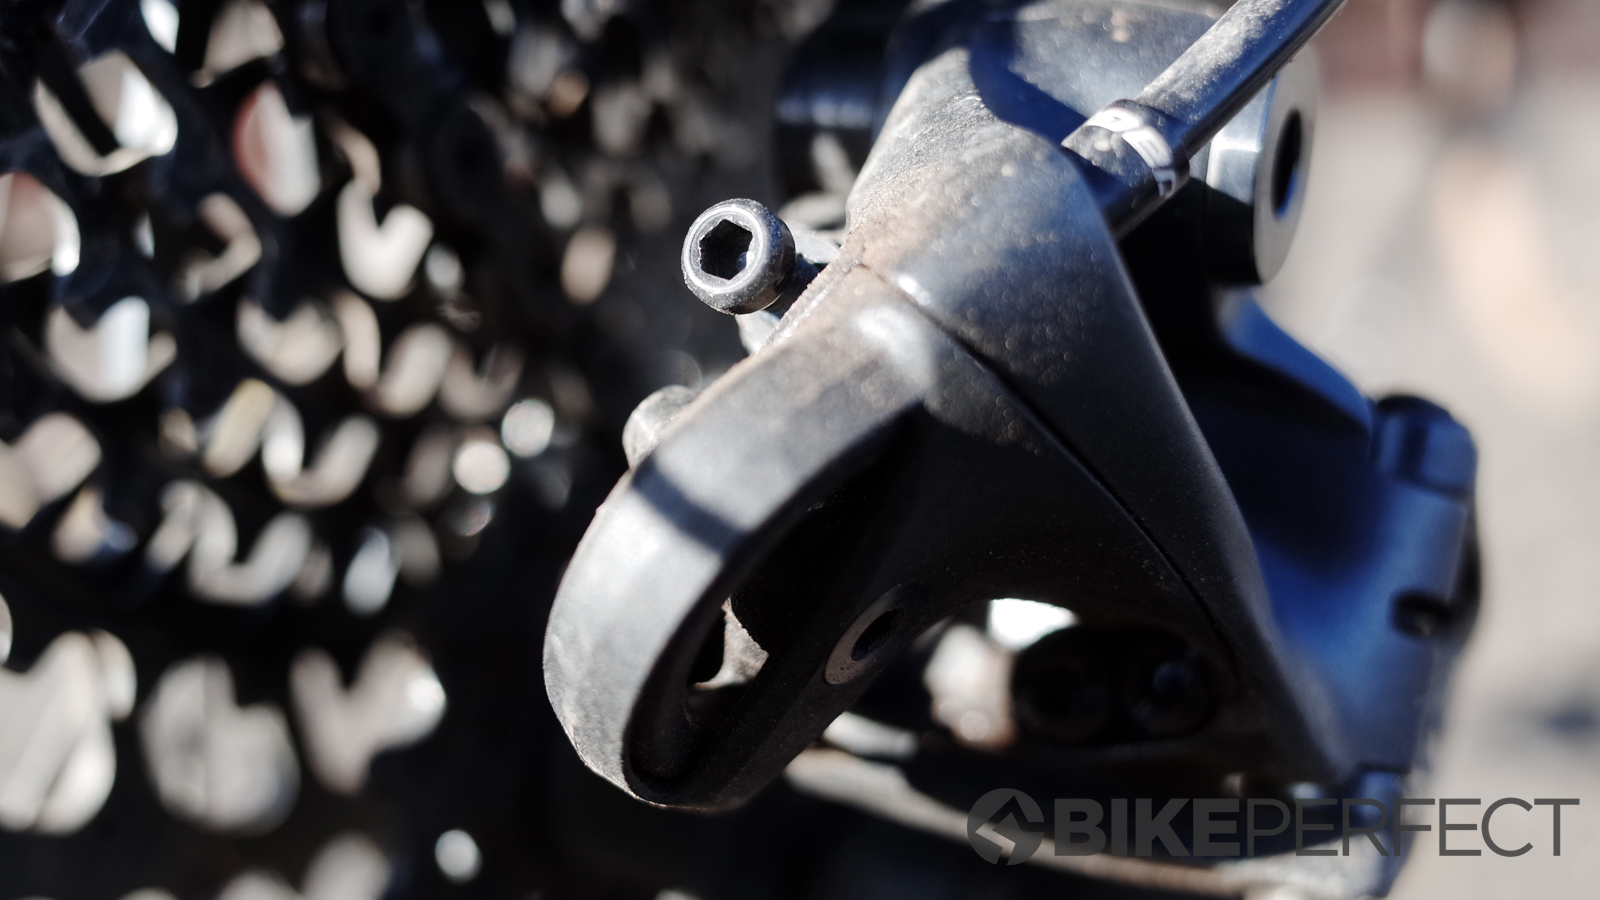
The other screw on a derailleur is the B screw, which controls the distance between the derailleur and the cassette cogs. If it’s too loose, the upper pulley wheel and chain will rub against the cassette. If this happens, tighten the screw, which will alleviate the problem and allow you to shift into your bigger sprockets. Too tight and the derailleur won't shift as smoothly as it could. There is no exact science to the correct position of the B screw but you should aim for a gap of around 5mm between the jockey wheel and largest cassette cog.
Modern mountain bikes rarely have front derailleurs, but a similar process is used to adjust them. Front derailleurs also have L and H limit screws, which work just as described above. The positioning of the derailleur is controlled with a cable. In even rarer cases, a bike with a 3x drivetrain system will have an indexing adjustment.
If you follow these steps, your shifting should be running smoothly. Even if it is a bit daunting, remember that practice makes perfect, and you can learn a lot by getting your hands greasy by experimentation.
It almost goes without saying that you'll need to clean and relube your chain regularly to keep your drivetrain in top condition, so check out our guide to the best bike chain lubes.
Ryan Simonovich has been riding and racing for nearly a decade. He got his start as a cross-country mountain bike racer in California, where he cultivated his love for riding all types of bikes. Ryan eventually gravitated toward enduro and downhill racing but has also been found in the occasional road and cyclo-cross events. Today, he regularly rides the trails of Durango, Colorado, and is aiming to make a career out of chronicling the sport of cycling.
Rides: Santa Cruz Hightower, Specialized Tarmac SL4
- Rich OwenEditor, BikePerfect
