How to build a mountain bike jump
Here's how you can create your own jumps to practice your airtime skills
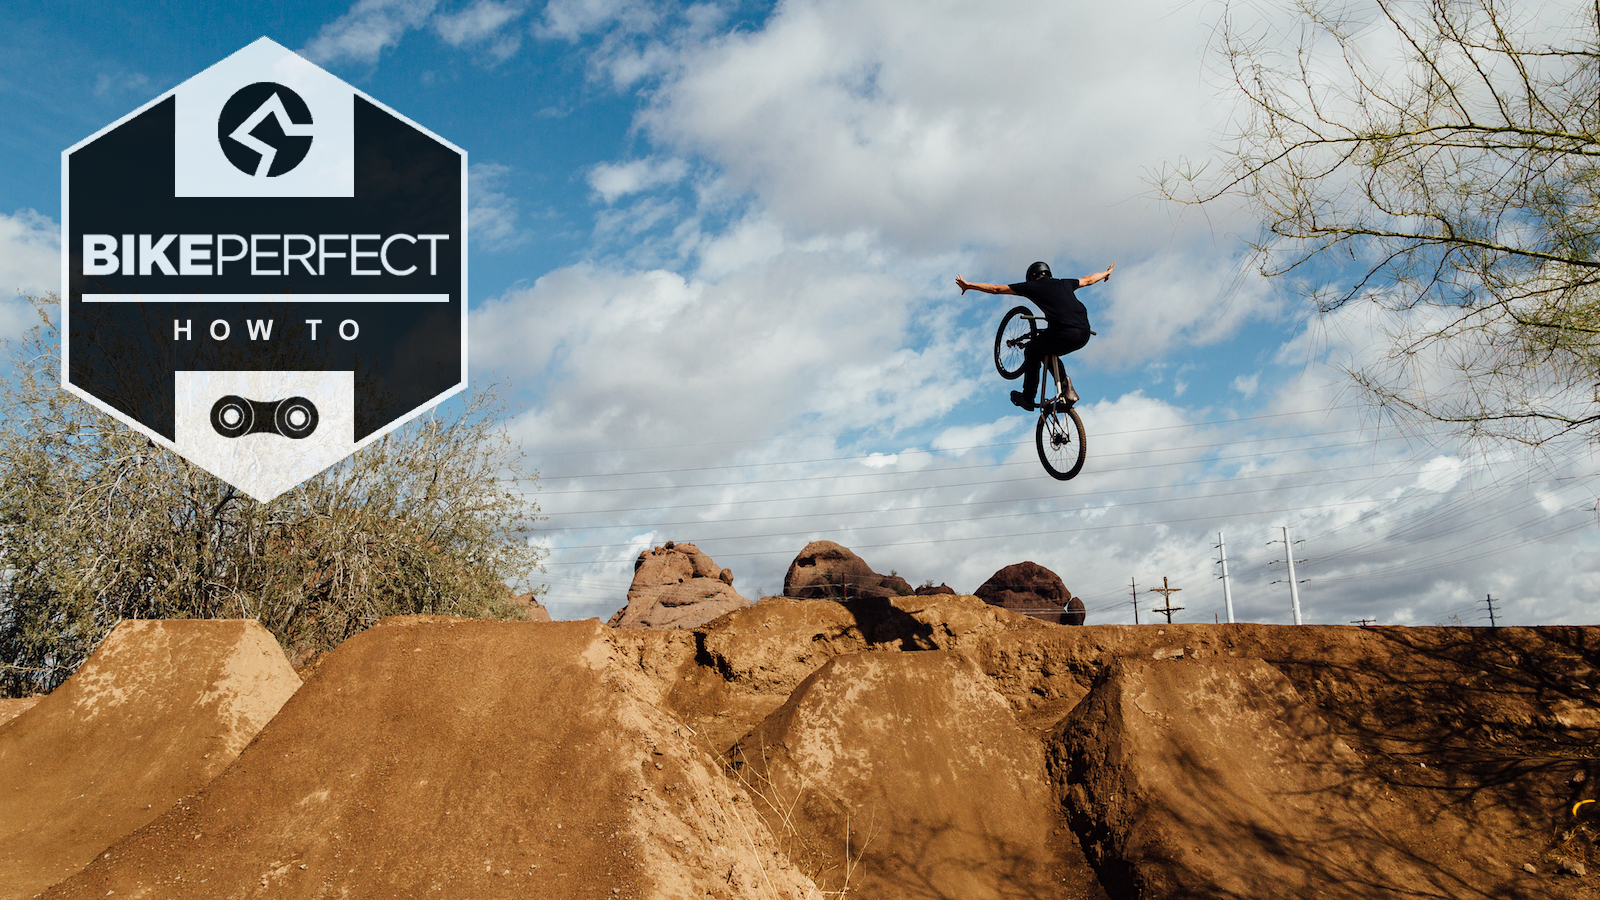
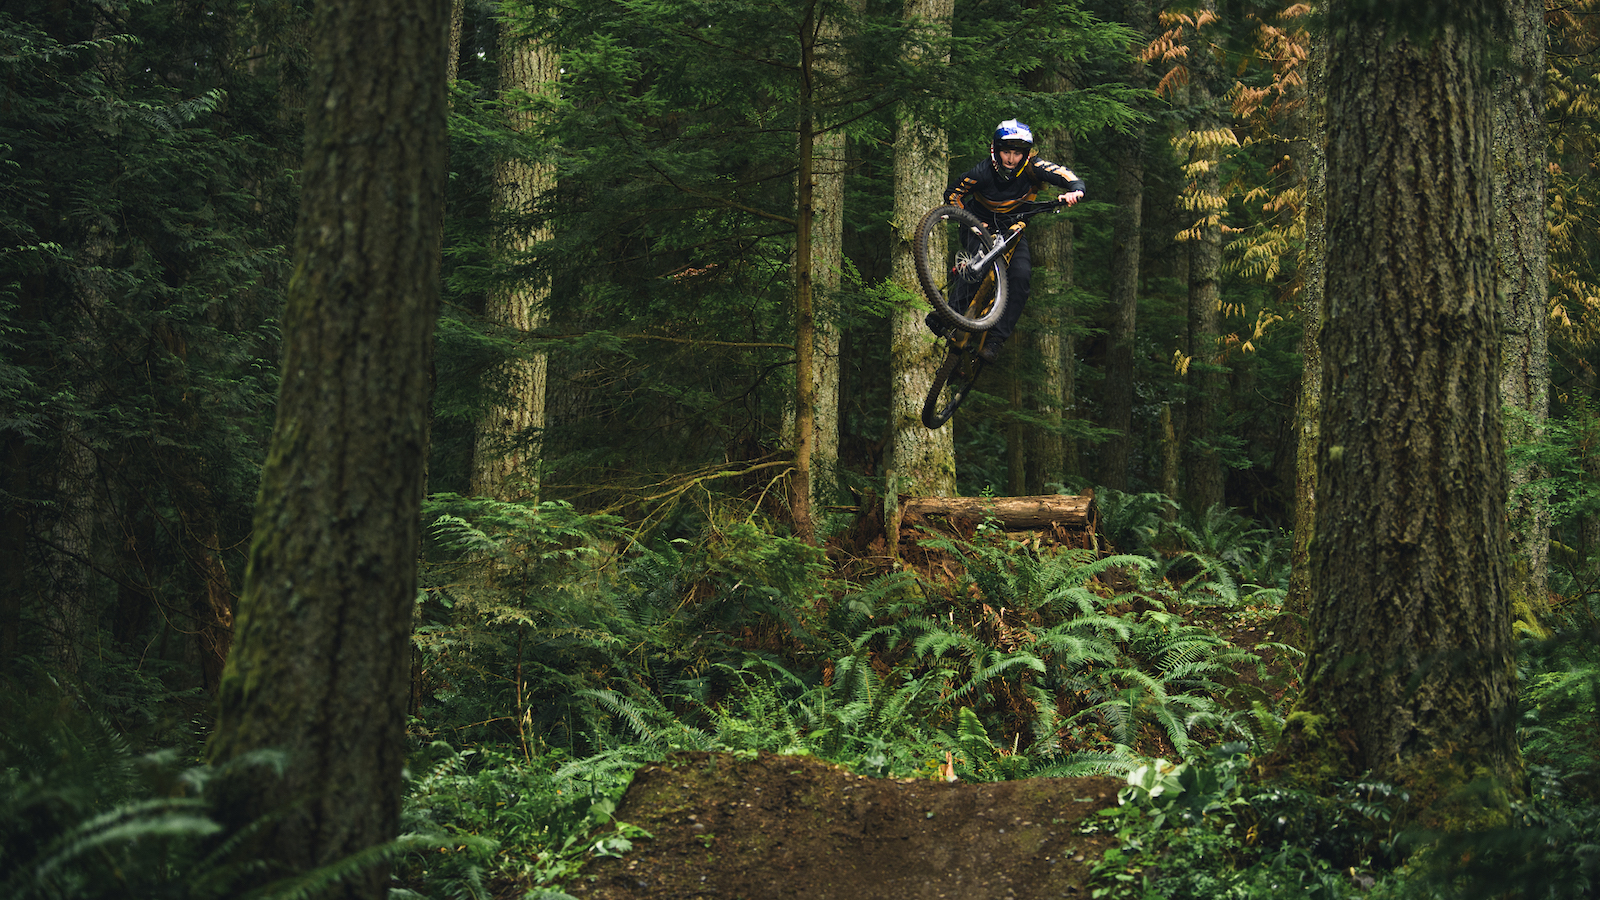
The humble MTB jump is one of the most recognizable trail features. Usually built out of a mound of shaped dirt, jumps of all shapes and sizes can launch riders into the air, creating fun and engaging trail features.
Building a jump is relatively simple. However, there are some considerations to make sure that the jump is as safe as it is fun to ride. Poorly built jumps can be unsafe or downgrade the experience of riding the trail.
The first thing you need to know when thinking about building a mountain bike jump is who owns the land you are on. Land use rules are different from state to state and country to country, but constructing trails without prior approval is never okay. Similarly, you should never change or alter an existing mountain bike trail without permission from the landowner or organization that maintains it.
1. Planning and building a jump
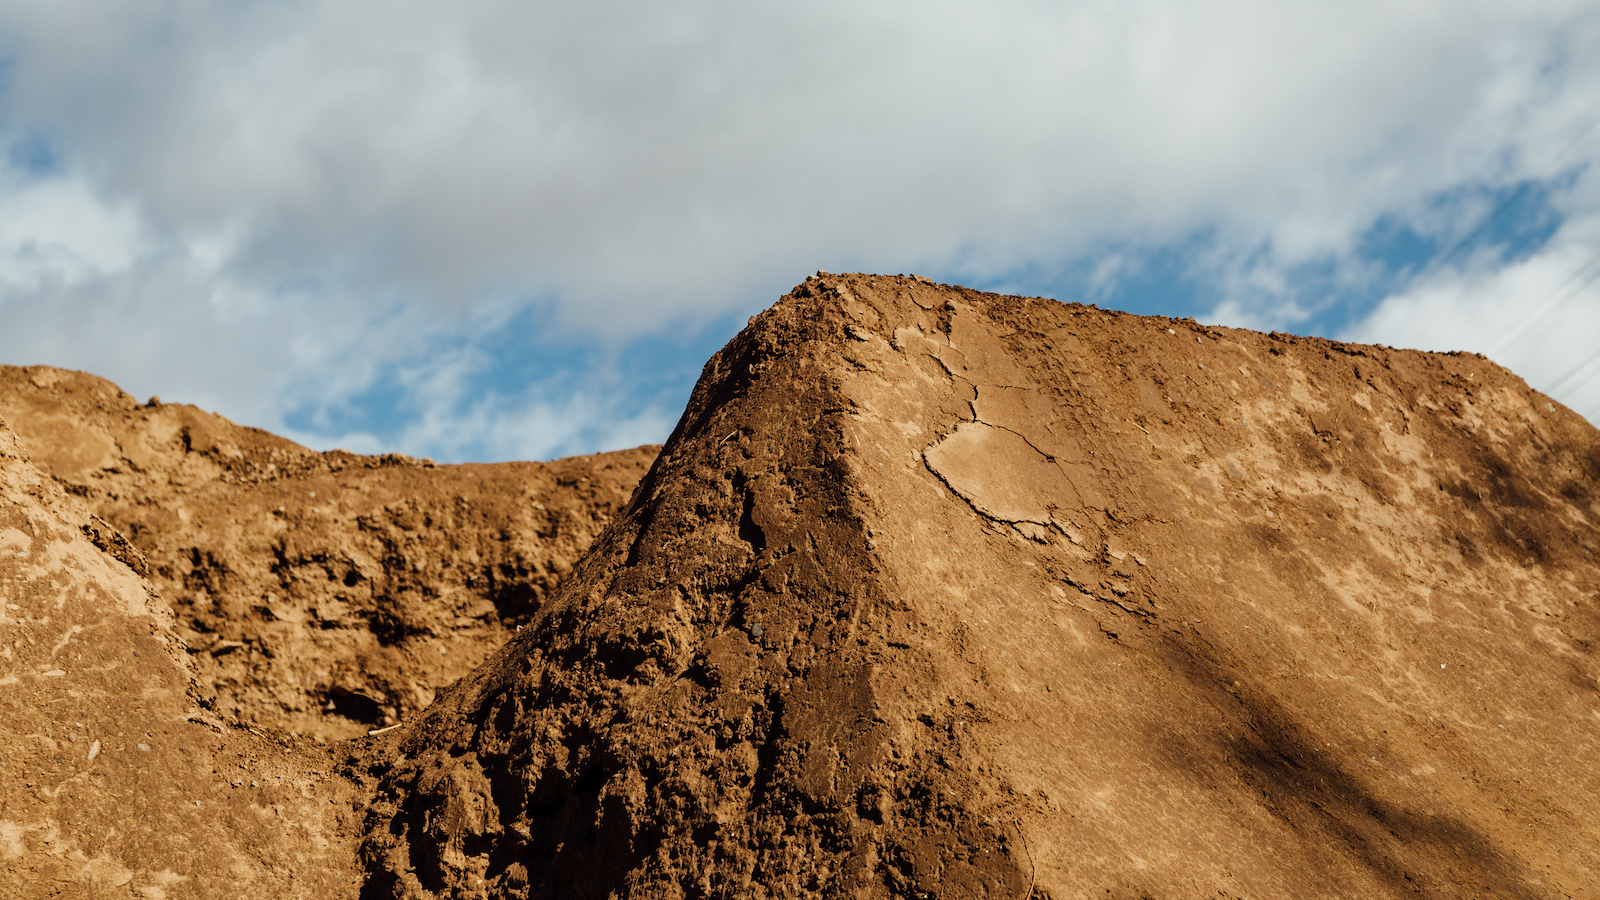
The best way to build a mountain bike jump is simply by piling up dirt and shaping it into a lip. Builders may be tempted to use various materials as fillers. For example, piling up sticks or branches underneath dirt may seem like a good shortcut. While this may be a short-term solution, wood or other organic material will rot and destabilize over time. The best materials to use as filler are rocks, or just exclusively use dirt.
Before starting construction, you should think about where the jump will be located. If it's part of an already constructed singletrack trail, make sure there is enough room to gain speed for the jump and a suitable exit path. Its also worth considering how the jump affects the flow of the trail, you don't want to create a jump that forces riders to have to brake hard to avoid overshooting your jump.
Next comes the grunt work of piling up the dirt. Dirt will be easier to dig and shape when it’s moist, so one of the best times to build is after rain.
Ideally, you don't want to be digging unsightly pits for every jump, so if possible grade the ground around the jump location instead. This will likely need to be done anyway if you are bench cutting a trail into a hillside or creating drainage. Another way to avoid digging big holes and carrying dirt around is to use the land's natural undulations as the basis of your jumps.
Don't dig a large pit next to the trail or jumps. You want to preserve the natural feeling of the trail, and you don’t want the hole you dig to create any hazards. Landowners are likely to get pretty upset if they start finding pits dug everywhere too, and could revoke any permission previously granted and put an end to your trail before it's even finished.
2. Shape the jump
The amount of dirt you need obviously depends on how big the jump will be. Remember that in order to turn a mound of dirt into a jump, it requires a lot of compacting. Therefore, you will need a lot more dirt than you expect.
Once there is a good amount of dirt piled up, you should start shaping the jump. Use a shovel to move the dirt into the shape you want the lip to be. Jumps that feature more gradual slopes are ideal for high-speed trails since they won’t buck riders over the bars. On the other hand, jumps with steeper slopes will send riders higher into the air and are often used to do tricks.
The next step is to pack the dirt so that it is strong enough to ride over with a bike. This may take some time and involve multiple rounds of packing the dirt before letting it dry and harden. If the dirt you use is wet, it may take some time before it is solid enough to ride.
3. Building a landing
That’s the basic process for building a mountain bike jump, but you should also think about building a landing. Once you have the take-off built and a rough idea of where riders are going to land, the landing is fairly easy to make. Simply follow the same process of piling dirt, shaping it, and packing it in.
Once the jump is finished it's time for the fun part: riding it. However, a trail builder’s work is never done. Over time, the jump may get damaged or run down. Keep an eye out for wear and tear and maintain your jump so that it remains a fun feature.
Trail building is a unique and time-honored part of mountain bike culture. Creating the places you ride can lead to a great sense of satisfaction that benefits the entire riding community. Building a solid mountain bike jump can improve a trail for years to come and be enjoyed by everyone that rides the trail.
Ryan Simonovich has been riding and racing for nearly a decade. He got his start as a cross-country mountain bike racer in California, where he cultivated his love for riding all types of bikes. Ryan eventually gravitated toward enduro and downhill racing but has also been found in the occasional road and cyclo-cross events. Today, he regularly rides the trails of Durango, Colorado, and is aiming to make a career out of chronicling the sport of cycling.
Rides: Santa Cruz Hightower, Specialized Tarmac SL4
