Tubeless mountain bike tires – everything you need to know
Tubeless tires and MTBs go together like honey and bees. But are they right for you and how do you get set up?
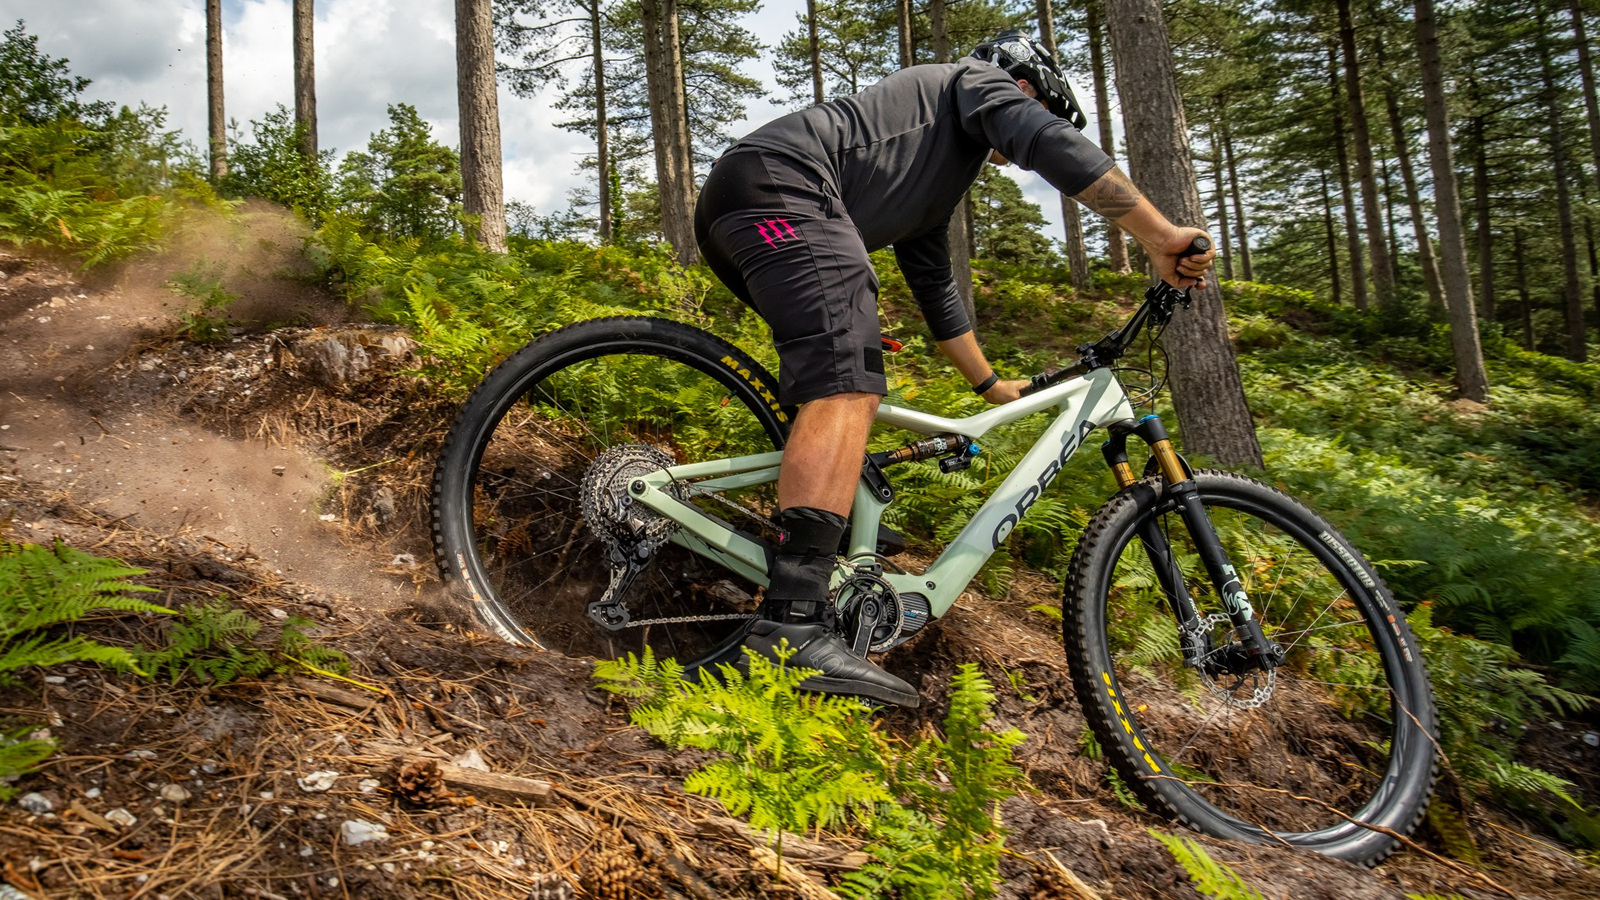
No prizes for guessing that a tubeless tire setup lets you run your tires without inner tubes. This has a number of advantages, especially for mountain bikers, which is why it’s pretty much the default for mid- to high-end bikes these days.
The good news is that everything from setup to the compatibility of tires and wheels is more straightforward than it used to be. This article is here to explain the pros and cons, the misconceptions, and all you need to get set up.
What you need for a tubeless tire setup
Mountain bikes don’t come from the factory set up tubeless, because even the best tubeless sealant doesn’t stay fresh forever. But more and more bikes come almost ready for tubeless setup.
Here are the components you’ll need, whether you’re starting from scratch or enabling a tubeless-ready bike you’ve just bought:
Tubeless-ready tires - these are less porous than normal tires (to hold the air in better), and they have stretch-resistant edges to reduce the chances of them blowing off the wheel rim. Most of the best mountain bike tires are now tubeless, but be aware that some models have cheaper non-tubeless variants.
Tubeless-ready wheels - the main thing here is that the rim bed is airtight, if you tried filling a normal rim with air, it would escape through the spoke holes. If the rim bed is solid with no spoke holes, it’s tubeless-ready; else you may need to apply your own tubeless rim tape. Note that if your wheels are quite new and have ‘hookless’ rims, they can only be used with special hookless-compatible tubeless tires, literally at the pain of death.
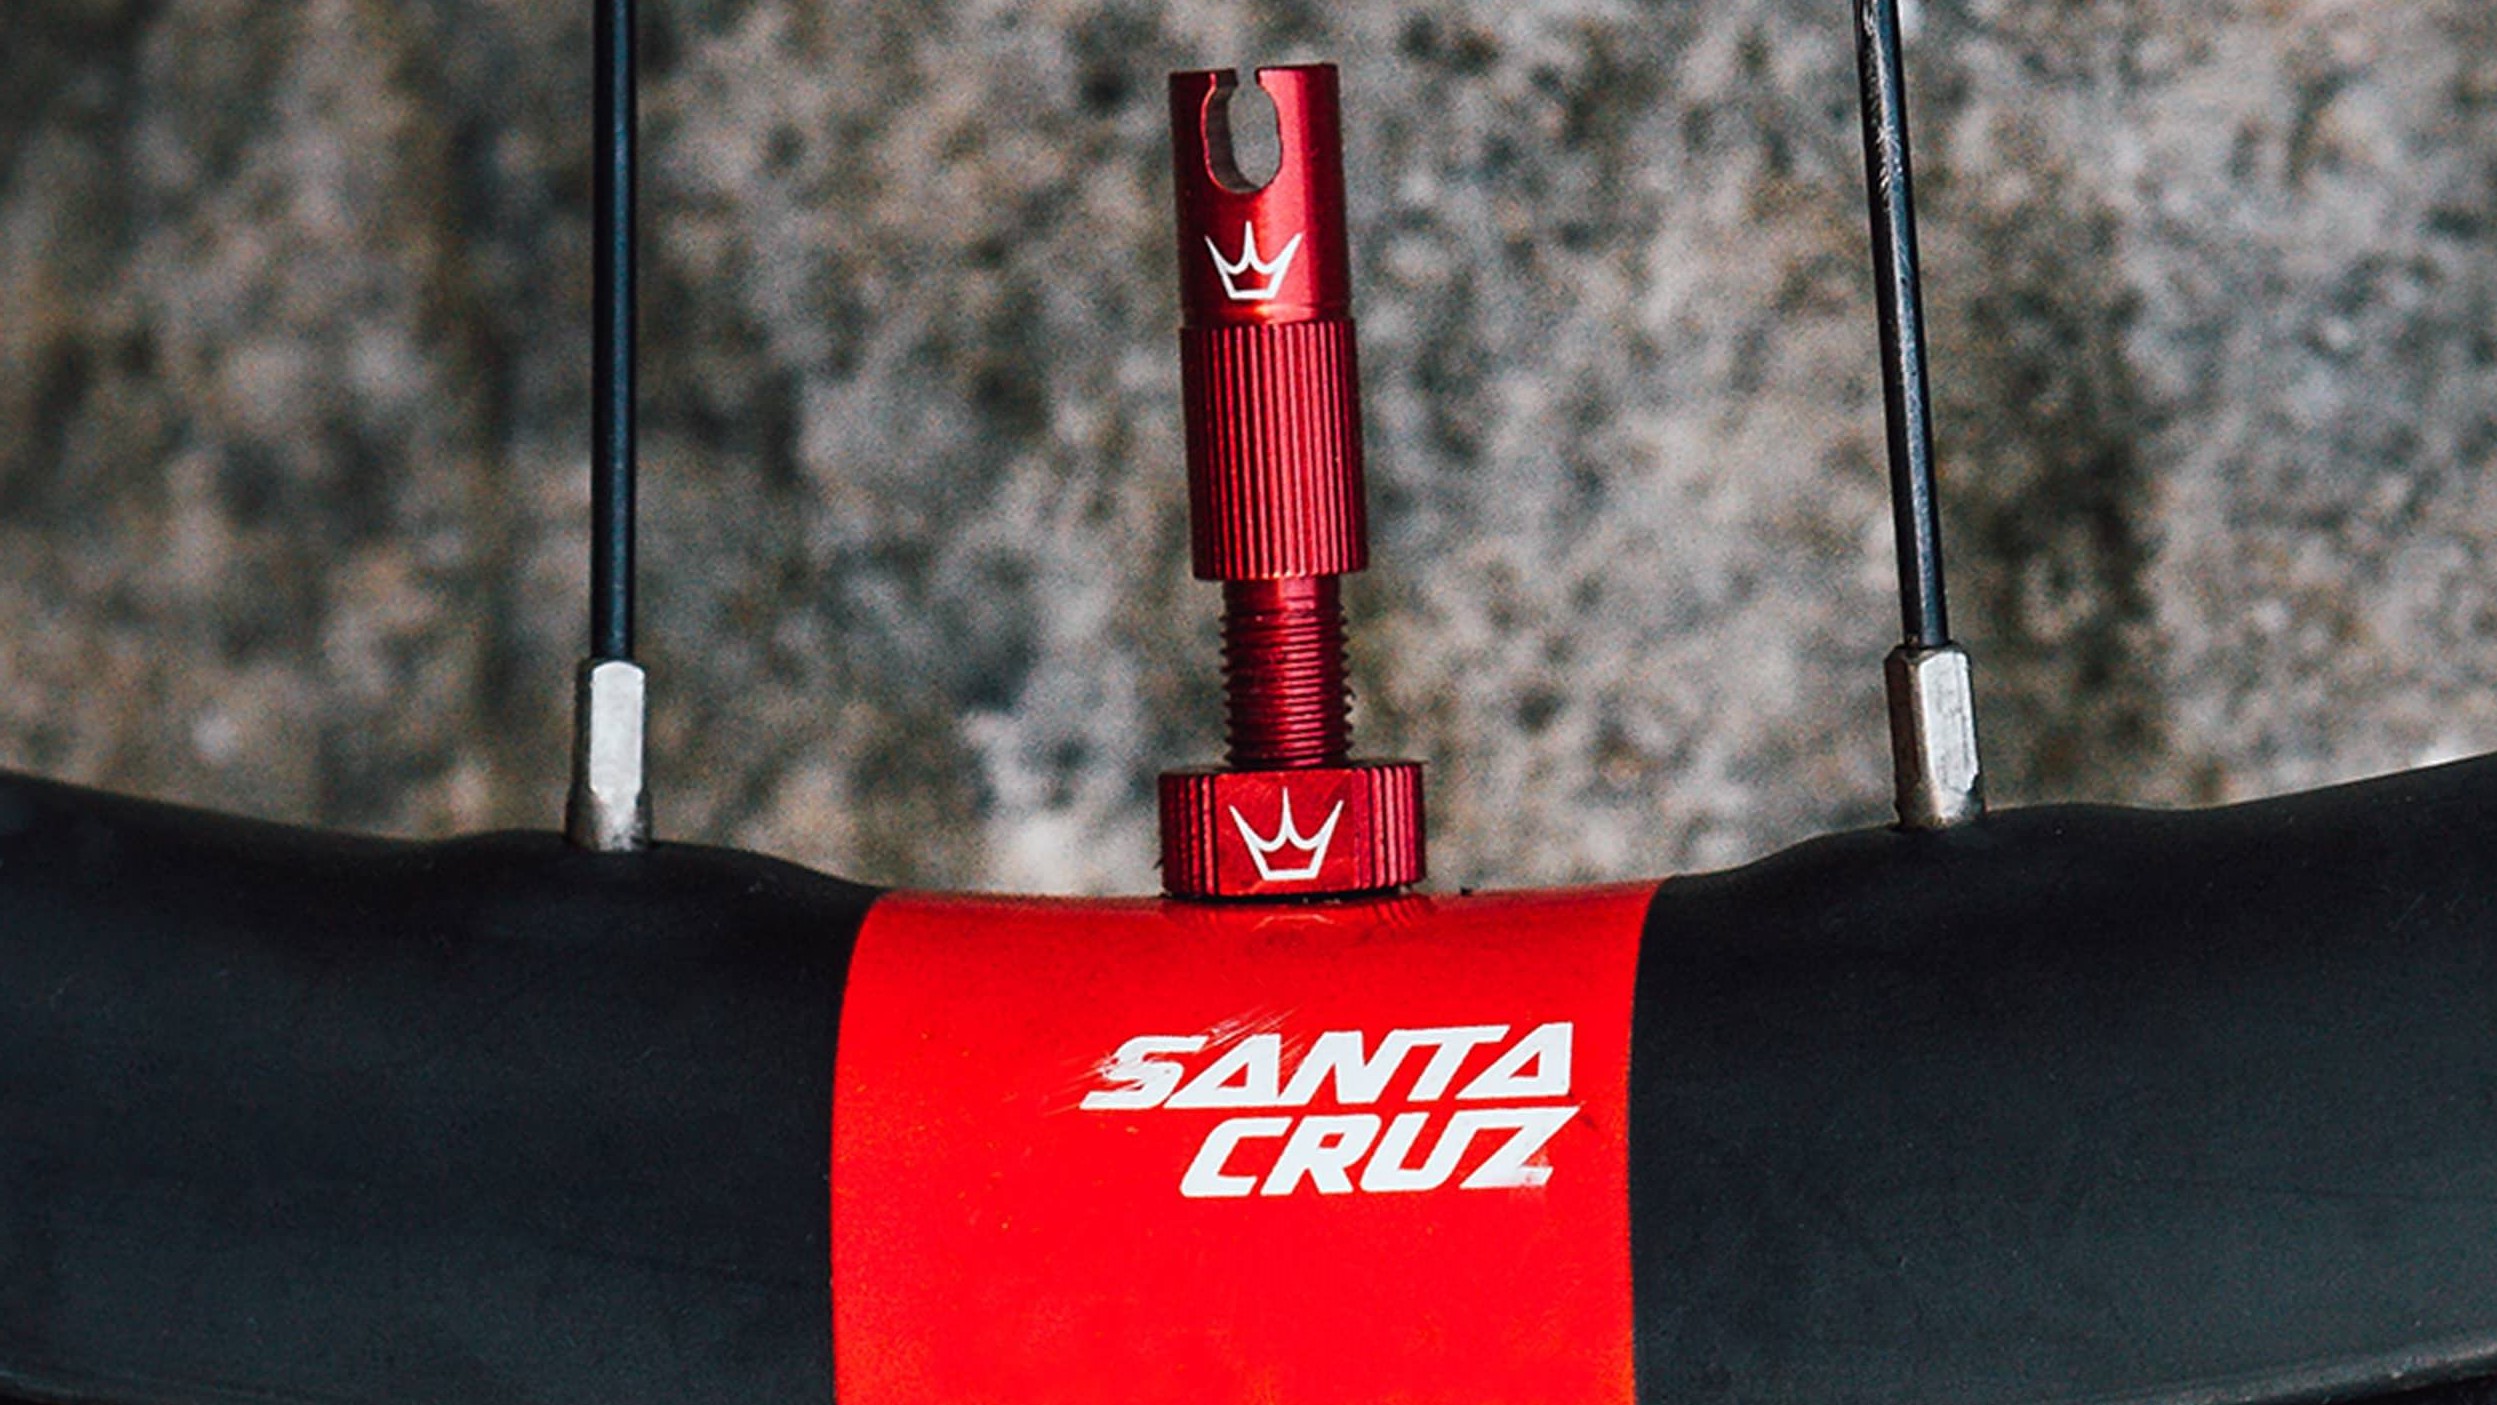
Tubeless valves - these are normal Presta valves at heart, but with special seals on the inside and outside of the rim that prevents air from escaping through the valve hole. Note that the seal inside the rim needs to be the right shape and size for your rim. The valve stems should also come with removable valve cores, which can be useful for filling the tire with sealant, and for cleaning or replacing the cores if they get gunged up with the sticky stuff.
Sealant - tire sealant is the magic of the tubeless setup. It’s a thin rubbery liquid that sloshes around the inside of your tire. If you get a puncture, the liquid fills the hole and coagulates, hopefully giving you an airtight seal. You’d normally need about 90ml, depending on the size of your tire.
In addition to that, you’ll be wanting some kind of tubeless repair kit for when you’re on the trail (more on that below). You might also want a heavier-duty repair kit for home use and a large-volume tubeless tire inflator.
How to tell if you can convert to tubeless mountain bike tires
If you’ve got a new bike, the spec will tell you if the tires and wheels are tubeless-ready. If they are, all you need to do is take the inner tube out, fit tubeless valves, add sealant and inflate the tires.
But you can also check the outside edge of the tires, which should have a logo or wording that says if they are tubeless ready (or ‘TLE’ for Schwalbe’s ‘tubeless easy’). It’s slightly less easy with wheels, so ideally you’d find a logo or wording. Certainly, if the rim has loose rim tape in it, it’s not tubeless-ready.
If you’re not sure whether your bike’s already been set up tubeless, start by looking at the valve stem. If it’s not held in place with a substantial airtight nut against the wheel rim, it’s probably not tubeless. Or deflate the tire and have a look inside. As we said above though, if it’s new and you haven’t specifically asked the shop to set you up tubeless, it will almost certainly have been set up with a tube, for transit.
Advantages of tubeless mountain bike tires
A tubeless setup means you get fewer flats which have two massive benefits for mountain bikers.
For most riders, most of the time, if something like a thorn goes through the tire, the sealant fills and seals the hole so quickly you don’t even notice; you just carry on riding. Or you might hear a hiss (or see a spray of sealant coming out of the hole), and if it doesn’t fix itself, you stop with the hole at the bottom of the tire while the sealant works its magic - or you realize it’s too big of a hole and so you plug it with your tubeless repair fixer. Tubeless also eliminates the risk of pinch punctures as there are no tubes that can be caught between the rim and tire.
Eliminating the risk of pinch punctures means riders can safely drop tire pressures far lower than previously possible with tubes. Lower tire pressures massively improve grip levels as the tires can deform better to the ground. Lower pressures also greatly improve ride quality too, filtering out fine vibrations that might not be picked up by the suspension.
Disadvantages of tubeless mountain bike tires
It’s not all sunshine in the tubeless world, though very few users of tubeless mountain bike setups would want to go back to tubed.
The elephant in the room is the potential hassle of installing tubeless tires. When it goes well, it can be 10 minutes a tire or less. When it goes badly, it can be hours, with sealant all over the place. The challenge is to get the tire to seat quickly in place on the rim and form an airtight seal. A few tips do help seat tires reliably (see below), but sometimes certain tires or rims just don’t seem to play well with each other.
It’s also messier on the trail if you do get an unrepairable puncture, in which case you’d need to fit a tube until you can get home and fix the tire properly.
Once the tires are on, it’s pretty much fit and forget. The potential for a headache probably means you wouldn’t swap tires around for different circumstances as much as you might have done with tubed. And every few months you should check you’ve got enough sealant, as sealant is lost either through fixing punctures or hardening.
How to make it easier to fit tubeless mountain bike tires
Everyone’s got their own favorite tubeless fitting tips, but the ones we’ve found most useful are:
- Fit new tires with an inner tube first to give them shape, pump them nice and firm and leave them overnight. It will help shape the bead of the tire to the rim for when you take the tube out the next day, fit the valve and add sealant.
- Use a tubeless air tank inflator, and remove the valve core. This made the biggest difference for us, as it lets you release a big shot of air into the tire to pop the tires against the rim, instead of having to pump as fast as you can with a track pump.
- If you’re having trouble getting a tire to seal as it's too loose, try an extra layer of tubeless rim tape. This also helps with tires that burp too easily at low pressures.
- Most mountain bike tire and rim combos these days are pretty easy to seat so it's often as simple as pouring the sealant into the tire and inflating. If a tire is proving difficult to seat as the bead is too tight - something more common with the best gravel bike tires - try using a little soap on the tire bead to help it slide into place before adding sealant through the valve core.
How to repair tubeless mountain bike tires
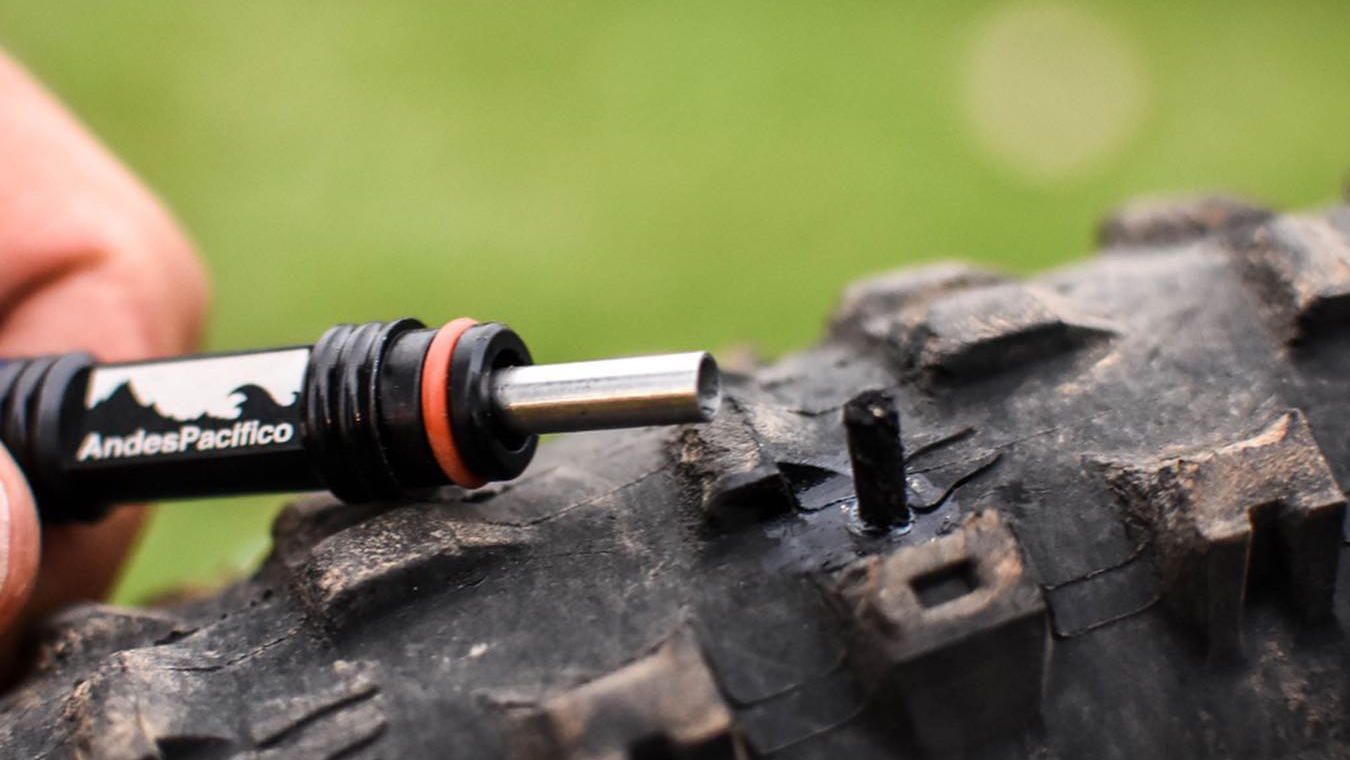
Sometimes a puncture hole is too big for the tubeless sealant to coagulate across by itself. On the trail, the first port of call is to stuff a special plug into the hole, which the sealant can stick to and seal the remaining gap. Two common types of plug are sticky strips (often known as tire bacon, because of the way they look) which you push into the hole with an applicator; or little darts which you push into the hole. Our favorites are Dynaplugs because they’re so fast and reliable.
You can stuff more than one plug into a puncture hole, but if that doesn’t work, you’ll need a tube and maybe a tire boot (a stiff covering to sit between the hole and the tube, to stop the tube from pressing out) to get you home.
At home, you can fix the hole from the inside of the tire with vulcanizing rubber solution and patches. The key is to clean the tire surface well and to use a proper non-stretch patch; we’ve also used tire repair ‘mushrooms’ to good effect.
Sean has old school cycle touring in his blood, with a coast to coast USA ride and a number of month-long European tours in his very relaxed palmares. Also an enthusiastic midpack club cyclocross and XC racer, he loves his role as a junior cycle coach on the Kent/Sussex borders, and likes to squeeze in a one-day unsupported 100-miler on the South Downs Way at least once a year. Triathlon and adventure racing fit into his meandering cycling past, as does clattering around the Peak District on a rigid Stumpjumper back in the day.
Height: 173cm
Weight: 65kg
Rides: Specialized Chisel Comp; Canyon Inflite CF SLX; Canyon Aeroad; Roberts custom road bike
