Bike Perfect Verdict
It's a great bit of kit, expensive but considerably cheaper than building up a specific adventure bike. Easy to fit, loads of setup possibilities, and really well made, it's the perfect option for those seeking occasional adventures.
Pros
- +
Solid and rattle-free rack
- +
Easy to fit with minimal tools
- +
Super adjustable setup that can fit most bikes
- +
High-quality waterproof bags
Cons
- -
Expensive if using multiple bags
Why trust BikePerfect
Founded by brothers Mike and Paddy Maguire in New Zealand just over 12 years ago, Aeroe set out to make it easy for riders to carry kit, whatever the bike or terrain. The brand's first product was the quick-mount release bike rack, which was eventually licensed to Thule and sold as the Tour rack. Whilst the original version was good enough to fit any of the storage options in our best bikepacking bags feature, it was due for an update, and the Spider is its replacement.
The guys at Aeroe say they are “on a mission to make bike adventure easier and more accessible to more people,” which sounds like a great idea to us, and by making it possible to carry bags on any bike, they are on the right track. I first saw the Spider Rack this summer and included it in our 10 off-road tech highlights from the world's biggest bike show, and since then, I have been really keen to get a set out on the trails and see if it really can make any bike into an adventure bike.
Design and specification
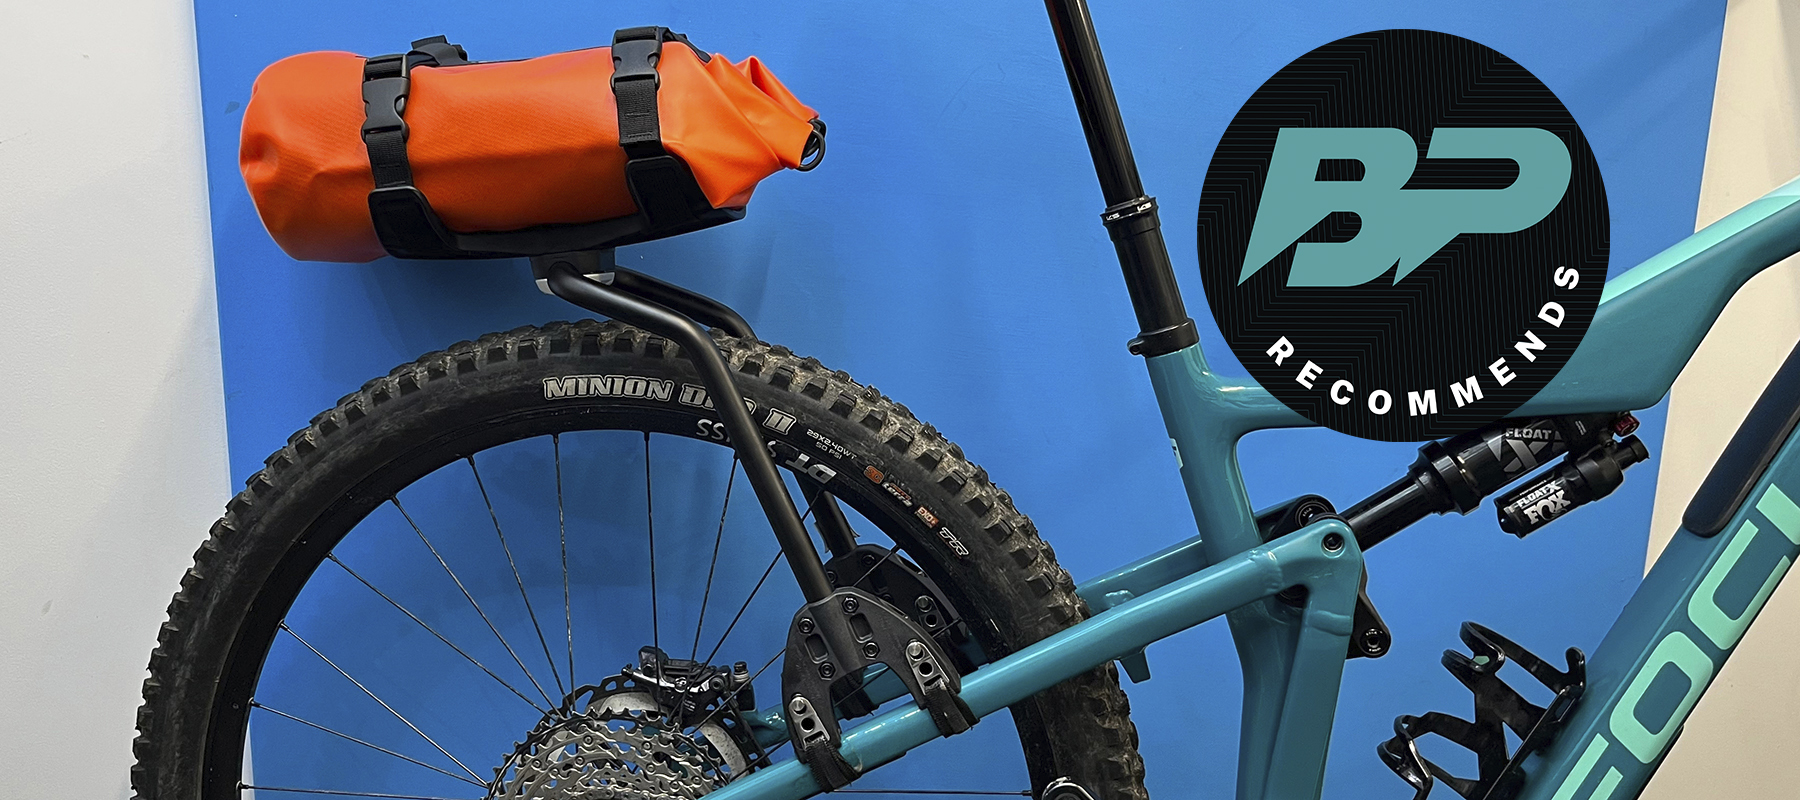
The rack is essentially a simple U-shaped alloy tube fixed at right angles to your seat stays using a clever strap system. You can then bolt the luggage mounts to the frame and attach either your tent, dry bag, sleeping bag, or one of Aeroe’s pods.
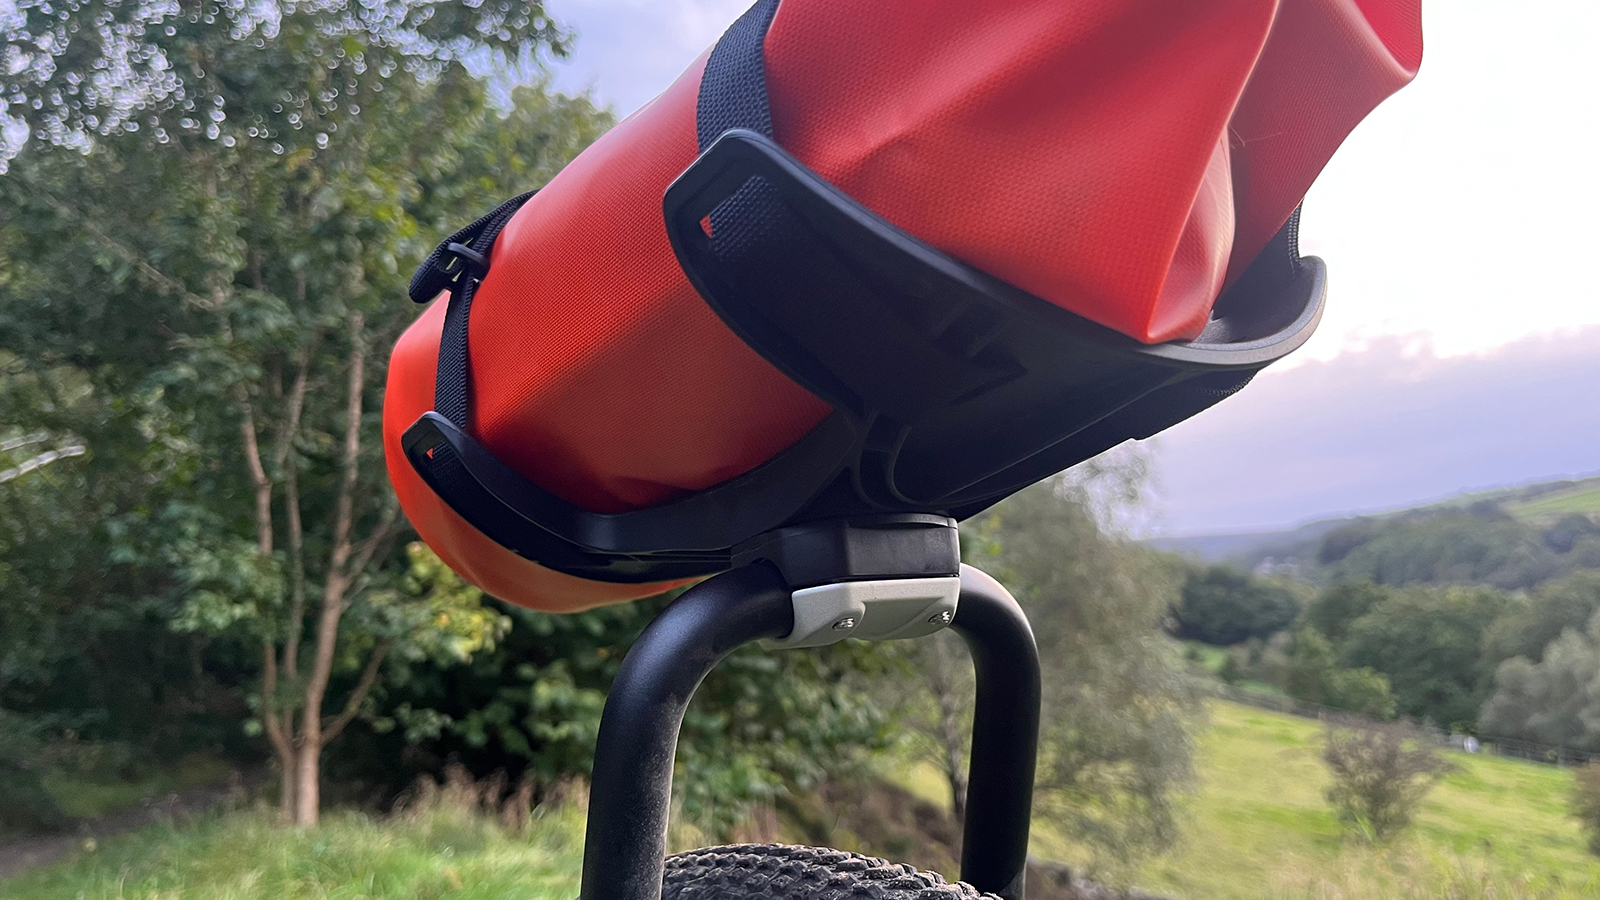
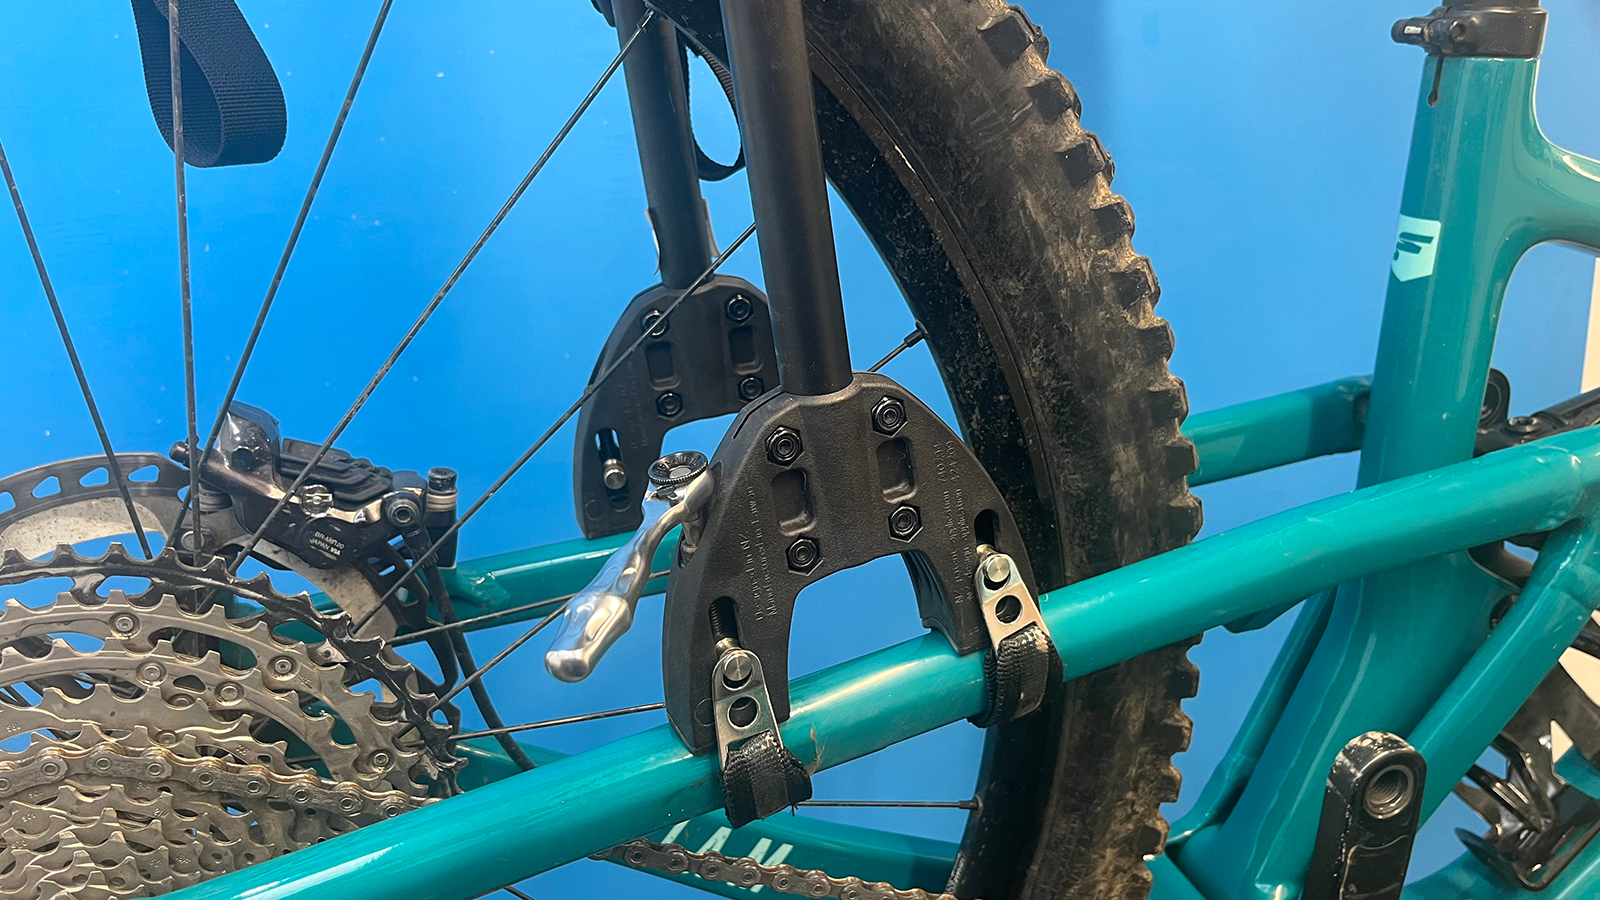
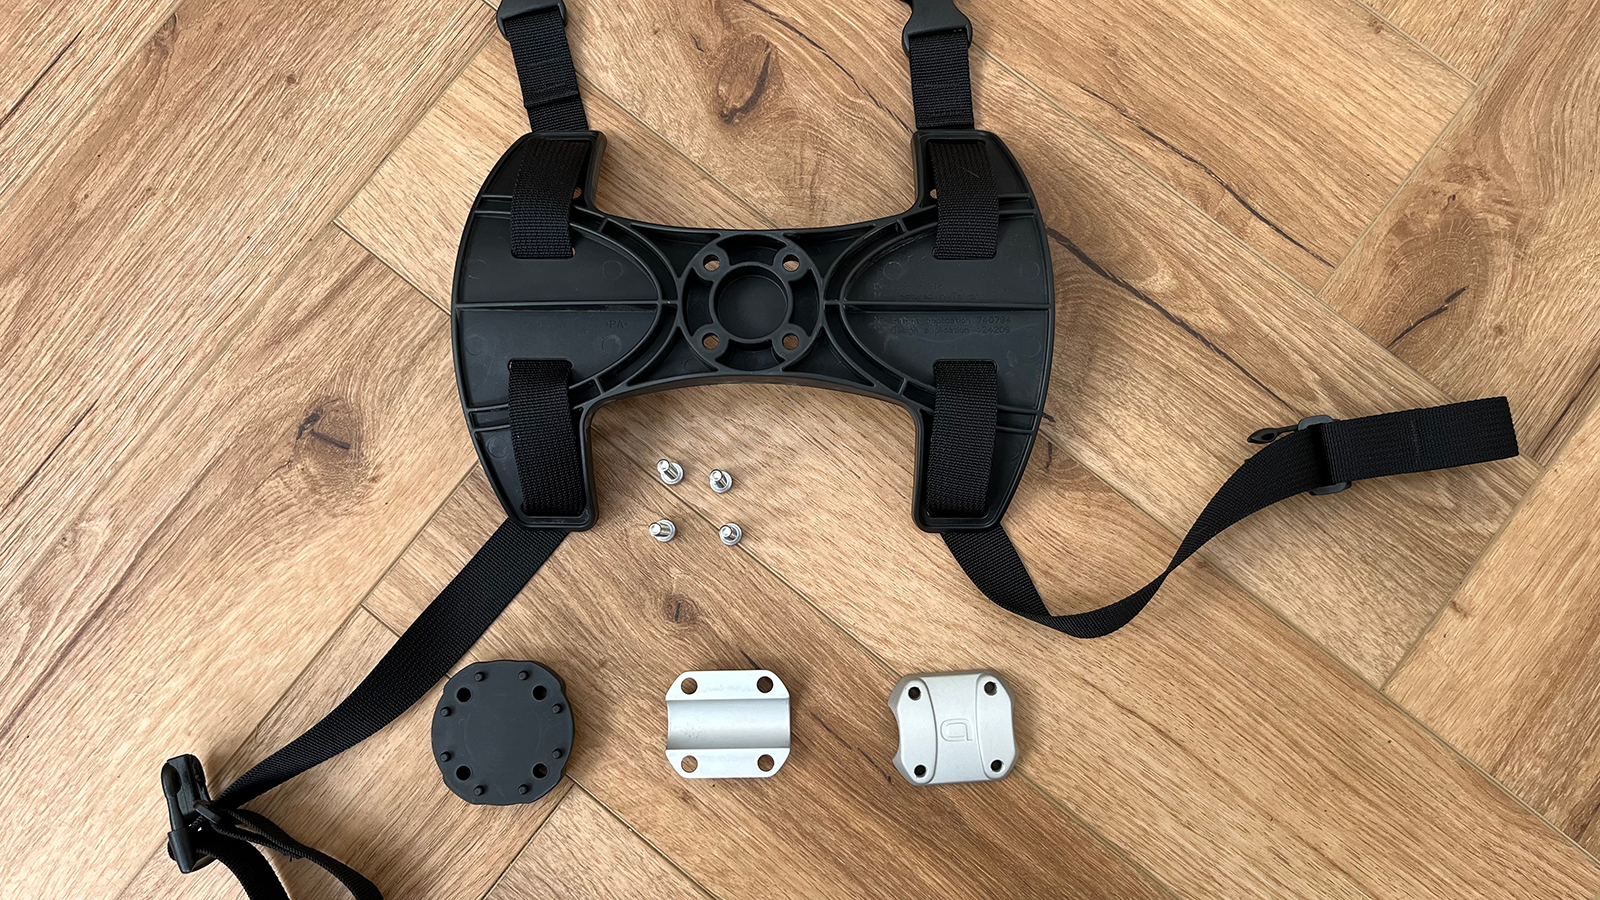
The seat stay clams use a clever system with two long 5mm threaded hex bolts that move a sliding nut inside. The nut has a small ridge on the outside, and it is this ridge that the strap attaches to. The straps themselves are a soft material with a rubberized backing and offer a wide range of adjustments, fitting everything from the skinniest steel frame up to 50mm deep stays, so there aren't many bikes you can't fit it to.
The main frame section is angled to give you more fit options. Ideally, you should try and get the rack as low and close to the rear wheel as safely as possible so it doesn't affect handling too much, but also be careful not to put it too close to the saddle on full-suspension frames as when the rear end compresses, it may catch. This I found to be a trial and error process depending on the bike and the angle of the seat stay, but swapping the direction and location of the rack is a painless affair. The 5mm hex bolts are on a long thread, so I'd advise using a short-handled ratchet if you are tight on time.
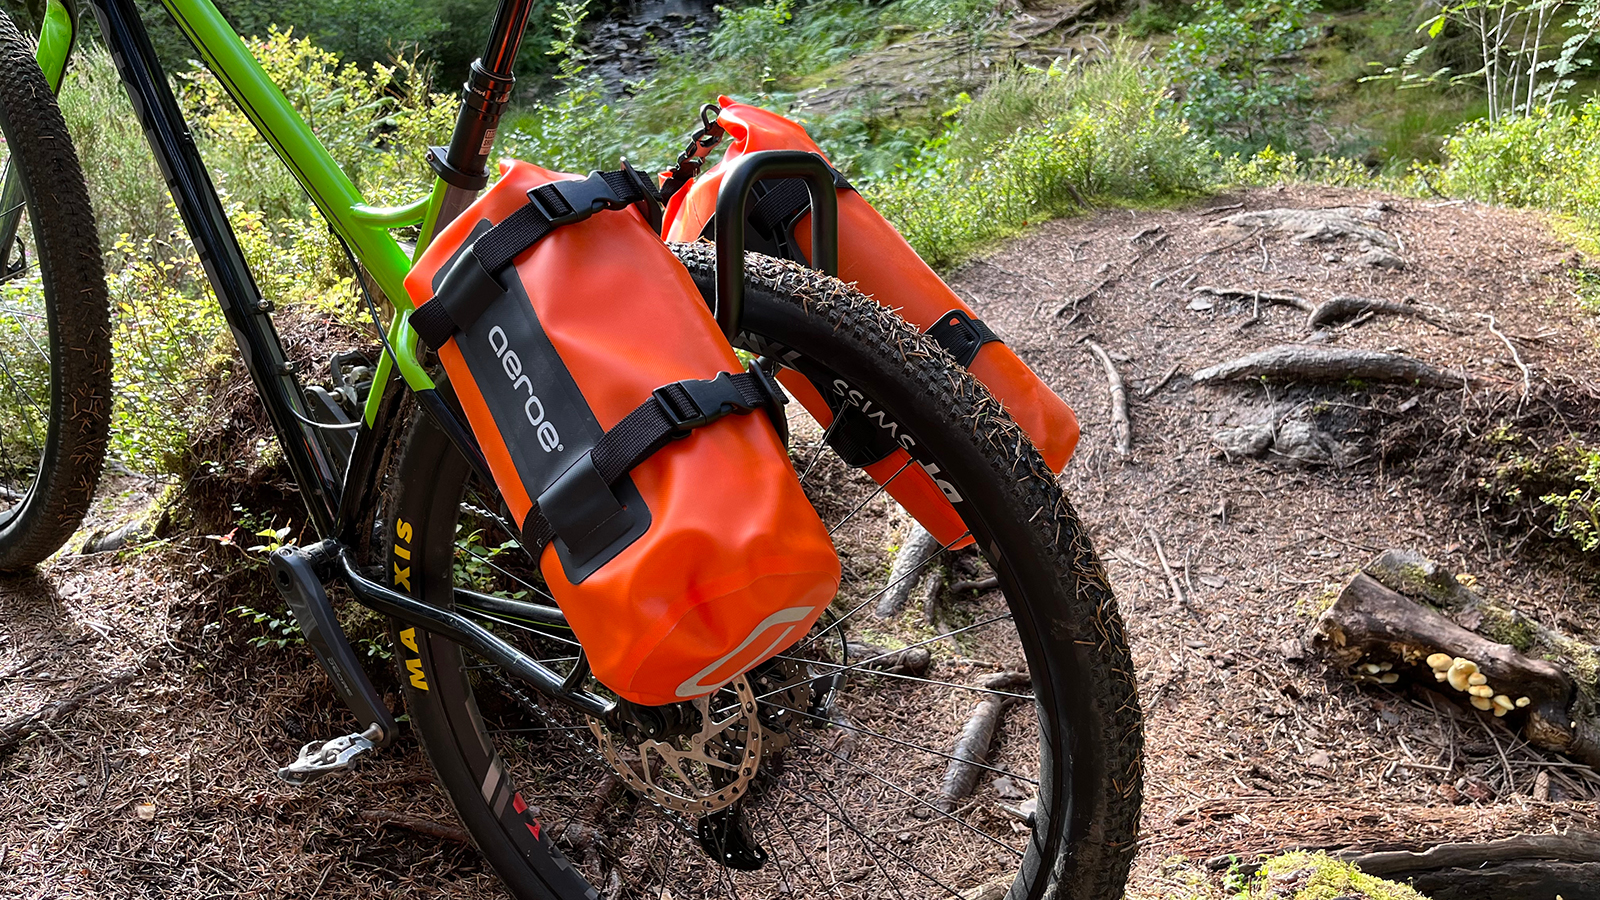
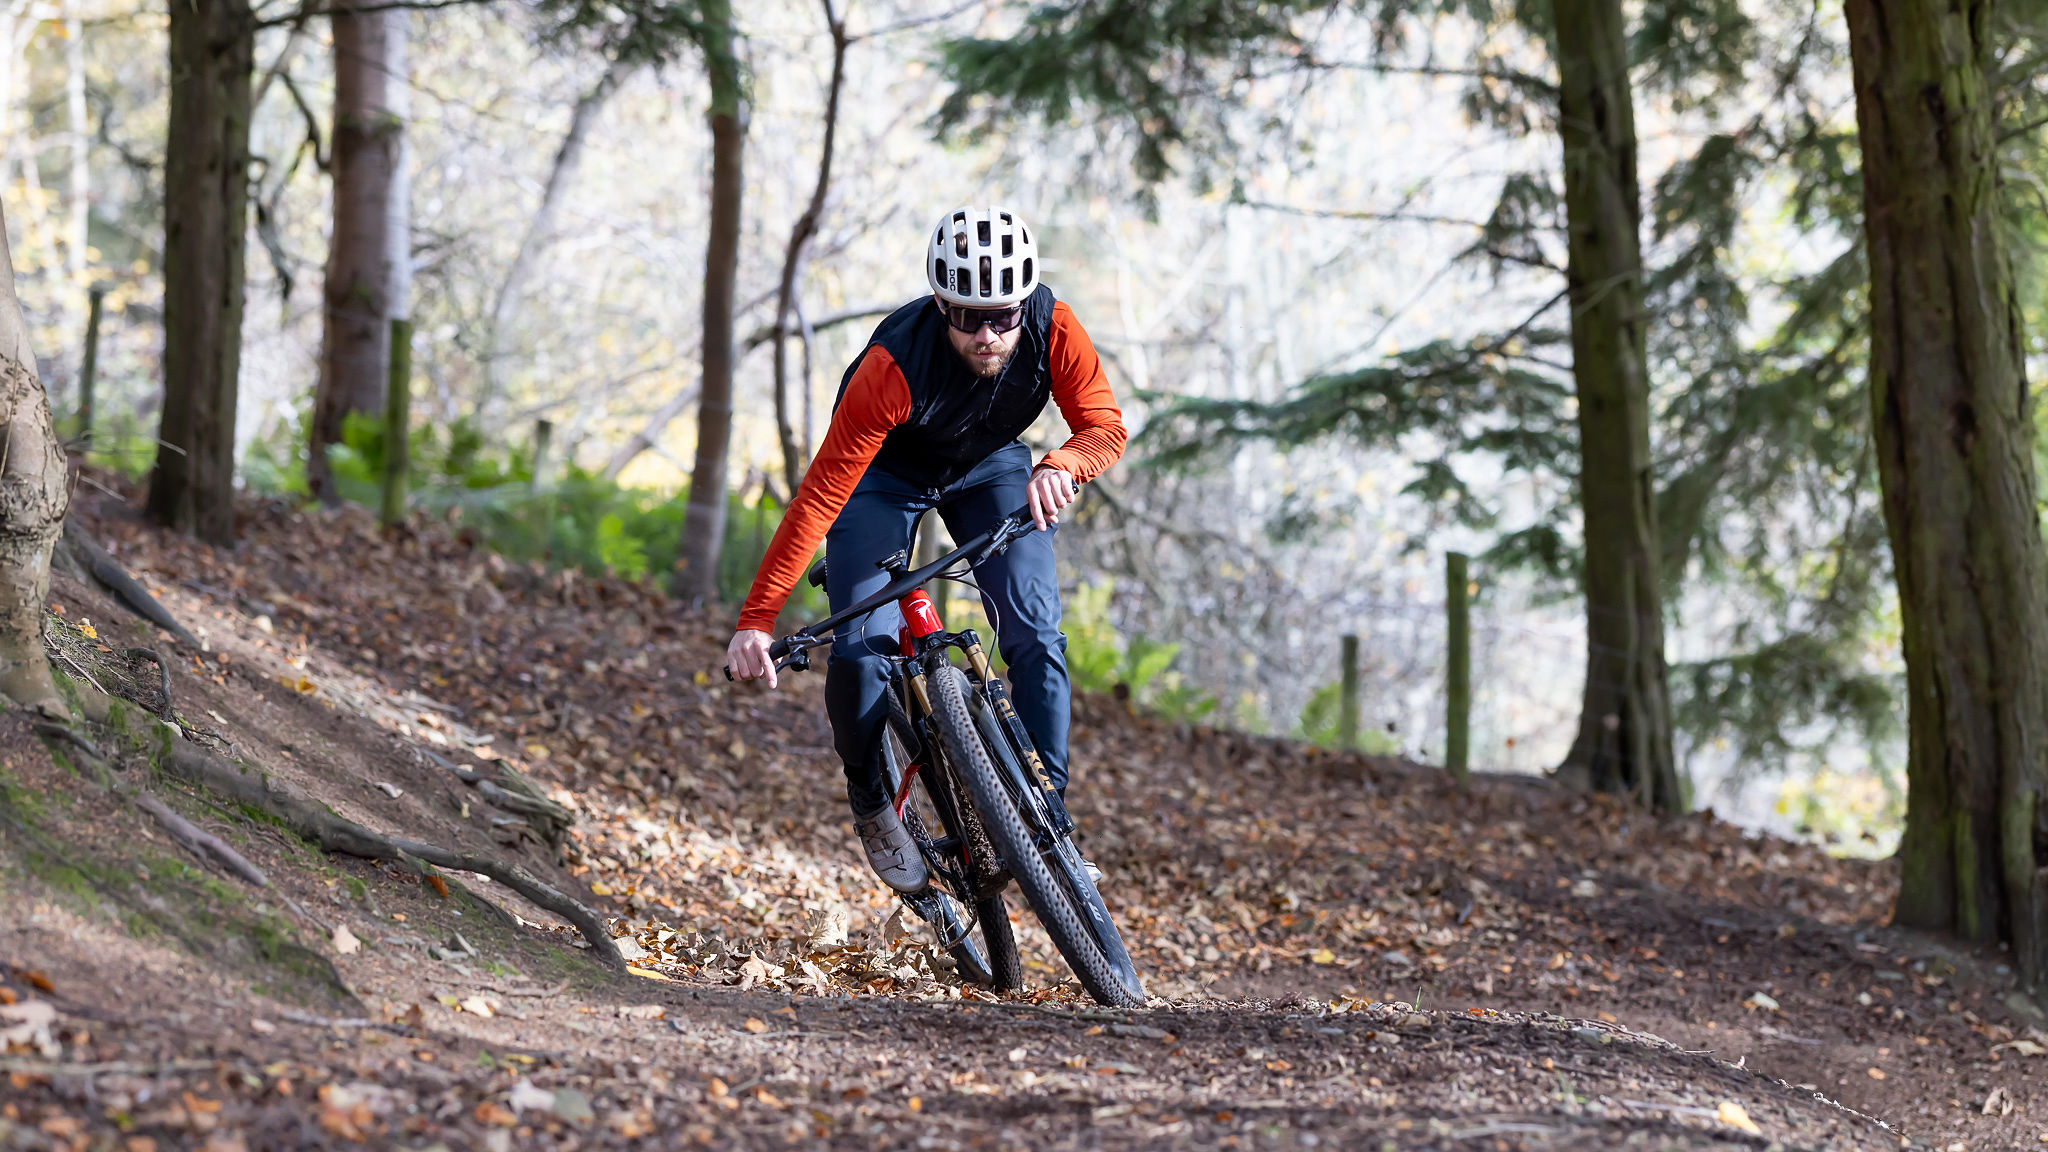
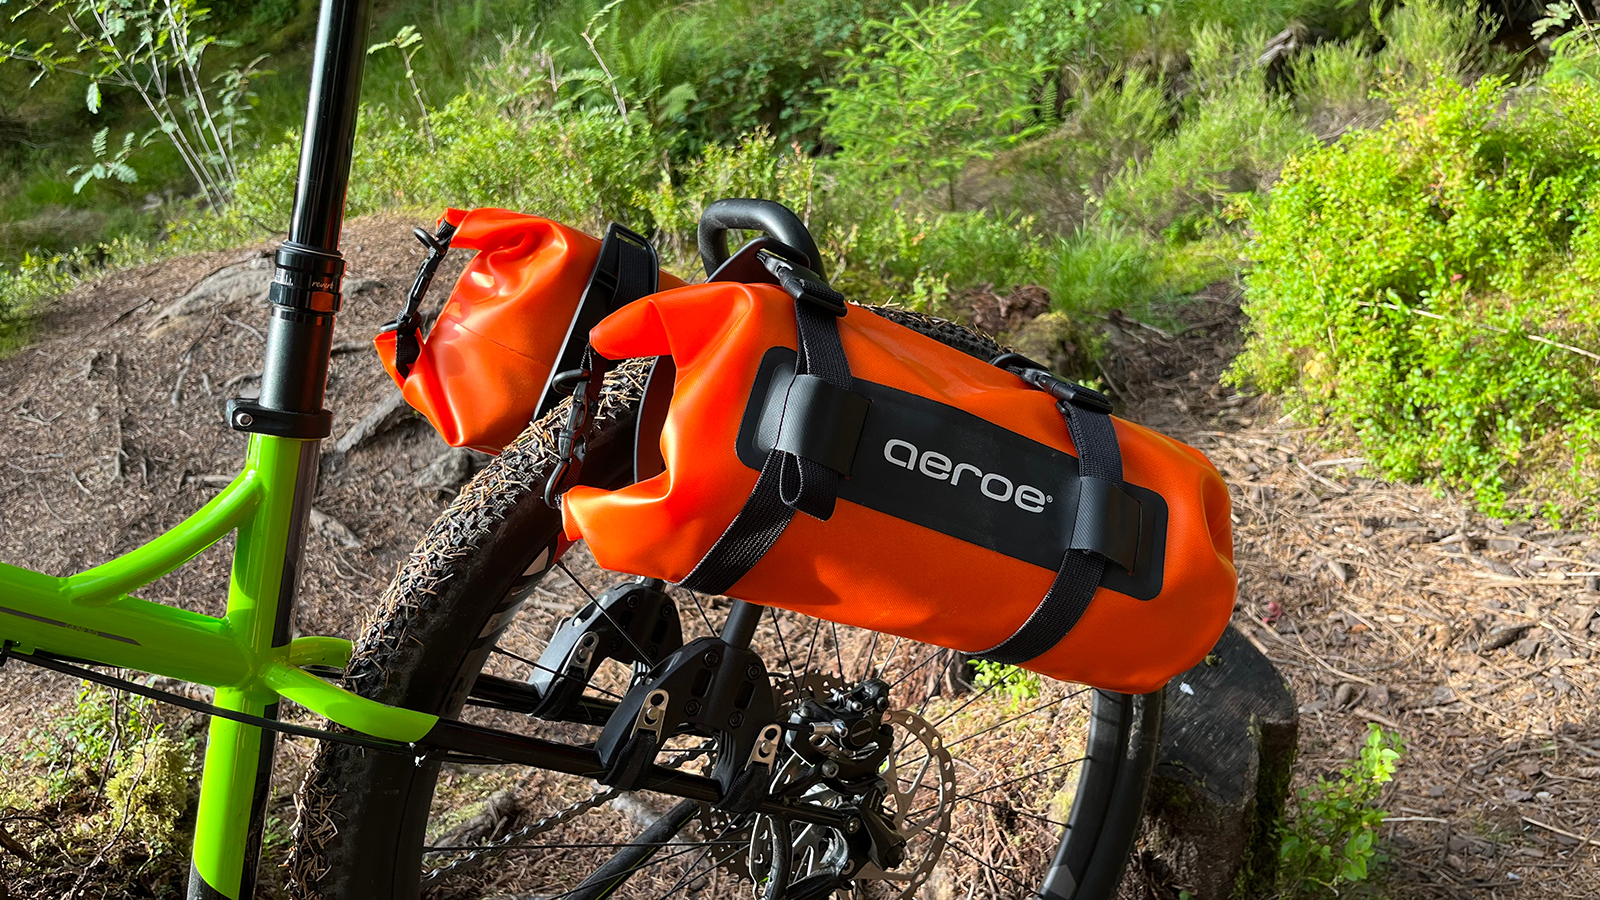
Another design benefit is the ability to mount the luggage carriers in many different positions. Whether you want to carry a single bag on top or combine it with another two on the sides, you have a huge amount of flexibility. The luggage carriers or pods can also be orientated in any way you need, allowing you to mount them in whichever way works best for your desired setup. For example, when running on my full-suspension trail bike, I ran a single bag up top in line with the wheel, but on my hardtail adventure bike, I mounted one on either side at a roughly 45-degree angle to give me sufficient heel clearance.
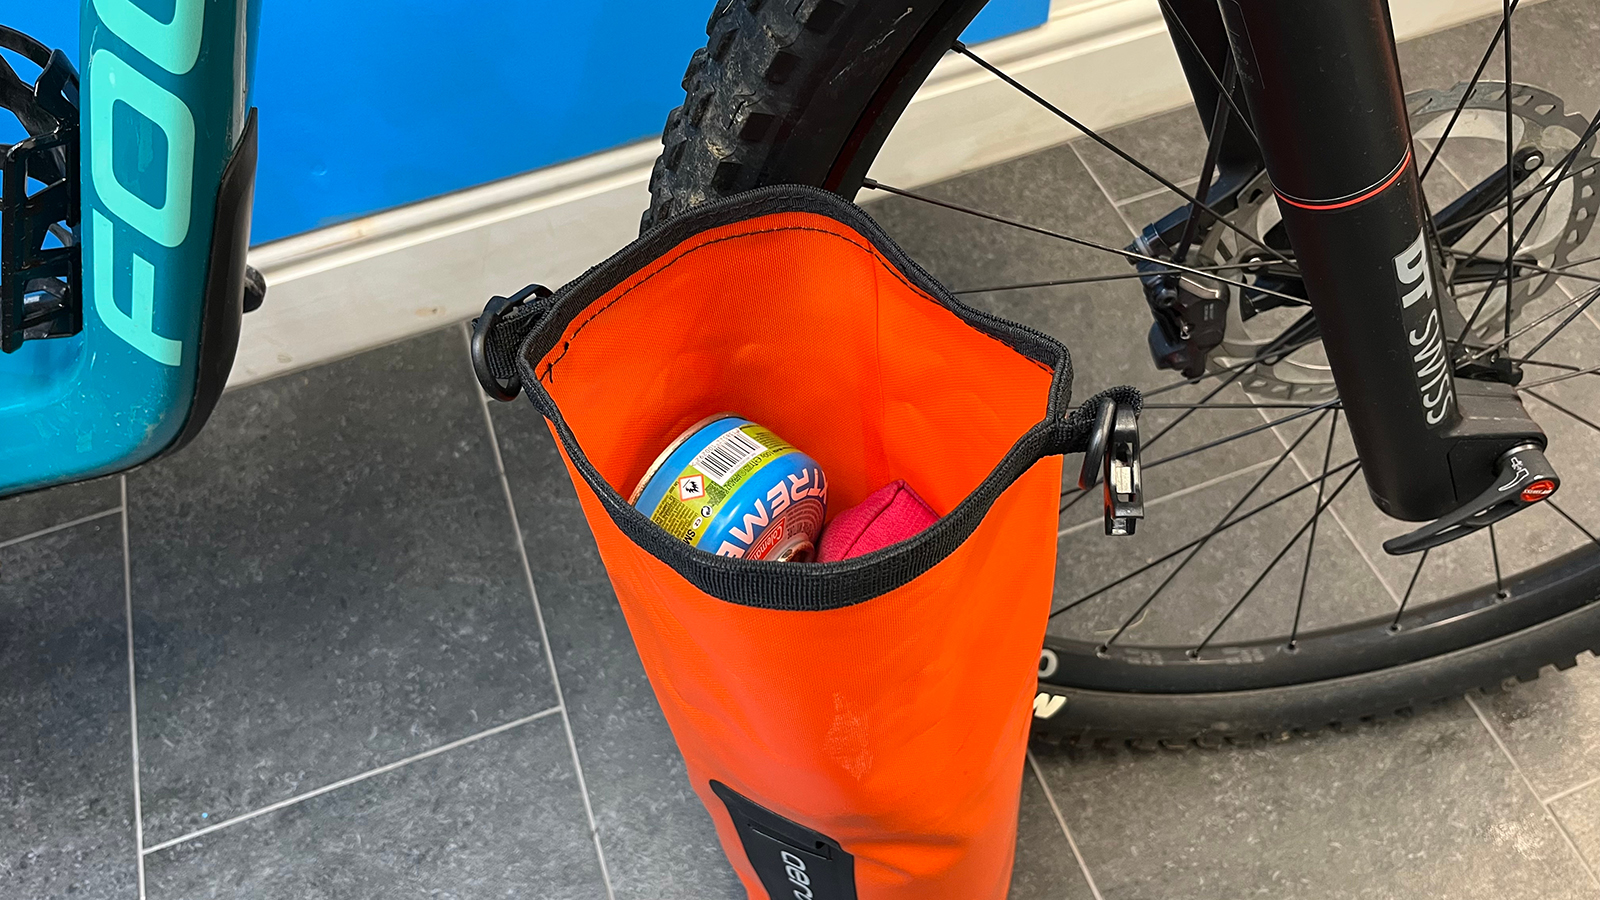
For the test, I had a pair of the smaller dry bags from Aeroe with an 8l capacity in a bright orange color with reflective detailing on the rear. They are fully waterproof and are made using a heavy-duty TPU material with fully welded seams and a roll-down top. Like with all dry bags, it is worth compressing it to expel all the air from it before rolling it down to keep it as compact as possible. The recommended capacity is up to 4kgs (9lbs), and the bags themselves come in at 233g (0.5lbs). If you need more storage, there is a 12l version available, and both use the quick-release system where the straps from the Spider rack slot through two holes on the outside of the bag for easy fitting and removal.
For those who like to bring an expensive camera or anything fragile and valuable on adventures, there's also the quick pod available, an 11l solid hard shell pod that mounts to the Spider rack using Aeroe's Uni mount attachment. The pod will take a larger load of 11kg (15lbs) and is fully waterproof, like the dry bags.
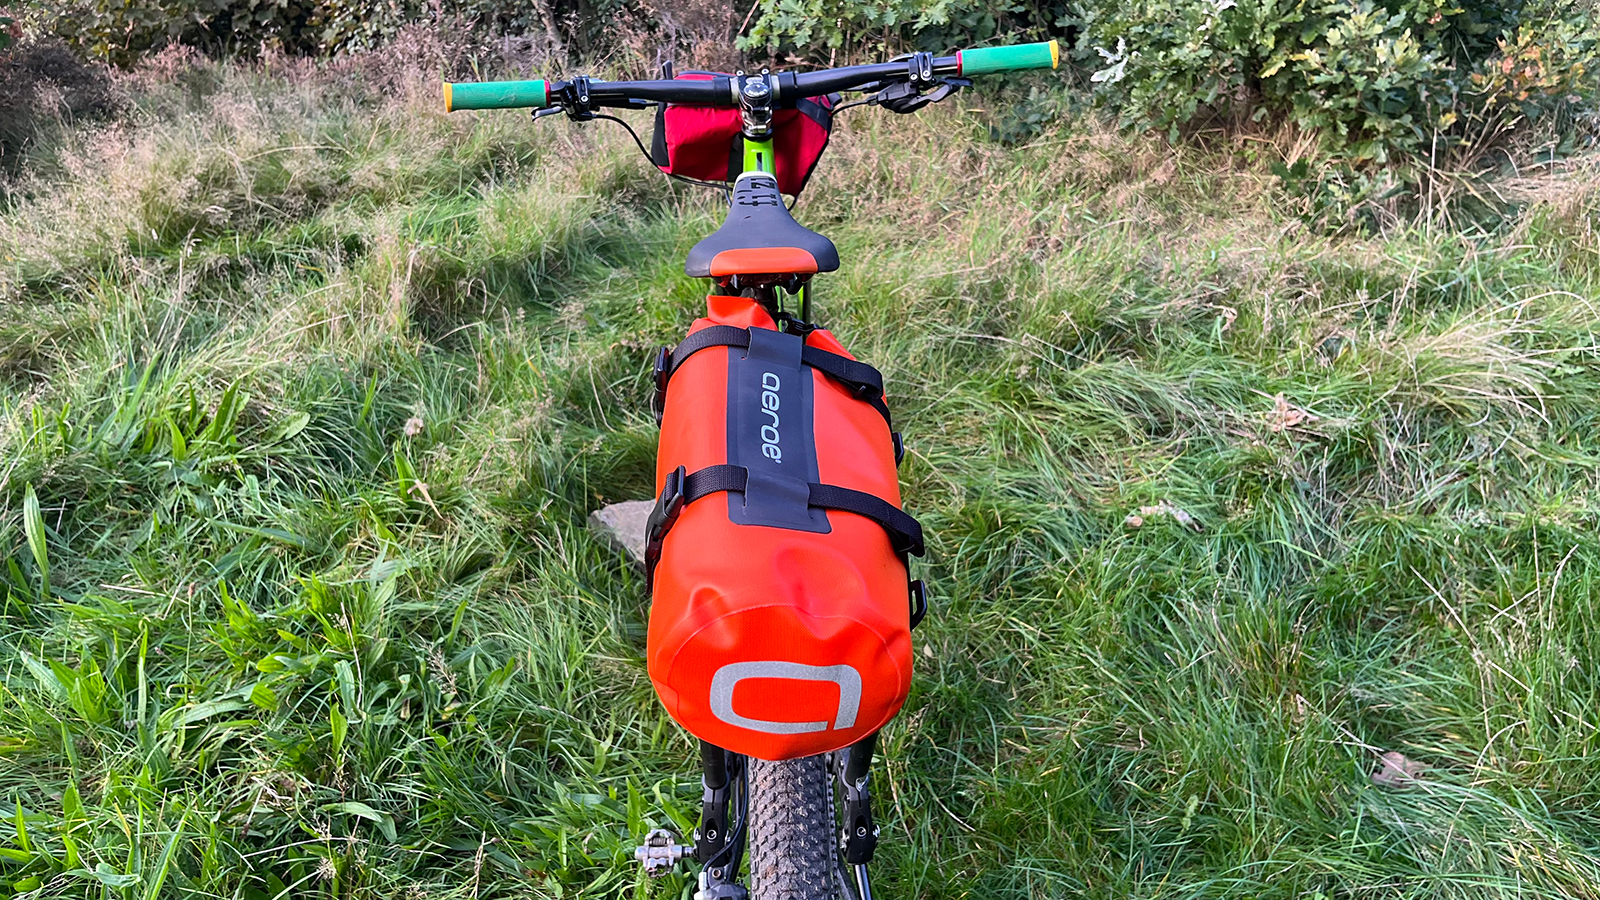
There is also a handlebar-mounted cradle to enable you to fit an Aeroe dry bag or quick pod up front. It's definitely an option I'd look into for longer tours or more technically demanding trails, as balancing the weight of your kit across the bike instead of all at the rear can make a big difference to bike handling, particularly on steep climbs.
Performance
I used the Spider Rack on three bikes and found the setup super easy. Using a 5mm hex or Allen key for all fittings keeps it very straightforward. There was an element of trial and error when fitting on different bikes to ensure it cleared the saddle, gear cables, or heels when pedaling, but it was easy and intuitive to change angles or move the cradles, and if you are not moving it between bikes it's an adjustment you'll only make once. I found that once I had it set, I could just pop it on and off in under five minutes, making last-minute micro adventures much easier.
It's certainly more expensive than a traditional rack, but even if you have suitable mounting points on your frame, nothing I've used can be fitted or removed as quickly as the Spider Rack. For those planning international trips, fitting with a single Allen key in an airport or train station without any awkward P-clips, nyloc nuts, or rubber bands is a real benefit too. Once fitted, the rubberized straps and clam stayed tight and rattle-free, with zero damage to any of the bikes I fitted them to, despite taking them on some seriously rocky trails.
The ability to remove and refit the bags quickly and easily was also a huge bonus, as anyone who has tried to remove a full pannier bag when you've got to your destination in the rain or a cloud of biting midges can relate to. Simply clipping on and setting off in the morning shouldn't be overlooked either, and the fact they are super secure and rigid on the bike really makes bikepacking a lot less stressful. There have been plenty of times I've had to fix or adapt a poorly fitting bag or rack out on a long ride, which can take the shine off any adventure.
My setup of a Spider rear rack ($149.00 / £119.99), two rear cradles ($79.00 / £64.99 each), and two 8l dry bags ($59.00 / £49.99 each) came in at a total price of $425.00 / £349.95. It's definitely at the top end of pricing for a rack and luggage system but it's comparable to offerings from Tailfin and Thule. The stability and ease of fitting really is superb, and being able to convert your existing MTB or gravel bike to a bikepacking adventure bike is significantly cheaper than building something specific for the job.
Verdict
A solid, robust, easy-to-fit system with a clever and intuitive design that will fit pretty much anything. Being able to fit it to my trail bike opened up some route options not doable on a gravel bike, and its ease of fitting made last-minute micro adventures a much easier proposition.
The cost is my only begrudging criticism, but it is very well made and likely to last a long time, which, combined with the system's flexibility, makes it an incredibly versatile and a worthwhile investment, especially for those wanting to use their existing bike.
Tech specs: Aeroe Spider Rear Rack
- Price: From $425.00 / £349.95 / €371.00 (rack, two cradles and two 8l bags as tested)
- Sizes: Rack available in standard and fat bike variants
- Rack weight with cradles: 1.3kgs/2.8lbs
- Bag material: Heavy-duty TPU fully welded
- Bag weight: 233g/0.5lbs
- Bag capacity (each): 4kgs/9lbs
- Color: Orange

Neal has been riding bikes of all persuasions for over 20 years and has had a go at racing most of them to a pretty average level across the board. From town center criteriums to the Megavalanche and pretty much everything in between. Neal has worked in the bicycle industry his entire working life, from starting out as a Saturday lad at the local bike shop to working for global brands in a variety of roles; he has built an in-depth knowledge and love of all things tech. Based in Sheffield, UK, he can be found riding the incredible local trails on a wide variety of bikes whenever he can
