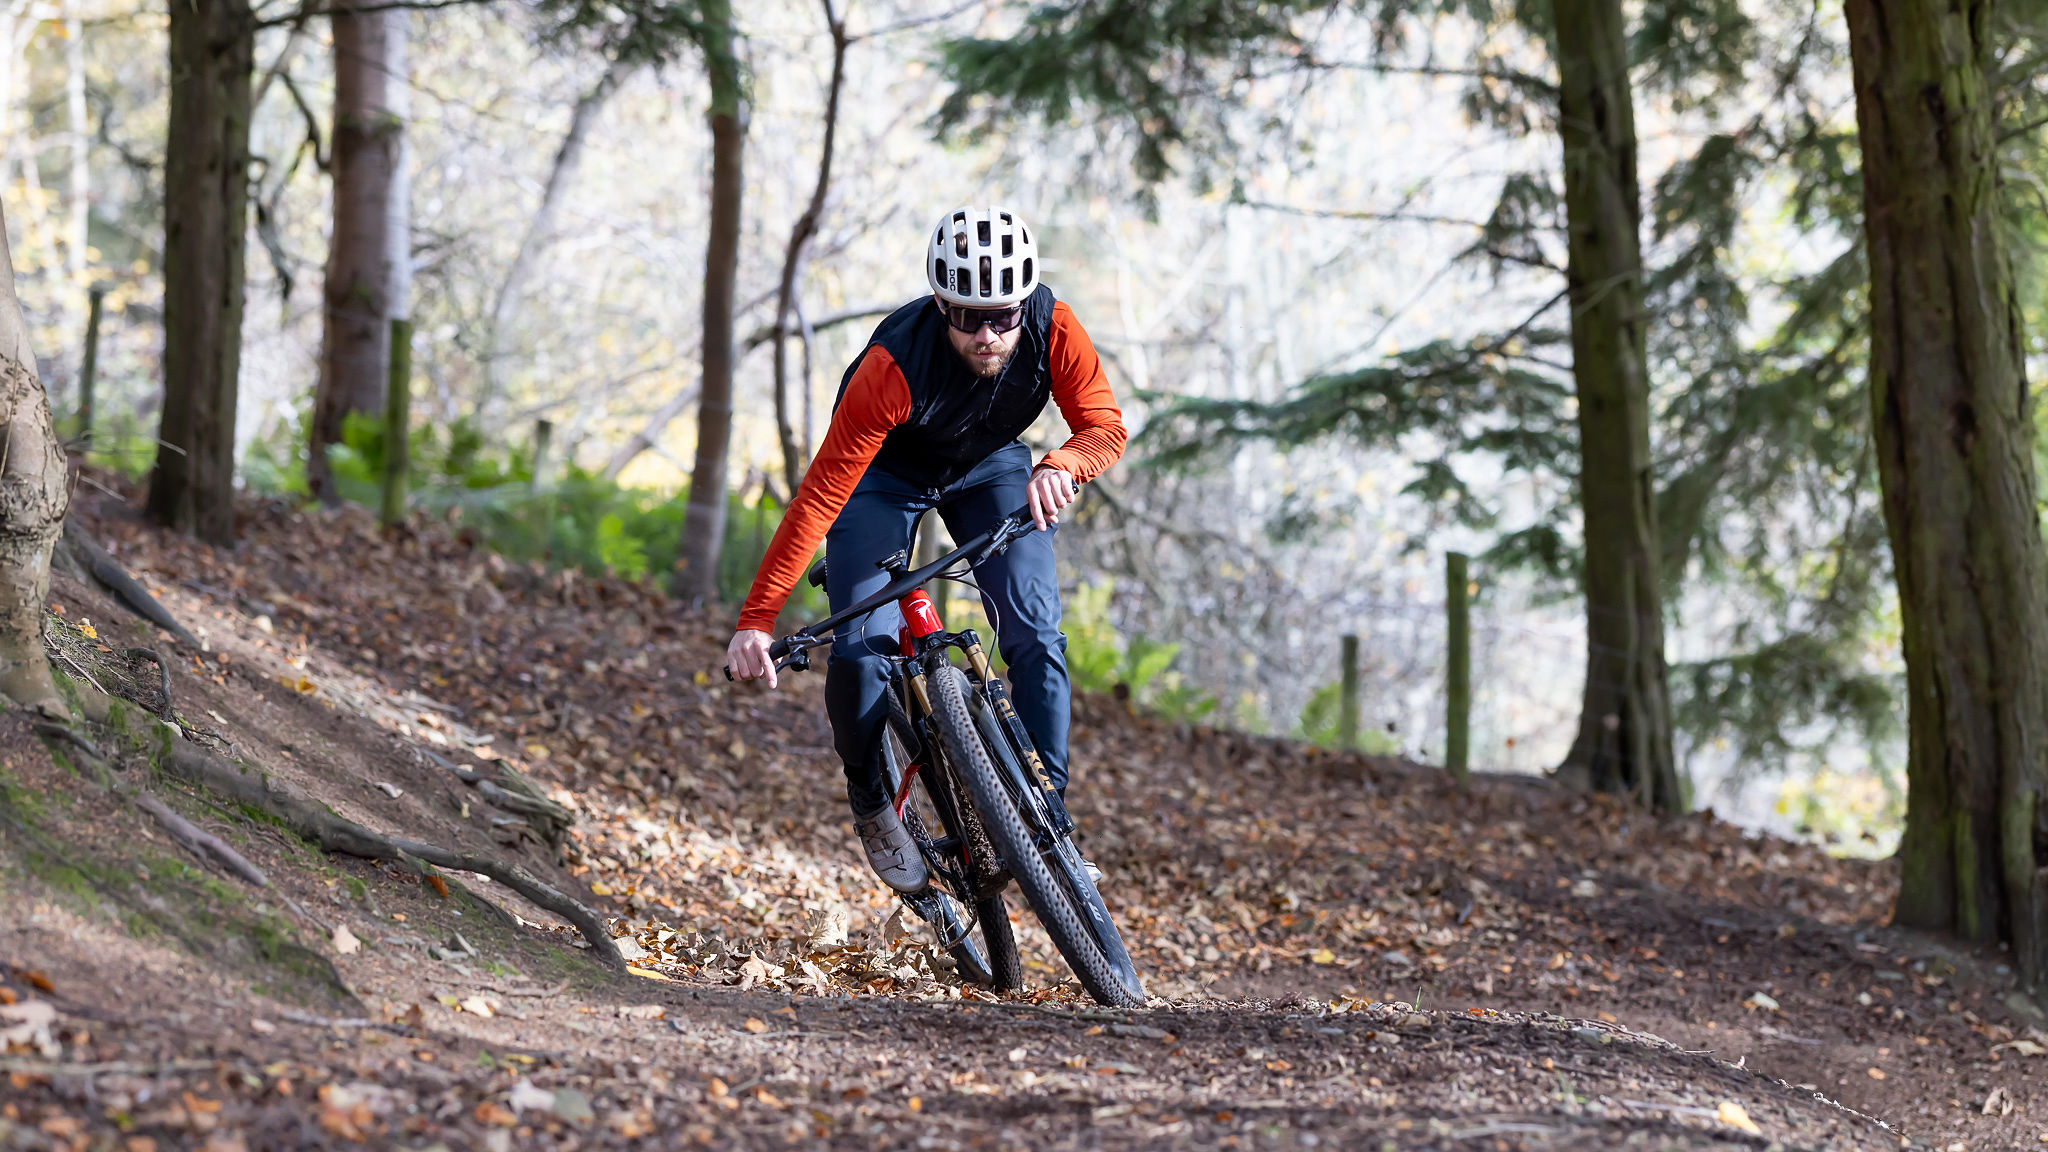
Bespoken Word: how to scratch your bike upgrade itch
Guy Kesteven gives some tips on working out which bits of your bike to upgrade first to make the most difference for the least cost
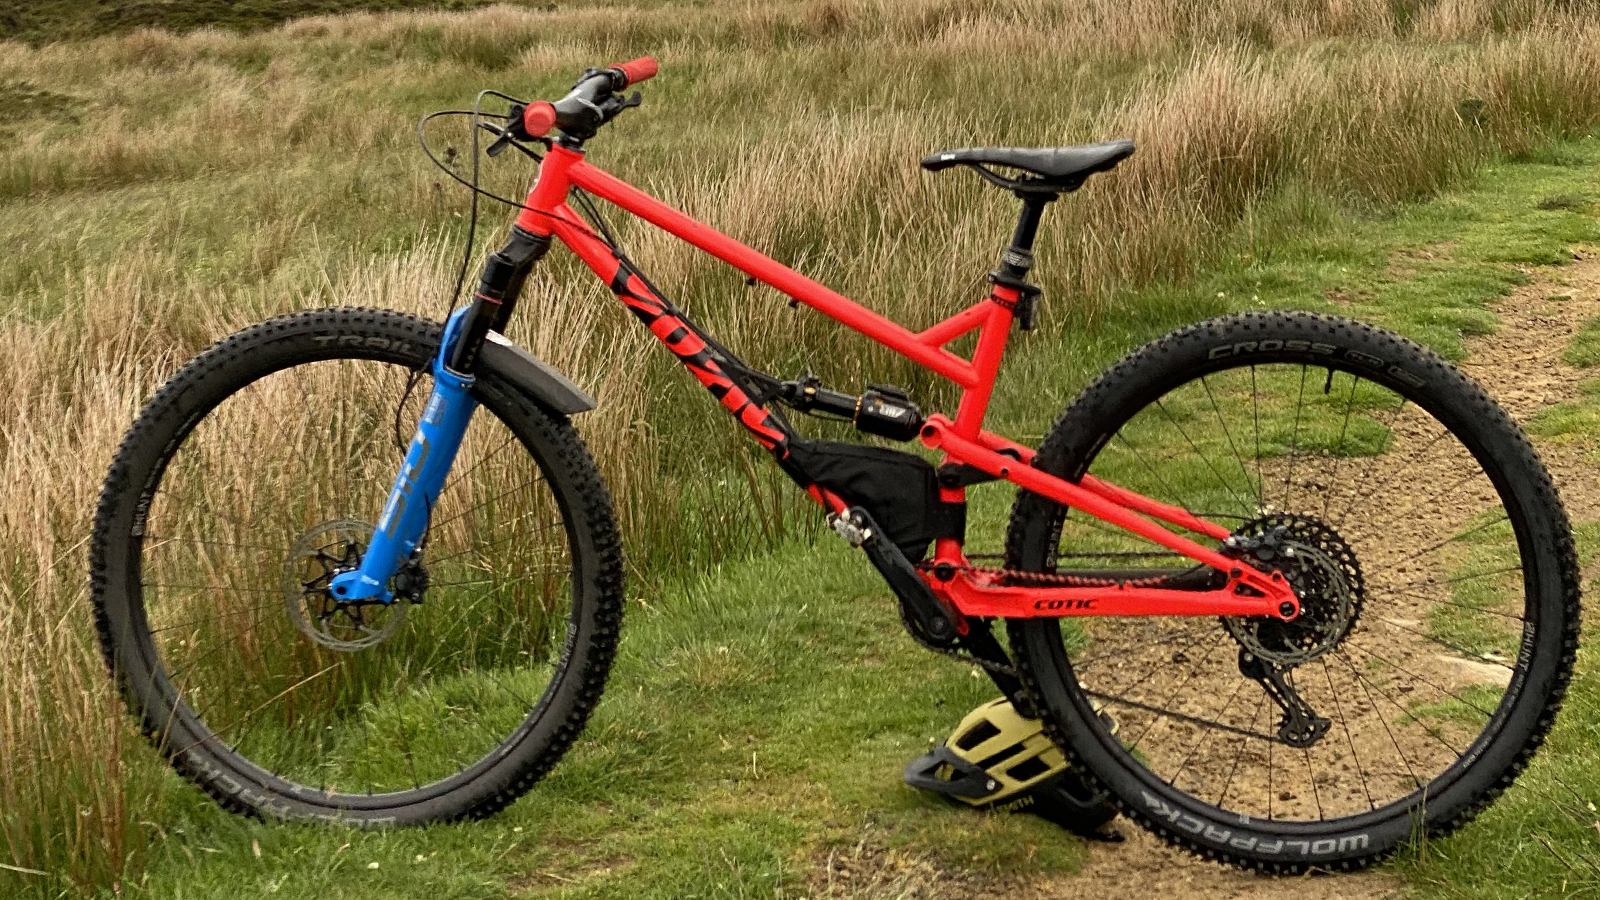
I’ve written columns similar to this before, but seeing as I’ve just updated our best bike upgrades article, it seems like a good moment to throw down some smart upgrading rules. That way you can focus your spend where it’ll make the most difference and still be able to heat your house or fuel your van. You might even realize your bike is fine just as it is if you invest in some TLC, tuning time or an overdue service.
Be honest
Before we go any further, let’s have an honesty check. Do you really want to upgrade from a performance POV or do you just like spending money on your bike?
Don’t worry – this isn’t in any way judgmental; it’s your cash to spend and we at Bike Perfect are stoked you’re that into your rig. So if you want to flex with a new exotic upside down fork or some sweet anodized goodness then go for it. Don’t even bother burdening yourself trying to prove that it’s significantly better as a result. We’re sure the bike will feel like it rides better purely because of the placebo effect, so just enjoy the feeling of treating yourself to something nice.
But if you’re looking for genuine cost-effective improvements though, then read on…
Bike health check
The first thing to do is work out what doesn’t work properly. Do your gears nearly break your thumbs because the cables are rusted, kinked or full of crap? Does the chain skip or fall off because it’s worn out? Have the chainring or cassette seen better days? Do your dropper post and forks move as smoothly as they should? If you answered, “No!” to any of those then your money will almost certainly be best spent servicing/replacing as appropriate rather than splashing cash on switching out something that actually still works. And yeah, I know that’s not exciting, but smart economics rarely are.
The free stuff
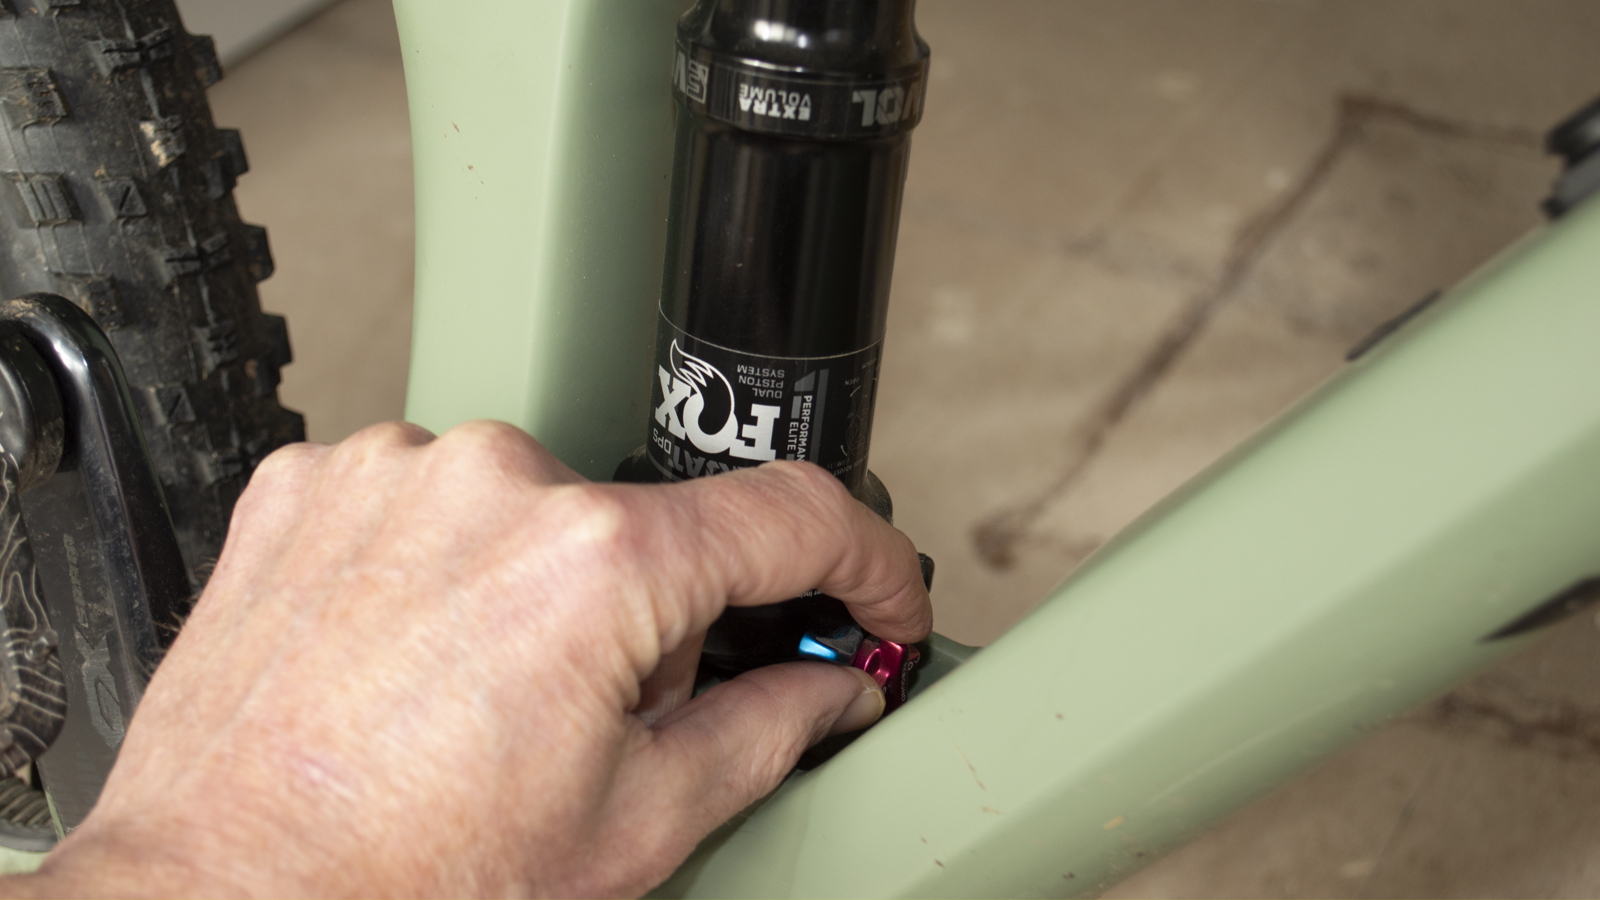
Talking of really smart economics, make sure you try all the free tweaks you can make to see if that helps improve performance. Try slightly different pressures in your tires and suspension. Turn whatever knobs you have on your fork or shock one click at a time and see what happens on that section you’re currently struggling on. Move your brake levers a bit. Adjust their reach (or bite point if that’s an option). Roll your bars back or forwards a bit. Take a spacer from under your stem and stick it on top. Slide your saddle forwards or backwards a bit. Maybe even watch some coaching videos to see if it’s you not the bike creating the problem.
Hate check
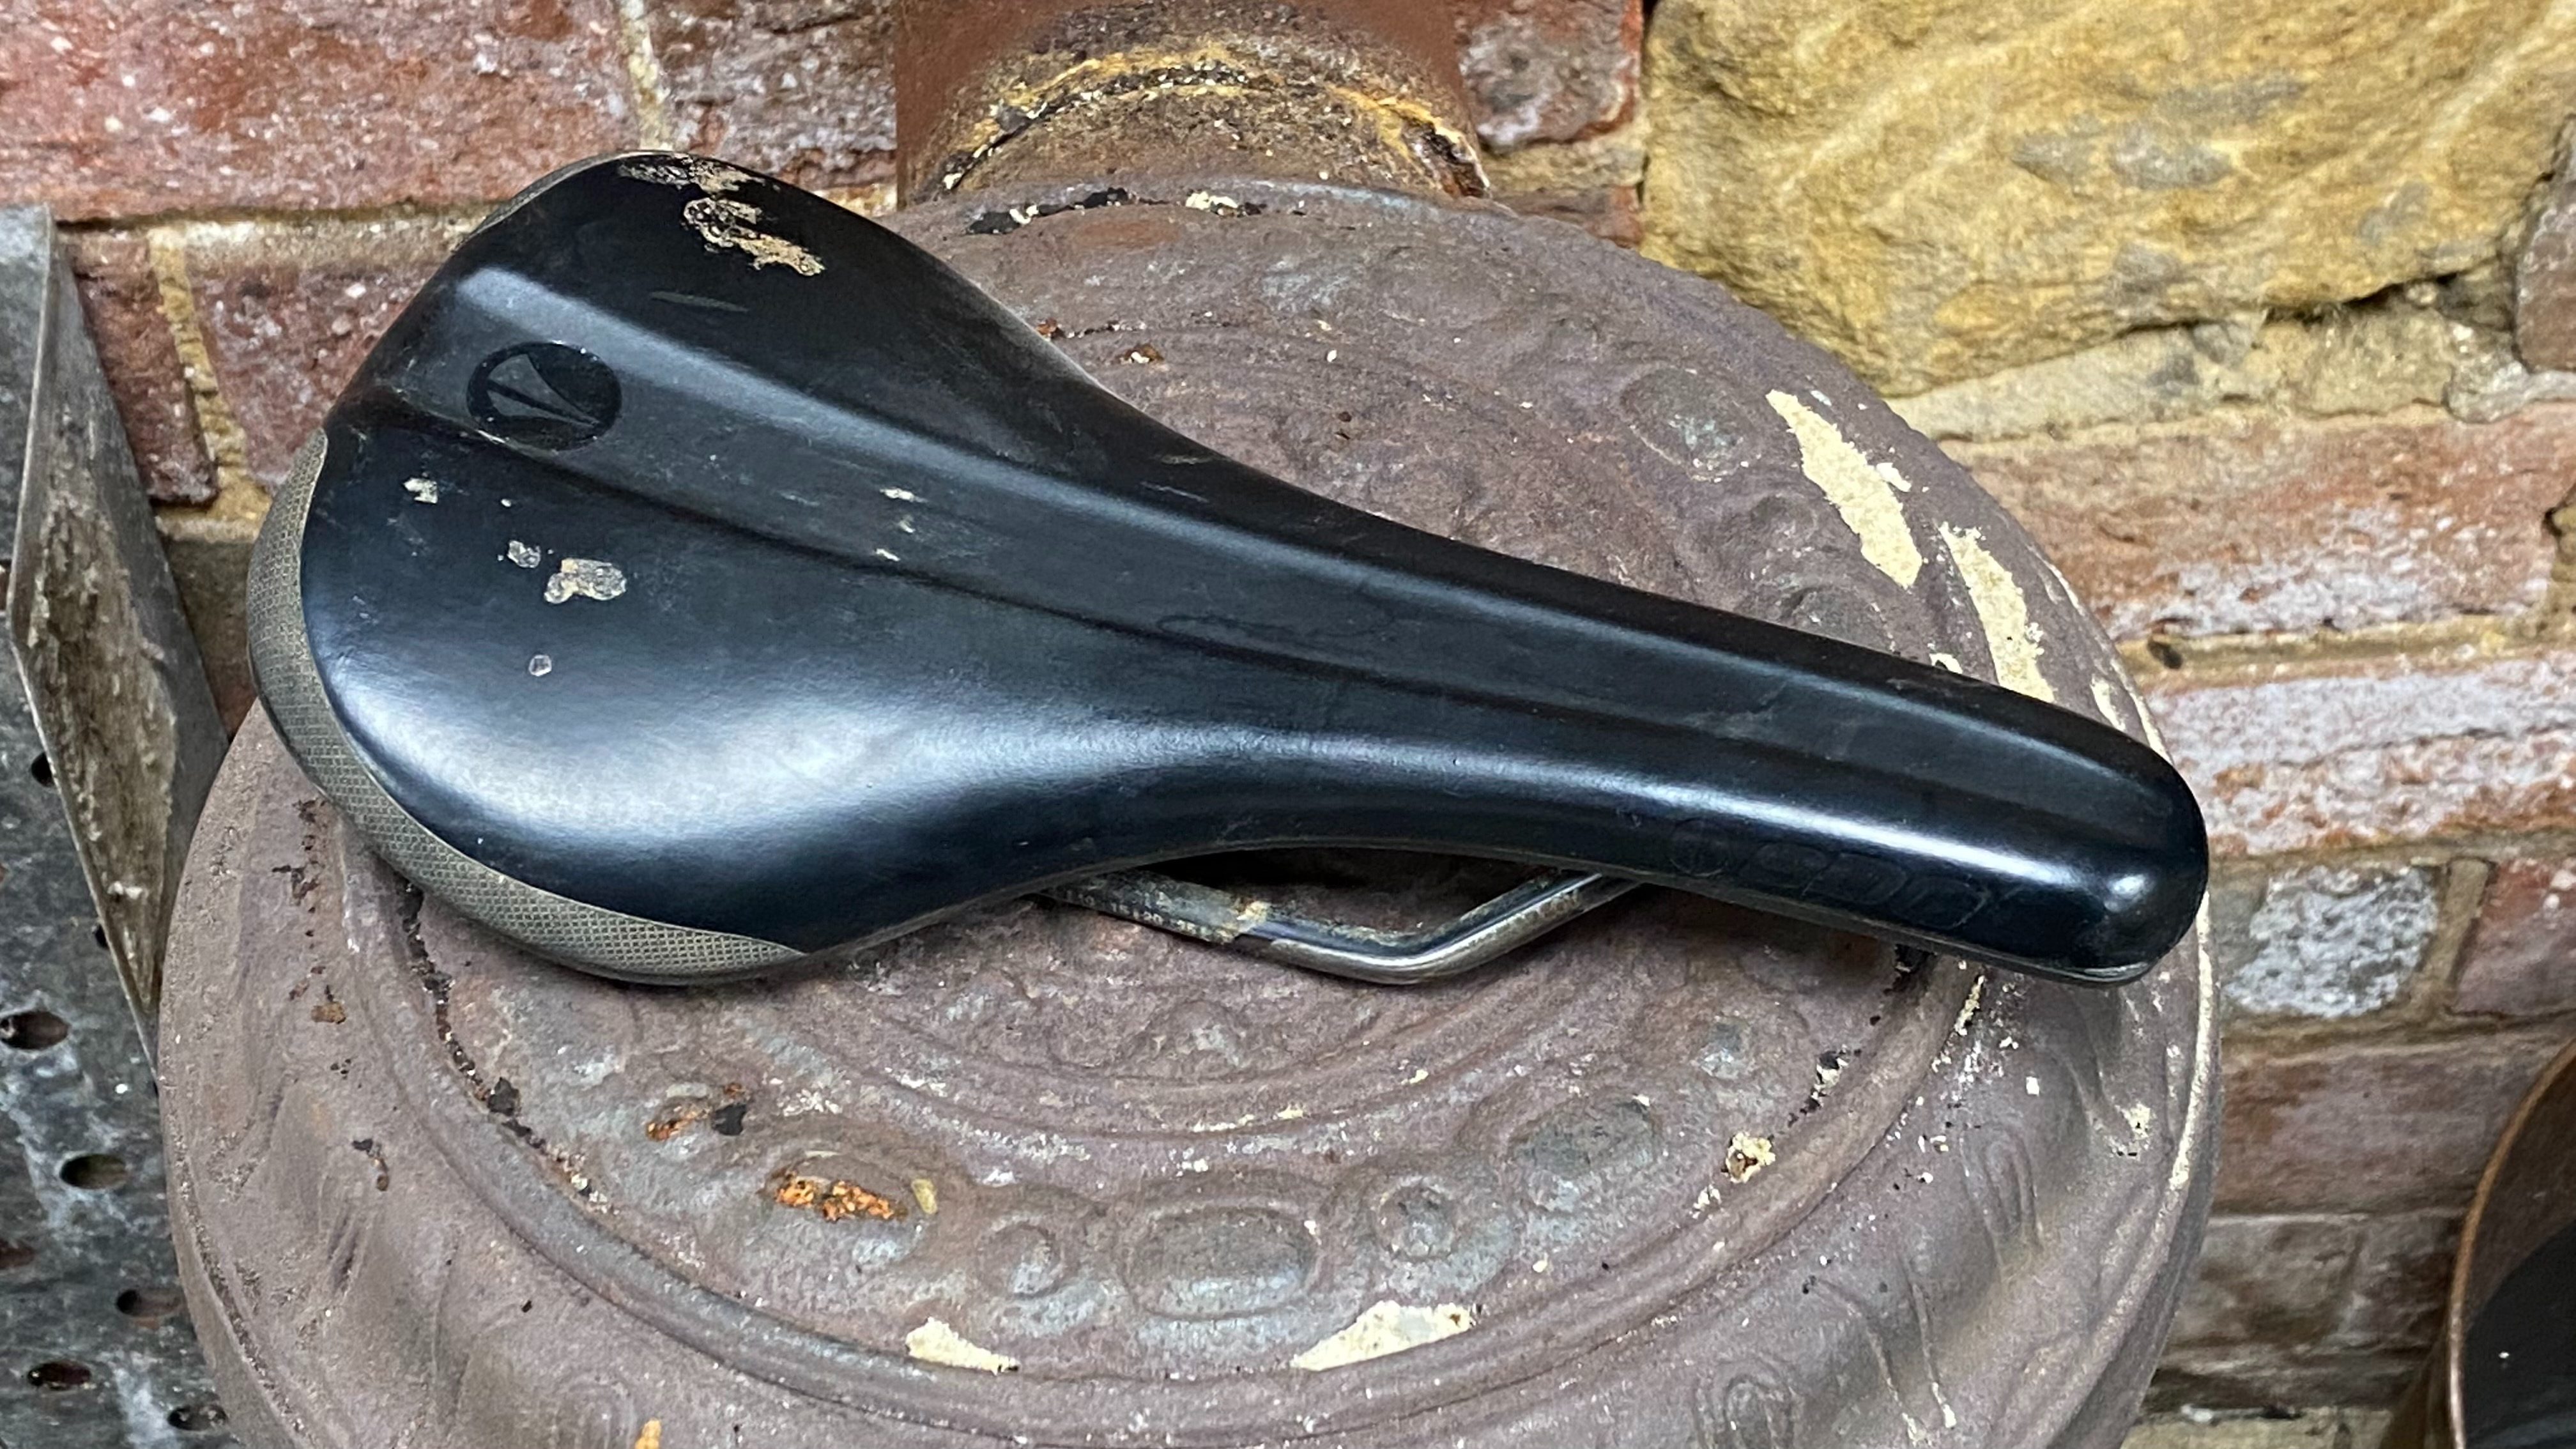
Still got issues? Well hopefully you’ve now worked out what it is that’s still really cheesing you off about the way your bike rides. Is your saddle making you stand up most of the time? Do you have summer tires but mostly ride swamps? Does your suspension slap you like Will Smith if you’re riding Rock? Solving something that simple is theoretically pretty easy, but we’d still do as much research as you can to stop yourself wasting cash. That means borrowing bits off mates for a quick tryout. Even one run down your regular trail on a borrowed front wheel should give you a decent idea about whether you’ll like a particular tire or not. A couple of hours on a saddle should help your derriere make an educated decision.
Sometimes, though, the solution might not be the obvious one, or the most expensive. For example, at one point I was getting real arm pump on a top-end Pike fork whatever I was doing with the compression damping. I couldn’t work it out either, as I’m normally a big Pike fan. Turns out it was the fatter grips I was running were the culprit and with thinner rubber on the bars my forearms stopped catching fire immediately.
I had another test where otherwise totally identically specced bikes felt dramatically different through the front end. After swapping stems, forks, tires and wheels between them (it was really bothering us what was doing it) it turned out that one handlebar was way stiffer than the other. And we’re not talking fancy carbon or different diameters here, but pieces of pipe that cost £20 to swap but made it feel like you’d got a £400 fork not a £100 one.
I reckon I could convince most people I’d completely changed the fork and/or shock on their bike to something much more expensive just by fitting a really well-damped tire too. So while £60 might seem a lot for new rubber, the difference it can make in feel is huge. And that’s before you start adding in the effect of going tubeless or different grip/speed performance balances. On the other hand, we’ve also tested tires that slap so hard they’ve thrown bottles out of cages on high pivot superbikes but roll like a road slick despite looking like a mud tire as a result.
That’s where checking out reviews (real ones, not just cut-and-paste klepto “guides”) done in conditions that are relevant to your riding becomes really useful, but check what your mates are running and how that’s working out for them too.

Be curious, be methodical
I guess that’s the basis of what I’m saying about upgrading cleverly. As much as rushing to buy the latest new thing is tempting – and let’s face it, if we’re raving about it on our website that’s hardly helping – make sure you double-check things yourself: is it really the answer to the issues you’re having with your bike? Is there something cheaper (or even free) you can try first?
If you want to save weight then actually weigh the bits that you could change. If you’ve ever held a solid axle bottom bracket you’ll know how much those damn things weight compared to even a basic external bearing and axle on crank setup. Actually weigh your bars and wheels to see how much you’d save if you went fancy.
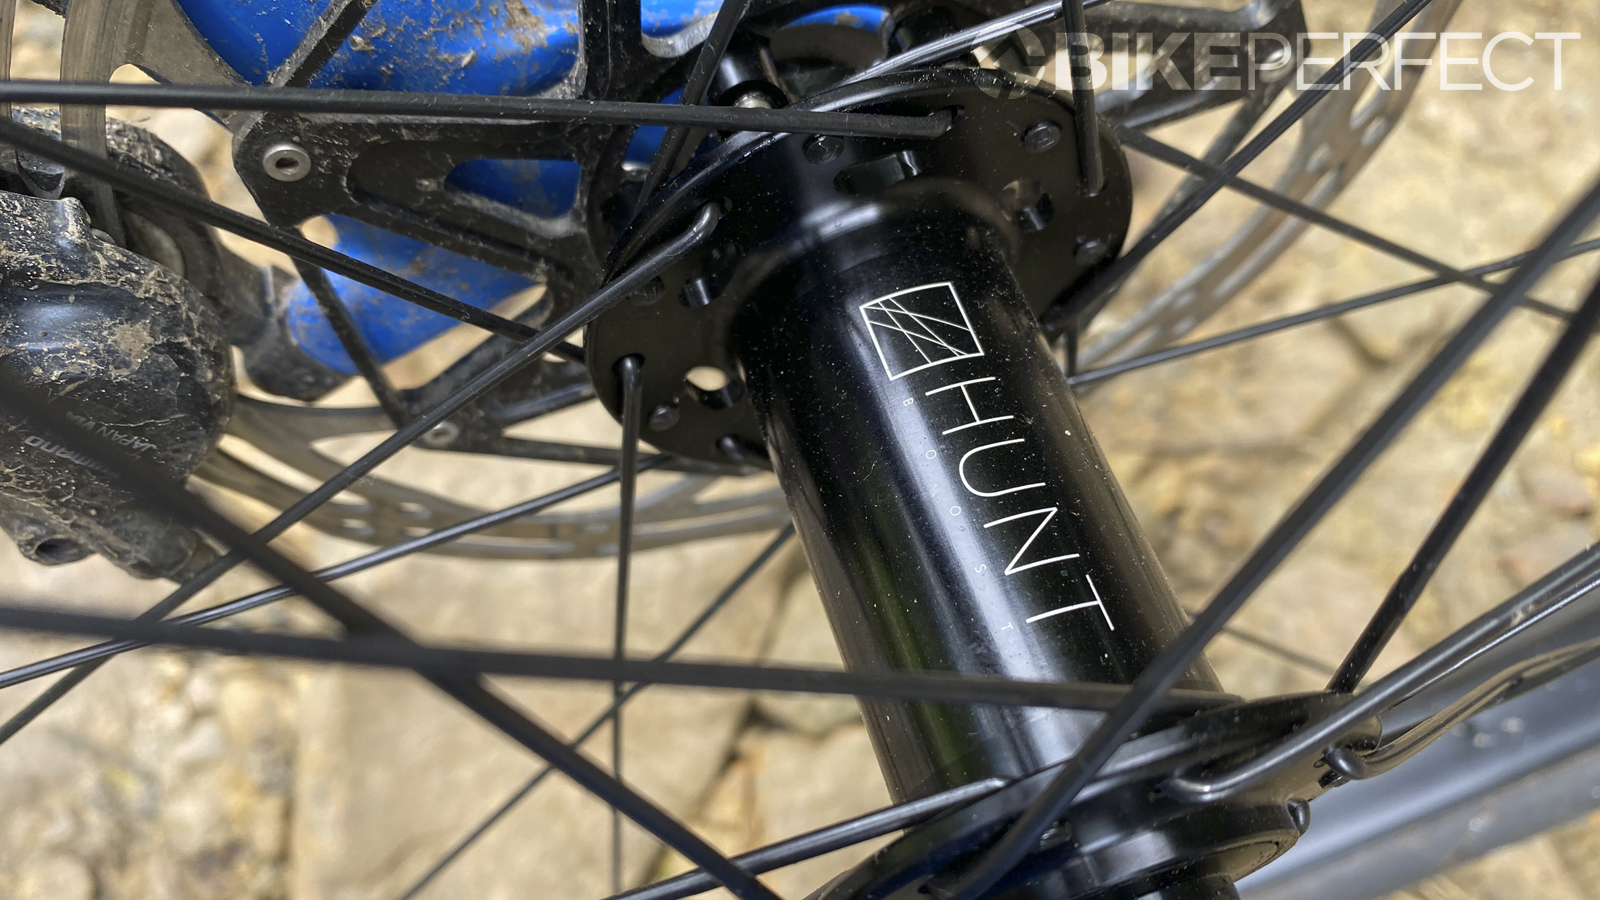
But don’t forget to add in the collateral issues with things like switching wheels. For example if you’re running SRAM NX or SX cassettes on a standard, splined back wheel, then being able to use a lighter cassette by changing to an XD [an upgraded SRAM freehub standard – Ed] rear wheel would be a significant mass loss where it matters to suspension. It would also be a very significant cost increase, though, and right now potentially a supply problem too.
Know when to stop
And that brings me onto the final point. Make sure you keep an overall view on where you’re upgrading is taking you and how much investment you’re putting into the base bike. While decent geometry and reasonably sorted suspension is a lot more common, there will come a point – much further down the price range than it was a few years ago – where you hit the sensible upgrade limit.
Non-tapered head tubes or QR rear ends are an obvious ceiling on what forks and wheels you can choose from, but internal dropper routing or just basic frame quality can also be a blocker to improvement plans. Alternatively, if you’re at a point where your gears are ground down, your brakes are full of sludge and your suspension sliders are scarred and streaked then it’s probably time to look at the price of a brand new bike rather than just flogging a dead horse any longer.
If that is the case, though, be sure to run through all those same, “What don’t I like about my old bike and how can I answer that with my new one?” questions. Otherwise you’ll be back on the upgrade treadmill all over again!
Guy Kesteven has been working on Bike Perfect since its launch in 2019. He started writing and testing for bike mags in 1996. Since then he’s written several million words about several thousand test bikes and a ridiculous amount of riding gear. He’s also penned a handful of bike-related books and he reviews MTBs over on YouTube.
Current rides: Cervelo ZFS-5, Specialized Chisel, custom Nicolai enduro tandem, Landescape/Swallow custom gravel tandem
Height: 180cm
Weight: 69kg
