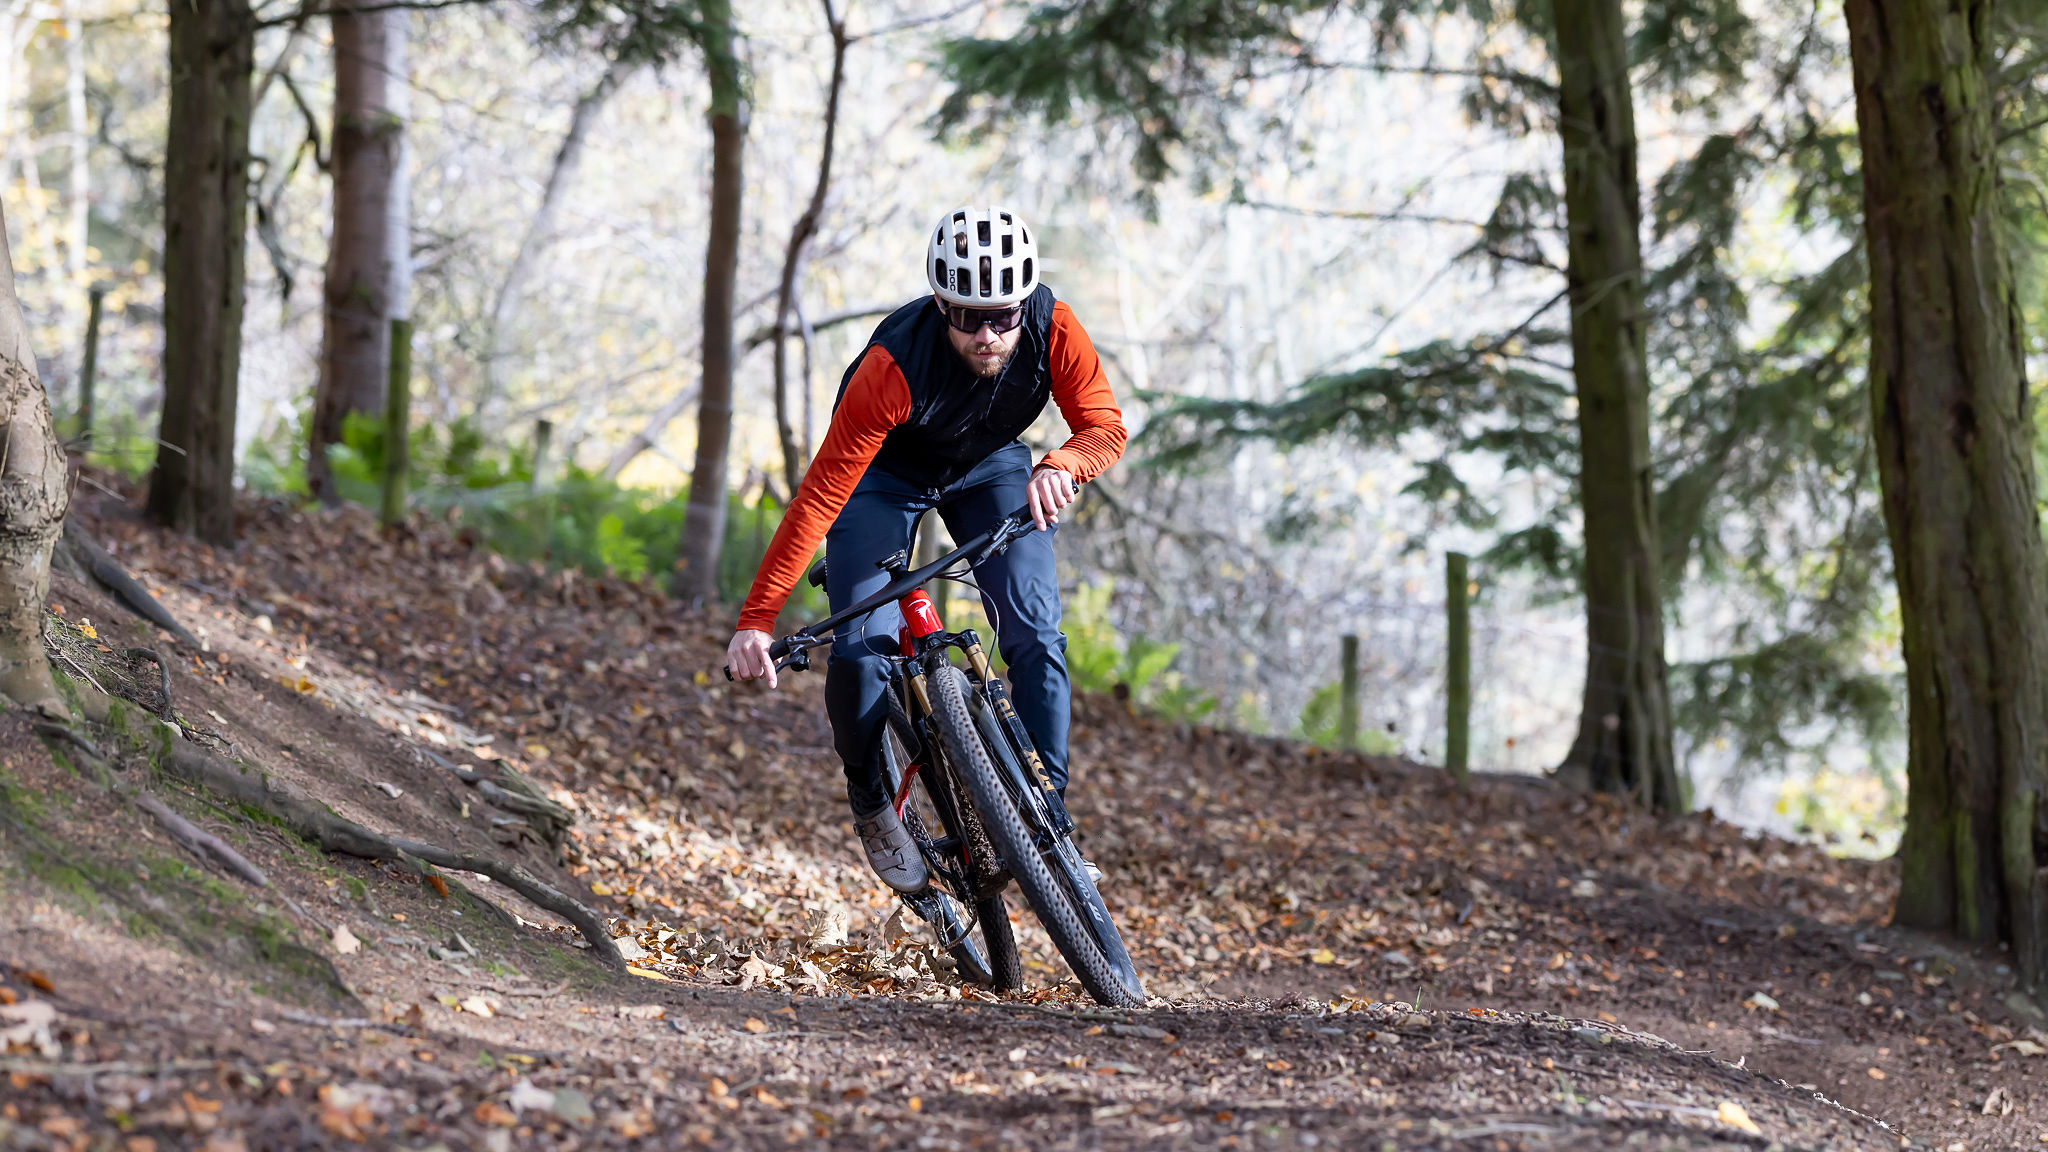
Bikepacking – everything you need to know about adventuring by bike
Everything you need to know about bikepacking and the equipment you need to tackle an overnight bike trip
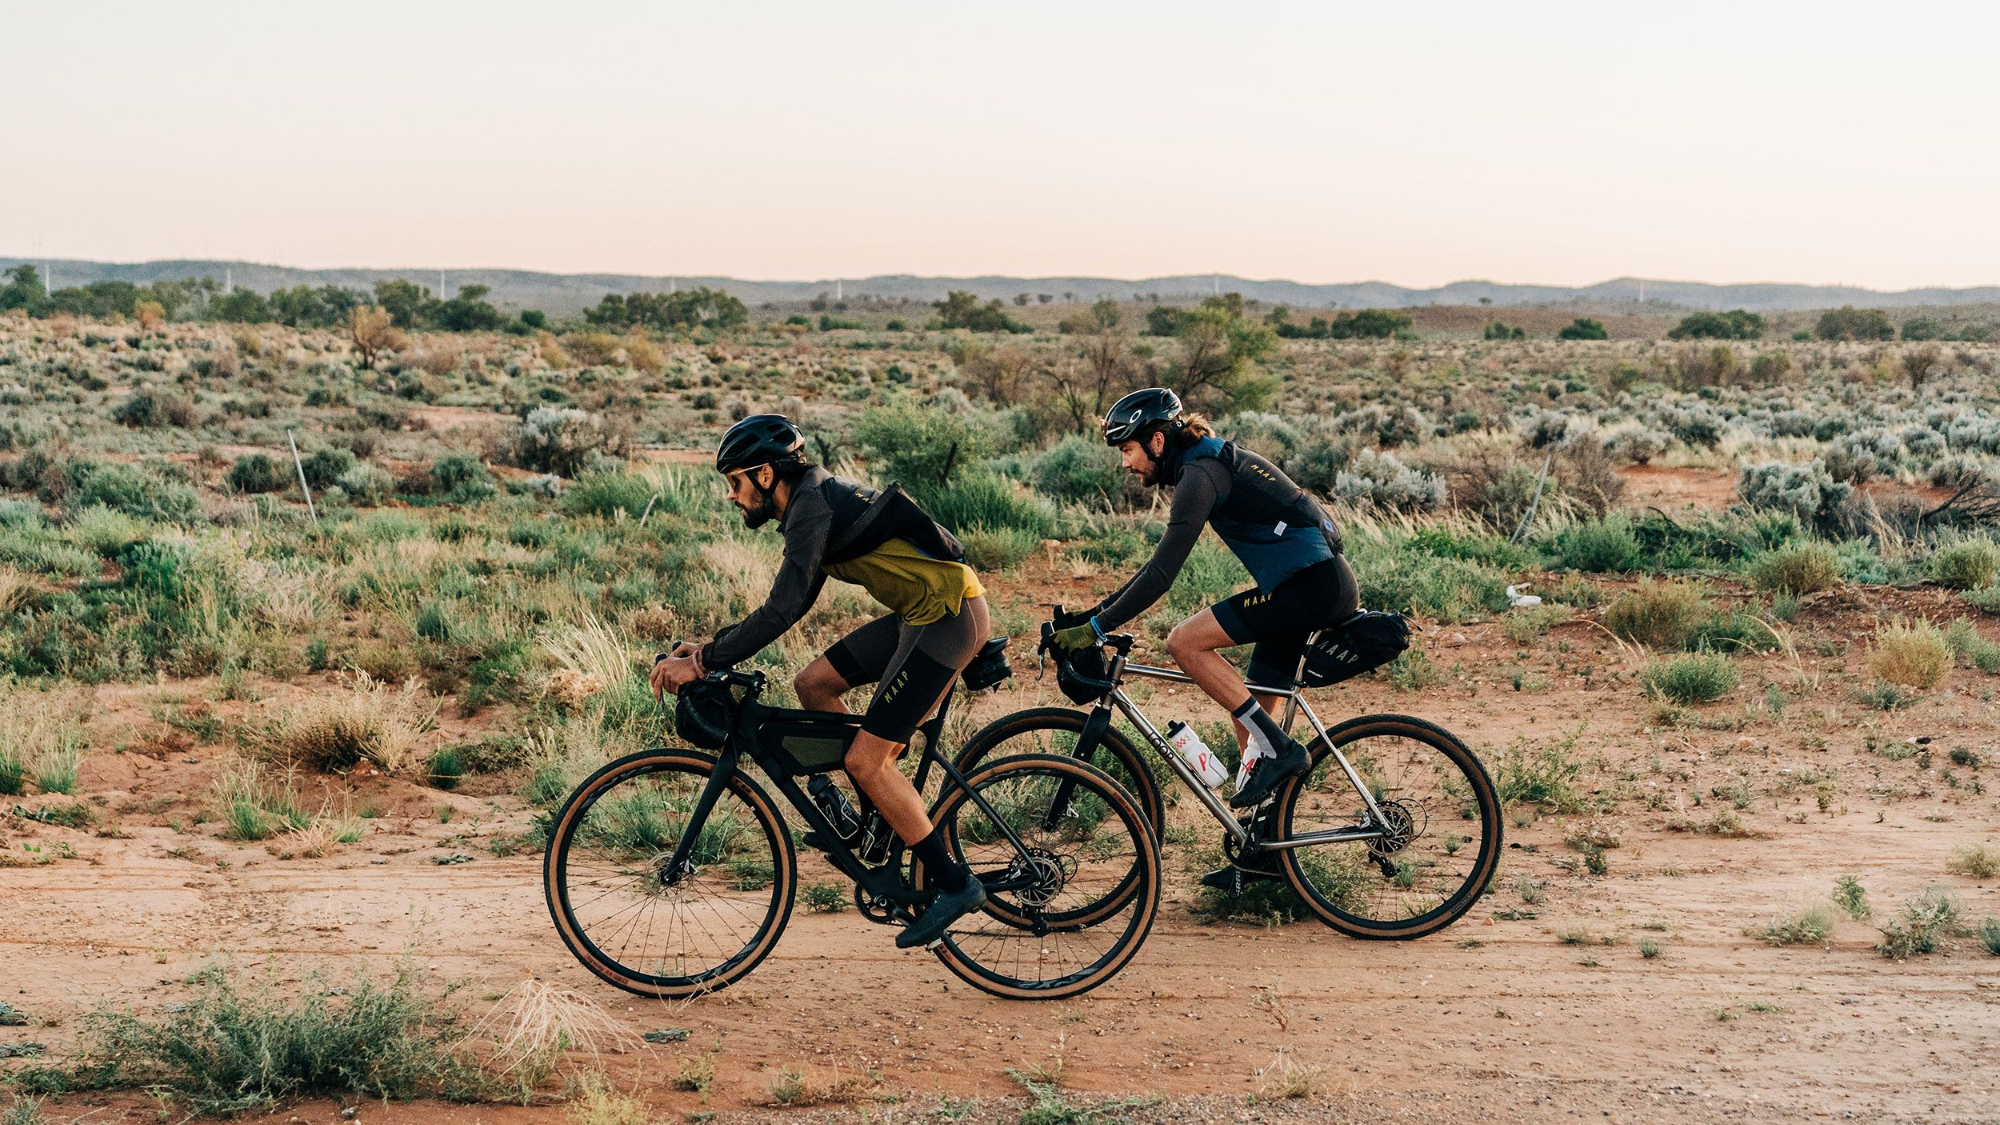
Stripped back to its component parts, bikepacking is packing up your bike with some gear and venturing off into the horizon in search of adventure and a sense of freedom. From the early pioneers like the Rough Stuff Fellowship to Lachlan Morton’s Alternative Tour De France, the interpretation of bikepacking is different for every bikepacker. Whether you are in search of a holiday or self-actualization, there is so much that can be learned from an adventure by bike.
The wonderful thing about bikepacking is that there is no true definition other than it being a bike ride that lasts two days or more. All that's required is an open mind, a curiosity to explore and a bicycle, whether it’s a mountain bike, gravel bike, road bike, Brompton, tandem, tricycle or handcycle.
What is bikepacking?
Why trust BikePerfect
As long as there have been bicycles, there has been bikepacking. There just wasn't always a name for it. For some people, it's a line that follows road cycling and bicycle touring as it transitioned off-road. As tires got bigger and traffic got worse, on-road touring became off-road bikepacking. For others, the trajectory is a story of mountain biking and a desire to go farther. Cross-country mountain biking is already great. If it's great for a day what would it be like for two days, or ten?
Alongside these bike-centric transitions, there was a shift happening in the backpacking world as well. The traditional thought was that longer distances meant more gear. Then people started to question that concept. Could you go farther, faster, with less gear? Ultralight backpacking was gaining steam. Lightness was always an important consideration for backpacking but this was a whole new level. Leave behind everything you can, weigh every piece of gear, and travel as light as possible.
Jump back to the bike and you have to think about the races that began to gain attention. Things like the IditaBike, which followed part of the Iditarod sled dog racecourse and later the Tour Divide race, which follows the Continental Divide from the US border with Canada south to Mexico. As mountain bikes became better and gravel bikes emerged, more people raced them. Small races across rugged terrain gained popularity as did endurance road races like the Transcontinental and self-reliant events such as Torino-Nice Rally which captured the attention of a greater audience. As bikepackers explored the potential of this new format there was a pull to adopt the ultralight backpacking knowledge base to bikes.
The coalescing of all these forces created a commercial opportunity. Racing has always pushed the extreme of what's possible but with more interest comes those who want to purchase a solution. As companies jumped into the space, the movement snowballed. Instead of needing to make your own gear, you could choose from a variety of companies that catered to an ultralight ethos.
Today we find ourselves in a paradise of bikepacking. Any kind of product you need is available and the trails and routes are there for anyone to follow. Remember what it's all about though. Get into nature on your bike and enjoy what is right in front of you.
Bikepacking bikes
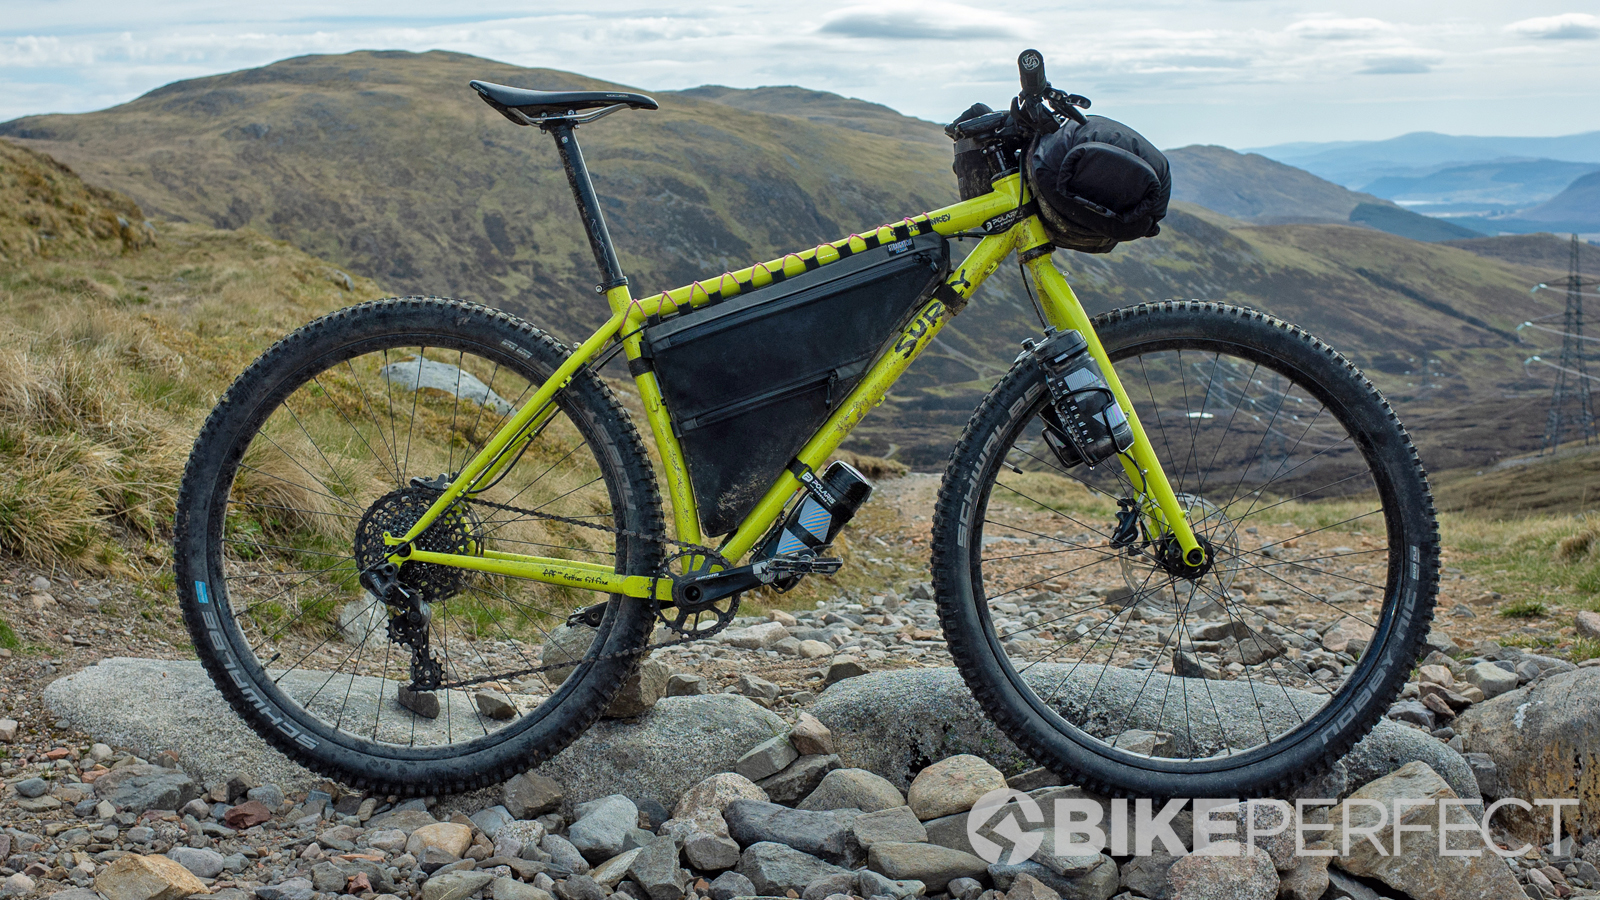
Bikepacking is a huge category encompassing lots of different types of riding. With that in mind, there is no single best bikepacking bike that makes sense in every situation. Which bike is best for bikepacking really depends on the routes you want to tackle. You also don't need a specific bike to be able to try bikepacking either.
One of the many beauties of bikepacking is that it doesn’t rely on bikes having eyelets for racks and mounts like bike touring so if you have a bicycle that currently works and is comfortable then chances are it will make a great bikepacking rig! Design your trip around the strengths and weaknesses of the equipment you have and start getting out there.
As you develop expertise, preferences will come along for the ride. As you get more specialized, allow the type of riding you like to dictate the type of bike you get. Whatever you end up with there are a few general considerations to keep in mind. Gearing is a big one; steep climbs on a loaded bike require much lower gearing than you might be used to. Don't be afraid of big, easy, climbing gears.
There's a lot of latitude for gearing preferences based on need, but disc brakes are nearly a big bonus. Don't be afraid to use what you have, or what you can get cheaply, but if you are considering something new then try to opt for disc brakes. Rim brakes can work great but you need to factor in the heavier bike, potential for poor weather and your own fatigue, these all have an effect on braking performance.
Tire choice is key too. Choosing the best bikepacking tires will make a huge difference to ride quality, whether it's adding comfort with larger volume or lowering rolling resistance with a finer tread or narrower tire.
More important than anything, never settle for an uncomfortable, ill-fitting bike. Just because you score a great deal on a dream bike doesn't mean it's the right option for you. Make sure you spend time getting to know your bike and finding comfortable touchpoints.
The best bikepacking saddle is a trusted saddle. In fact, everything you take should be trusted. Even if you have a shiny new tent/bike/hydration system, test it out before you rely on it far away from home.
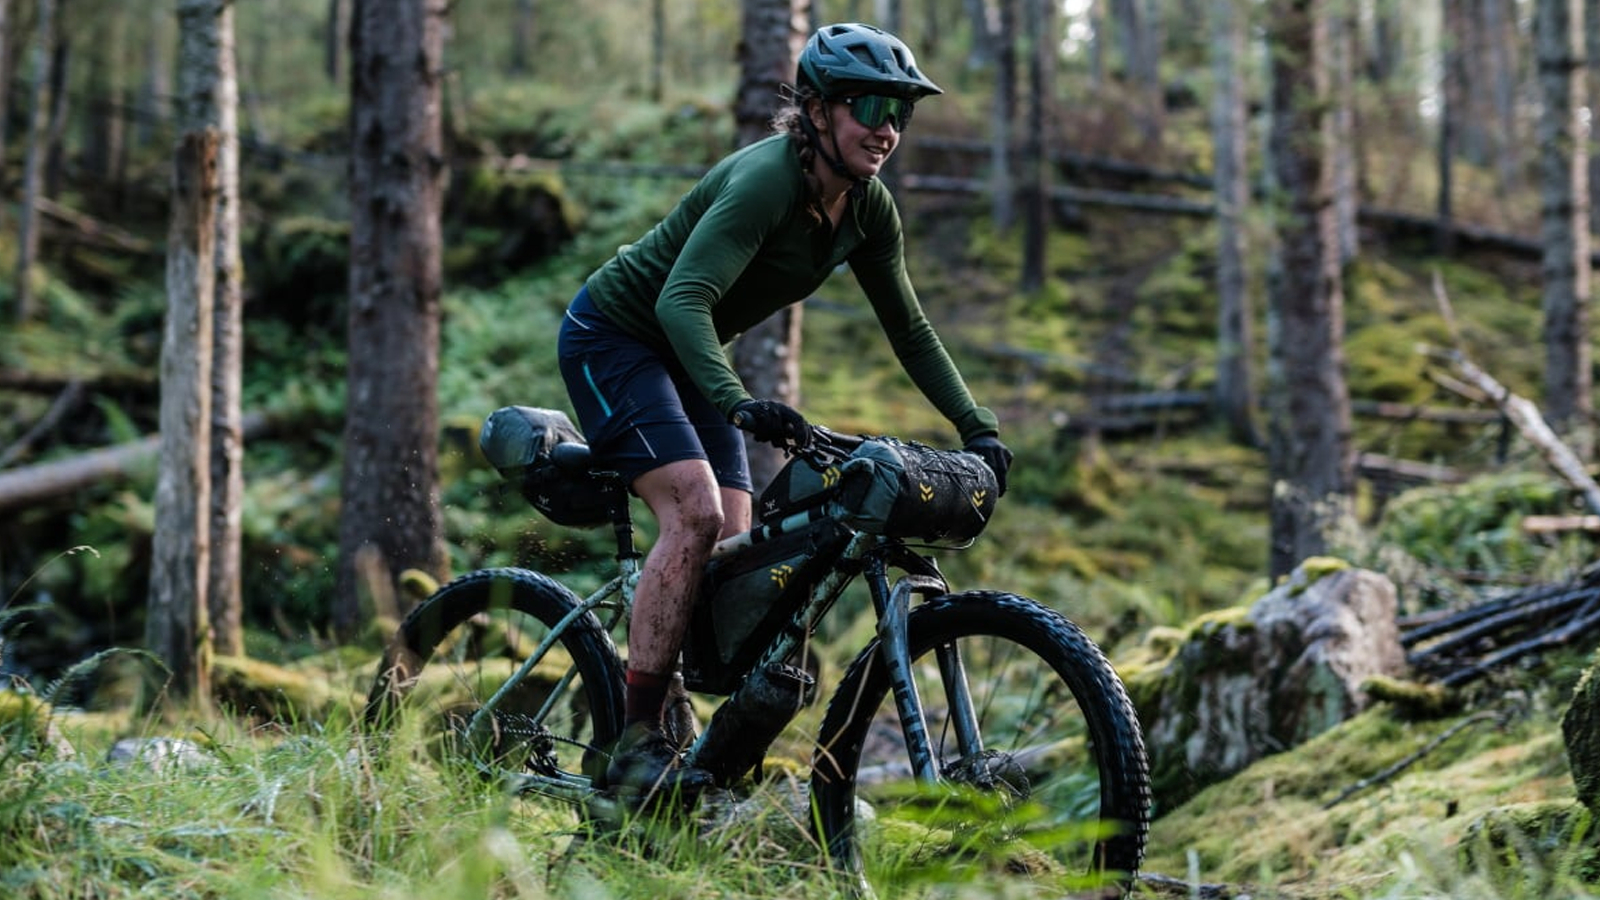
Bikepacking equipment
There is a never-ending list of little details for your bike to obsess about, but once you have a complete bike you are looking at a few major components that go on the bike.
While Instagram and blogs may be full of perfectly dressed bicycles sporting matching luggage, beautiful tan walled tires and the latest super lightweight tent, none of these are a requirement to get started and there is plenty of scopes to start experiencing bikepacking on a budget. Here is a breakdown of the different bikepacking kit available.
Bikepacking bags
Bikepacking is all about staying light and nimble while carrying your gear on your bike. You need a way to do that and that means bags.
The best bikepacking bags utilize the space under your saddle and between/on your handlebars to carry your equipment. On larger frames, you may also have space for a frame bag and on longer journeys, you may also opt to carry some weight on your body in a small backpack. For your first trip, you might just take a rucksack and some kit in a dry bag bungeed to your saddle rails and seatpost. It’s also pretty easy to attach a dry bag to your handlebars. If and when you do decide to invest in some bikepacking luggage the important things to consider are:
1. Clearance: check the dimensions to make sure the bags will fit. Smaller riders need to be particularly diligent, those running narrower bars need to check handlebar packs and small riders running full-suspension bikes need to think about rear tire clearance. There are now a lot of dropper-compatible bikepacking bags for those looking to get gnarly on holiday.
2. Cost: what can you afford or how much are you willing to pay? Remember you don’t have to buy new and eBay and Facebook marketplace are great places to look for affordable gear.
3. Longevity: as well as checking online reviews have a look to see if the manufacturer offers free repairs. Often the best way to save money and raw materials is to buy something that can be mended.
4. Practicality: how easy are they to get into, how will you distribute your weight over your bike frame. While it can be tempting to just buy one large seat pack this will make your bike much harder to handle than one that has a better weight distribution.
The primary bags you will want to look at are a seatpost bag, a frame bag, and a handlebar bag. Some of the secondary bags to consider are a top tube bag and a feed bag.
Seatpost bag
A seatpost bag is where the longest pieces of gear can fit. They go under the saddle and they connect to the seat rails as well the seatpost. There are one-piece options as well as some options that consist of a holster and a bag. The advantage of the two-piece system is flexibility in terms of fitment. Longer pieces that don't need weather protection could go outside the bag. Look for the straps and other solutions for sticking jackets on the outside of the bag.
If you have a mountain bike and want to occasionally take it on overnight adventures you might run into an issue with fitting a saddlebag to your dropper post. Similarly, if you are tackling a seriously technical bikepacking route and need to be able to drop your seat out the way. The under-the-saddle bag is one of the most important locations for storage in a bikepacking setup but a dropper post makes it more complicated. There are an increasing number of solutions out there, just make sure you consider if that's a need.
Frame bag
Frame bags can cover the entire frame triangle or just the upper portion. Your needs, as well as considerations for bike design, come into play. Going with a full-frame bag allows you to keep heavy items low on the frame for a better balance. The downside is that you now have to figure out a new solution for carrying water.
Water is still the primary concern if you choose a partial frame bag. Traveling fast and riding hard you need to be able to stay hydrated. If the bag you choose is too tall, it makes getting water bottles out difficult. Depending on the situation, you may find yourself reluctant to stop and get a difficult-to-reach water bottle. Whichever direction you go consider how to access your water or where else you can store it.
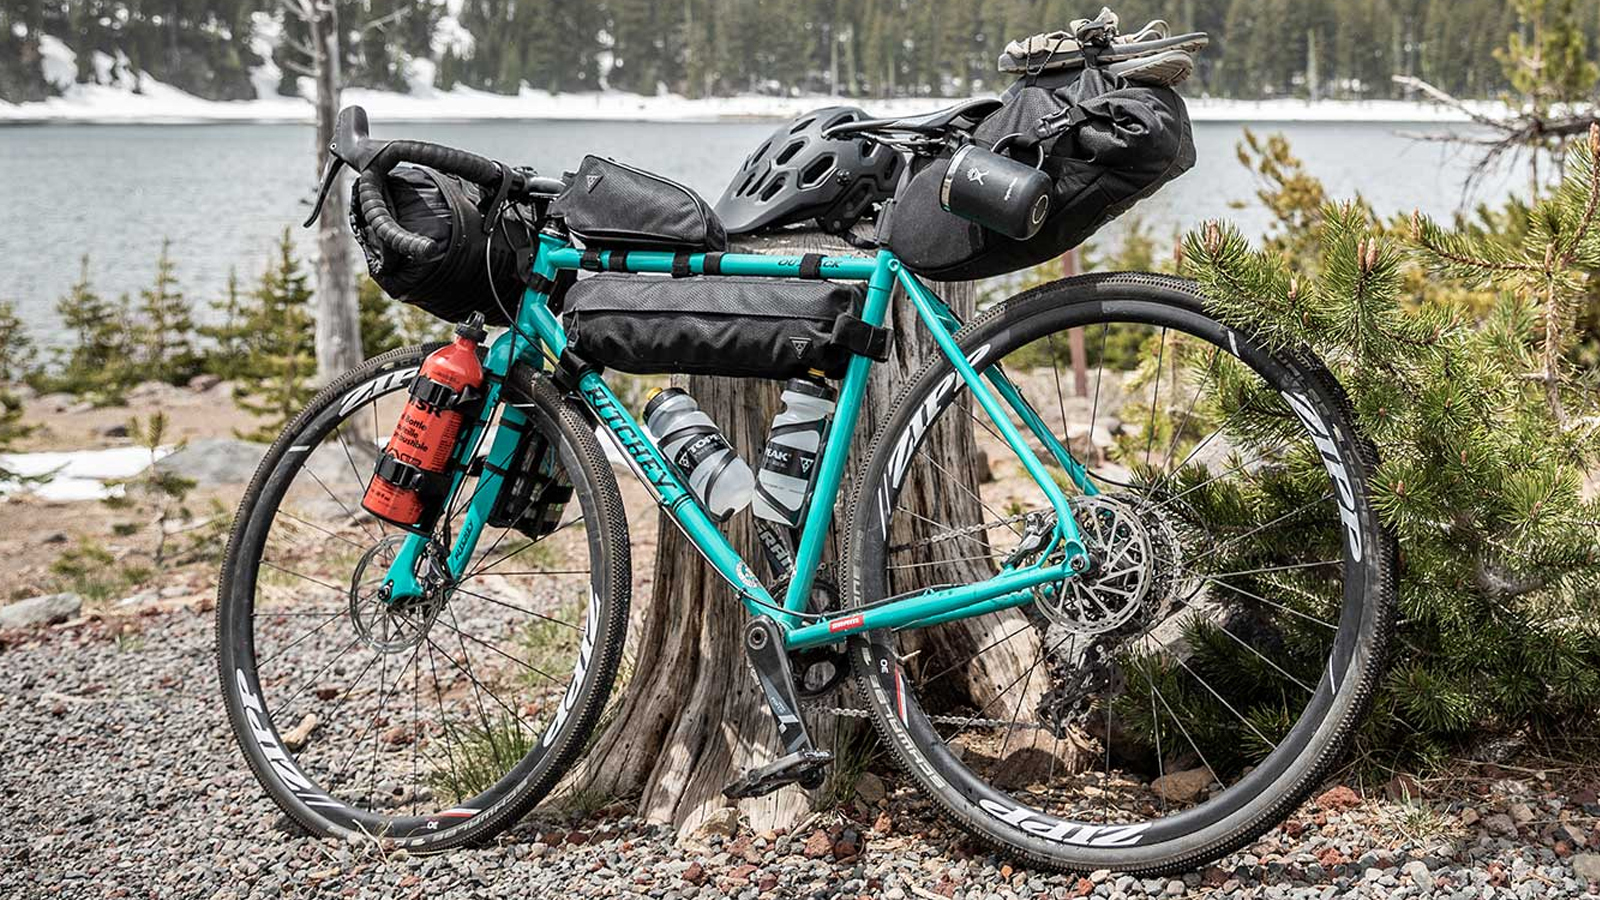
Handlebar Bags
Handlebar bags represent the other primary storage location for on-bike bags. Keep in mind though that adding too much weight to your bars can affect the handling of the bike. As well as weight considerations, handlebars are a location with a diversity of needs. If you are running flat bars, you have different needs than those with drop bars. There are also suspension forks vs rigid forks.
Like seatpost bags, handlebar bags generally split into roll-and-harness or one-piece systems. Similarly, the same issues of flexibility vs simplicity are at play. Using a roll and harness system is a more flexible option but it can be finicky and challenging with smaller loads.
Use a two-piece bar bag for larger or longer loads. If you are using a flat bar set up, you could add long thin items outside of the dry bag. If you need to keep things narrow, pack the dry bag short and fat. On the other hand, if you have a small load, a one-piece bar bag is an easier option.
Accessory Bags
With all the large bags covered, there are a couple of options for smaller items you need access to while riding. Top tube bags, also called bento boxes, are the most common. These bags attach to the top tube just behind the stem. Typically, they use a few hook and loop enclosures on the top tube plus a strap around the headset for stability. Many modern bikepacking focused bikes have a couple of braze-on mounts in this location. If you have the mounts, look for something to fit them. Mounts or not, look for a cable port to facilitate charging while riding, and bright interiors make finding small items easier.
Another option in this area is a feedbag. They connect to the handlebars and the stem in a triangle arrangement. It's an item seen less often but use it along with a top tube bag and you get a place for quick access to items as well as easy access to food. Top tube bags have often been a place for food, but feedbags don't have a zipper to fight with, making food even easier to get at while riding hard.
Lights
The need for lights is very situational. Depending on the time of year, and location, that you are planning your trip, you may have a relatively short window for daylight. Some race situations might mean riding through the night which will demand the best mountain bike lights. Even if you aren't doing what most people would think of as nighttime riding, you might find yourself starting before sunrise or needing to ride later than expected. If there is any chance of riding in the dark or poor light conditions, lights are a good idea just in case.
The best way to know you will always have battery power is with a power generating hub and a hard-wired light setup. If riding through the night is a frequent issue this is the way to go. Keep in mind that if you are riding slowly, through technical terrain you will need a solution designed for this. As you slow down the power generated drops.
If you aren't ready to build a new wheelset for charging then you are looking at battery-powered options. Some systems use a light that is separate from the battery. These options are more expensive, and heavier, but they offer the advantage of extra batteries. For most people, the best solution will be a self-contained light. You will want 800 lumens, or more, for riding comfortably in the dark. That doesn't mean you want to look for an 800-lumen light though. A light running at its max power will have a short runtime. Instead, look for a powerful light and reduce the power. Running at half power you should see three to four hours of runtime.
To go beyond the battery of most lights you can either run multiple lights or charge them while riding. There are some lights on the market that will run while charging. They do exist but look carefully. This is a great way to handle the problem unless it's raining. Opening the charging port on a light will leave it susceptible to rain damage. If you need to ride through the night in the rain grab a few lights.
GPS Bike Computer
It's possible to go on a bikepacking trip without using one of the best MTB GPS computers. On the other hand, using one can greatly reduce your anxiety on the road or trail. Even if you aren't that concerned with metrics like speed, power, cadence or heart rate, it's nice to know where you are going instead of being nervous about where you are. The added bonus is a Strava humble-brag post after you've conquered an epic route.
In modern bikepacking, battery power is a real consideration. A bike computer with long battery life solves a few battery-related issues. If you have enough battery power that you can use your bike computer for the entirety of a short trip, that means one less thing to charge. At the same time, using a bike computer instead of your phone means you can save your phone for emergencies and might not need to charge the phone either. Even on a longer trip, the less you have to worry about charging something, the better.
Make sure whatever you choose has the info you need without cell service. If you have to rely on your phone and you need your phone to have service, then you reduce the functionality of the bike computer. Depending on your route you may also be well outside of the service for your phone when you really need a map.
Tools
You want to be familiar with fixing and maintaining your bike, after all you don't want to have a mechanical out in the back and beyond and not be able to fix it. Check what tools you need, and what spares you may need from brake cables, brake pads, gear cables and quick links for the chain. No tool roll is complete with a healthy supply of duct tape and cable ties for emergencies.
If you feel like you could improve your mechanical skills many local bike shops or cycling groups run basic mechanics courses so you can improve your mechanical know how. Its money well spent too, not only does it boost your confidence and help you keep rolling on your bikepacking trip, it can also save you money as you will be able to work on your bike more.
Bikepacking equipment for the rider
When it comes to equipment for the rider, we are really talking about the equipment it takes to sleep outdoors. You need food, water, and shelter. You also need to be able to carry everything you require on a bike. Bikepacking is a sport that borrows heavily from the modern ultralight backpacking movement. Think in terms of usability, weight, and volume. Consider every single item through this lens.
Even if you have your bike fully outfitted with all the largest bags you can fit, there's not a whole lot of volume available. Something like tent poles might not weigh a whole lot but they might be too long to fit. You need to consider the most space-efficient possible solutions for every single item you have with you.
When it comes to concerns, right behind space efficiency is weight. Even if you manage to pack everything into a small space it might be too heavy. A flat route on the road is a lot more forgiving for weight than a steep route over singletrack territory. As much as the wallet allows, try to go with the lightest option available for everything you carry. Also, consider balance. Keep heavy items centered and low on the bike.
The path to meeting volume and weight goals has a lot to do with usability considerations. If you are bringing something with you consider leaving it at home. Will you be able to complete your goal without it? If so, is there some other reason to bring it along? Sometimes it's worth bringing a little extra weight if it's going to make life on the trail more enjoyable. At the same time, if you can use items for multiple uses that are an easy way to save weight and space. Consider if you can swap two products for one that does both jobs.
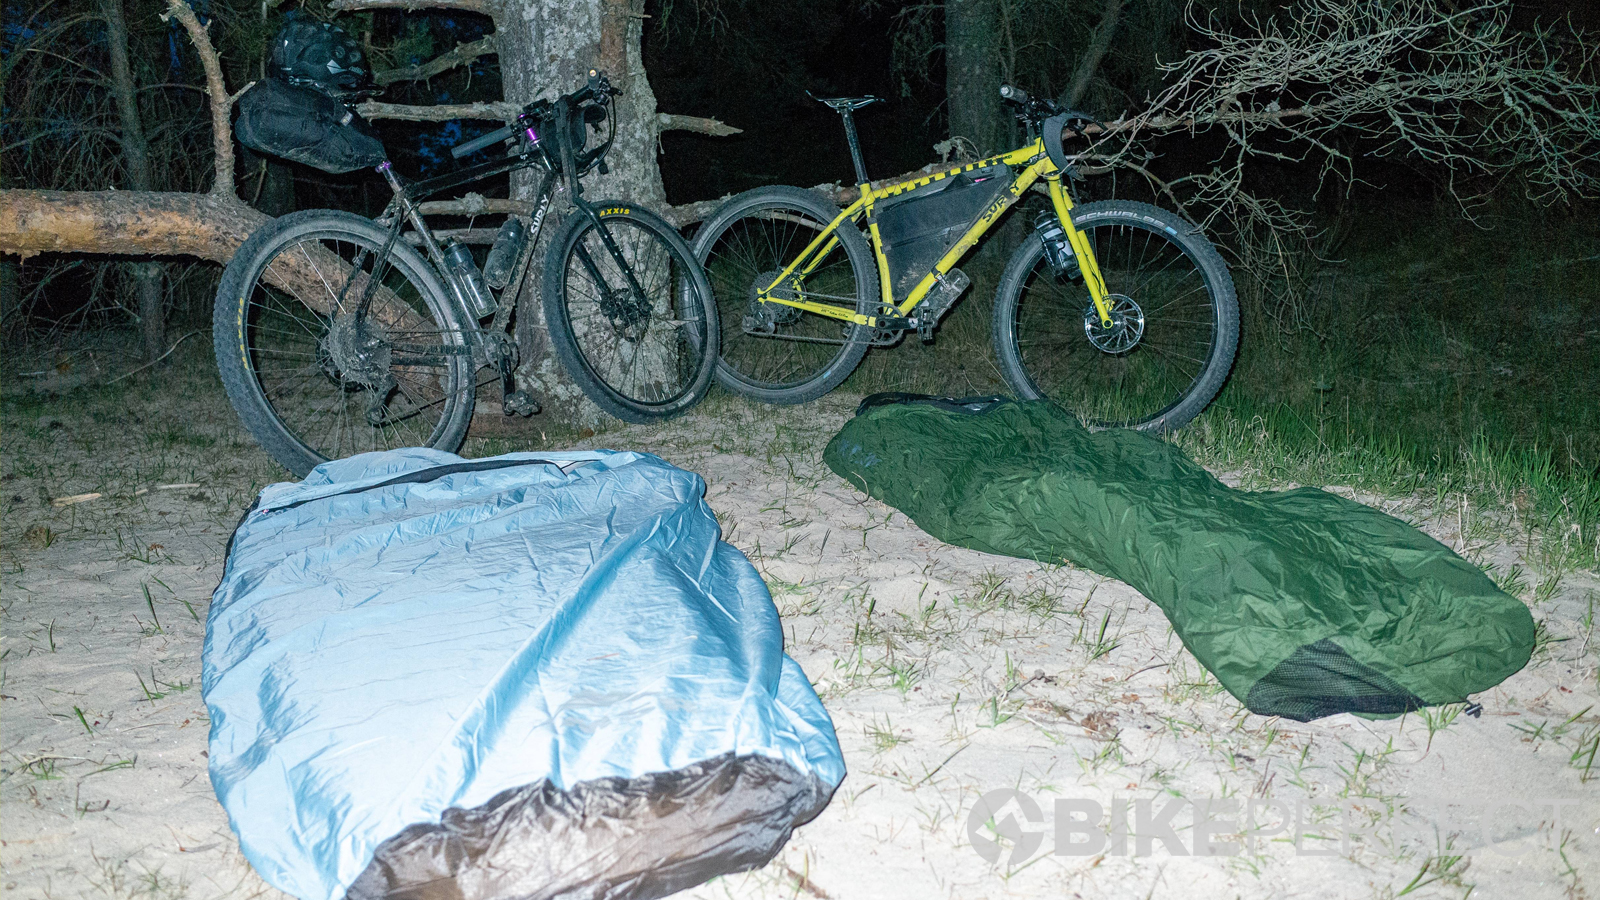
Shelter
There are a lot of options available for shelter. The easiest place to start is, can you do without? If you aren't worried about insects or weather, sleeping under the stars is the easiest, lightest, solution. It doesn't get much lighter than a small piece of plastic to cover the ground under your sleeping mat.
If you decide you need some shelter then you have a lot of choices. There are systems that use parts of the bike as support. That's a great option as long as your bike isn't a wet, muddy, mess. There are hammocks meant for backpacking or bikepacking, but that can mean looking for a place to hang them.
If you want to go with something more akin to a traditional tent that leaves you with still more options. A single-person bivy, a tarp with stakes and a support line can provide a very flexible sleeping arrangement although the best bikepacking tents provide the most luxurious option. They can weigh a bit more (or cost a lot more) but will keep you dry if it rains, doesn't require finding the right trees for setup, and will protect you from insects. Just make sure it will fit in your bags.
Sleep System
For years, sleeping bags were the only option for lightweight warmth at night. To make a sleeping bag light, the size got reduced to the point that it was hard to move in them. If your feet tended to be hot you might end up with sweltering, sweaty feet trapped in a tiny foot box. If you were a side sleeper then good luck. Then people started to consider the whole sleep system. The sleeping pad moved from being only a buffer to being an equal partner. The solution that got introduced was the sleeping quilt. A sleeping quilt gets rid of all the parts of a sleeping bag that aren't doing much anyway but it retains the warmth. By pairing up with your clothing and your sleeping pad you get flexibility, reduced weight, and you also stay warm.
When choosing the best sleeping pad part of your sleep system, you are going to want to go with an inflatable option. Foam sleeping pads are inexpensive, lightweight, and generally work very well. On the other hand, inflatable sleeping pads are relatively expensive and it's not impossible to puncture them. The reason inflatable makes sense for bikepacking is volume. Bikepacking puts a lot of emphasis on volume as a packing consideration because the load gets split into multiple locations. Inflatable sleeping pad packs down very small. It takes a little bit of practice but once you've got the hang of rolling it a good inflatable sleeping pad will get down to about the size of a water bottle. Avoid self-inflating mats too as they don't pack done nearly as small as a regular sleeping pad and offer little advantage.
Stove
Backpacking, and by extension bikepacking, stoves fall into two main camps. There are canister stoves and liquid fuel stoves.
Most of the time a canister fuel stove arranges things with the canister at the bottom. The canister provides the base and stability for the entire contraption. On top of the canister is the actual stove in the form of a long narrow shape. This is where the regulator sits and it leads to the burner at pot support at the very top. The whole arrangement is lightweight but it means that you are forever dependent on purchasing canisters.
On the other side of things are liquid fuel options. Liquid fuel stoves use a refillable container that is easily opened. The stove itself tends to be the base for the pot, and this arrangement is more stable on rough terrain. Unlike a canister fuel stove, you can, and should, use a windscreen so in windy conditions they are easier to use. There are also options that allow the use of a variety of fuels that are easier to obtain in remote locations. The downside is they require some maintenance and can be more finicky to get started.
Cooking systems are bulky so consider options that allow everything to be packed into itself to keep your setup as compact as possible. While hot food after a big ride and a morning coffee after a chilly night is nice it's worth considering whether you actually need to cook at all. Less cooking equipment opens up more space for food and other potentially more beneficial equipment.
Food
It is very difficult to eat too much food when bikepacking! Spending all day on your bike, sometimes pushing and carrying it up hills, over gates, through rivers is all very energy consuming! Don’t restrict yourself to eating at mealtimes, instead snack, snack, snack!
What you eat may depend on where you are going. If you’re off on a pioneering adventure across the Himalayas then you may want to take plenty of supplies of high-calorie expedition food. Bikepacking in the USA can take you for days without resupply points. Alternatively, many popular routes in Europe or the UK are littered with small towns and villages where you can stock up. Try and keep up a well-balanced diet while you’re adventuring incorporating fresh fruit and veg when you can as well as lots of fiber. Rely too much on high sugar foods and you might find yourself suffering from mouth ulcers.
Don’t forget water! Stay hydrated and make sure you leave enough space on the bike to carry enough water. How much you carry will depend on where you are, how hot it is and how easy it is to refill. Consider packing a filter or purification tablets if taps, cafes and shops might be limited.
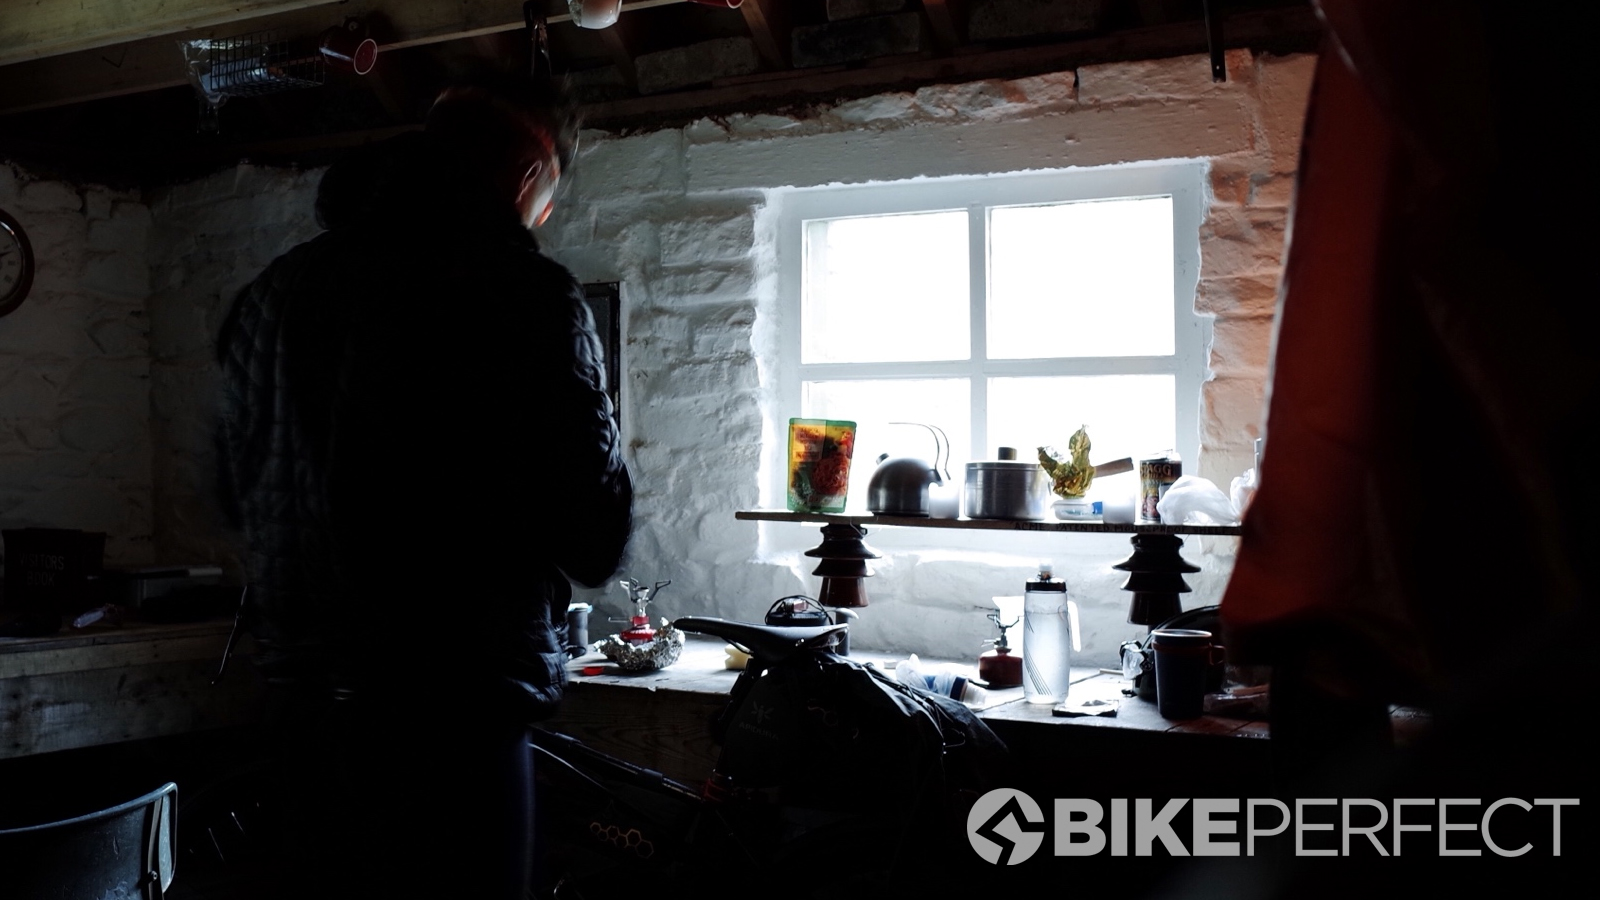
Batteries
All the modern electronics you are carrying need power. Like shelter, the first place to start is can you go without? If not, then what size battery is actually a fairly simple calculation. Look at the battery size, in mAh, of everything you need to charge. Add up the numbers and multiply the answer by the number of times you need to charge things. The answer you get is how much battery power you need.
Once you know the amount of power you need, then you can look for a battery. Unfortunately, there is no magic when it comes to batteries. You will not find a super small battery with a huge capacity. If that existed it would be the choice for every piece of modern electronics, and electric cars, on the market. The power density of batteries is somewhat standard. If you need a lot of power that will be a significant amount of weight. The only real choice is do you carry multiple smaller batteries or a single large one.
Solar panels do offer another hope for a charging solution but there's no miracle answer there either. Delivering lots of power takes a lot of surface area. Anything more than low power trickle charge is going to be larger than you can carry on your bike. In some situations, spending all day in the bright sun will mean time is on your side and a trickle charge is worth it but think hard about it.
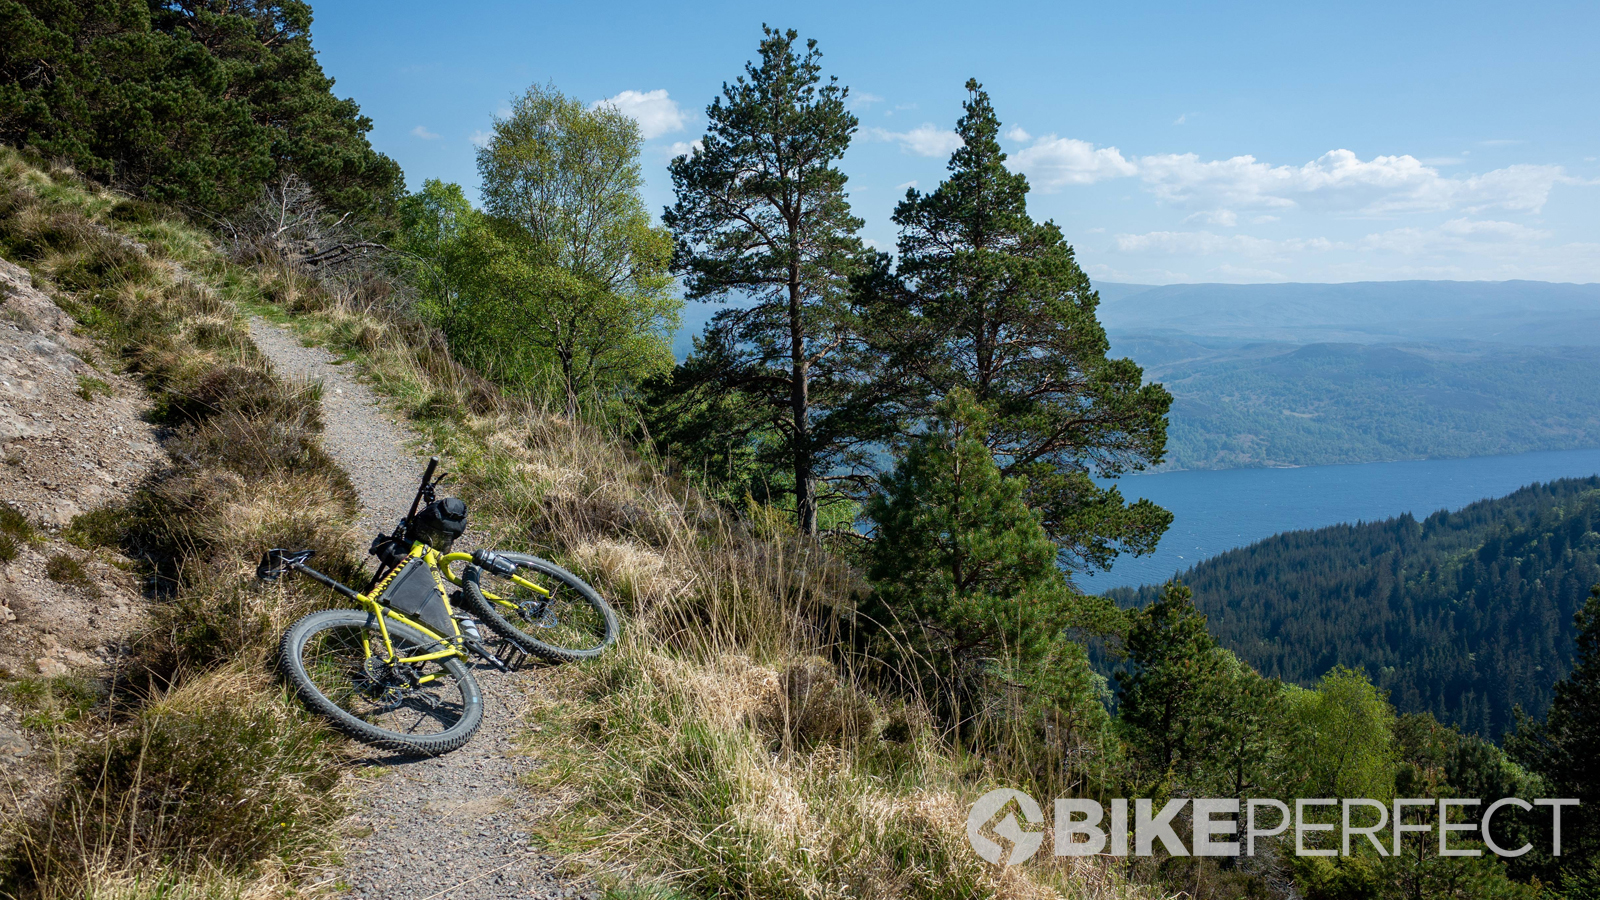
Contact points and comfort
Bottoms
Possibly the most important contact point of all or at least the most talked about! After a comfortable saddle and a trusted pair (or two) of padded shorts, it’s also important to keep on top of hygiene to keep on top of things. Otherwise, you might not look forward to sitting on your bike on days 2,3,4, etc.
Top tips for keeping your bottom clean on a bikepacking trip? After you set up camp get your riding shorts off, wash off the sweat with water or a wet wipe. Moisturize the skin to help restore barrier function, a medical-grade moisturizer or emollient is best e.g. double base gel or Dermol500. The latter is actually antimicrobial so can be used to wash your bum post-ride and keep saddle sores at bay. Padded bike shorts with a chamois are great for comfort but they can also act as a sponge for sweat and bacteria. If you’re going for a long trip take at least 2 pairs of riding shorts and use them on a wash one, wear one rotation. Some riders even find they can ride comfortably without a pad or chamois which means their skin can breathe much better through the day.
After your bum the other contact points - hands and feet are also worth considering.
Hands
Many bikepackers like riding with TT bars on the road to relieve pressure on the wrists or Ergon bars or bar ends off-road. It helps to have a variety of hand positions to vary the pressure and stress on your hands and upper body.
Feet
Depending on what your plans are you might want to consider leaving your carbon race slippers at home. When riding for several days you may find that your feet swell and your usual cycling shoes are not wide enough to be comfortable. Or that stiff-soled shoes aren’t the most comfortable for walking in as you push your bike up one of the aforementioned unforgiving hills. Pro cyclist Lachlan Morton clearly favors the humble sandal when foot pain does come knocking. It’s certainly worth attaching a pair of sandals to the outside of your saddle pack for comfort off the bike or around camp to let your feet breathe and flex.
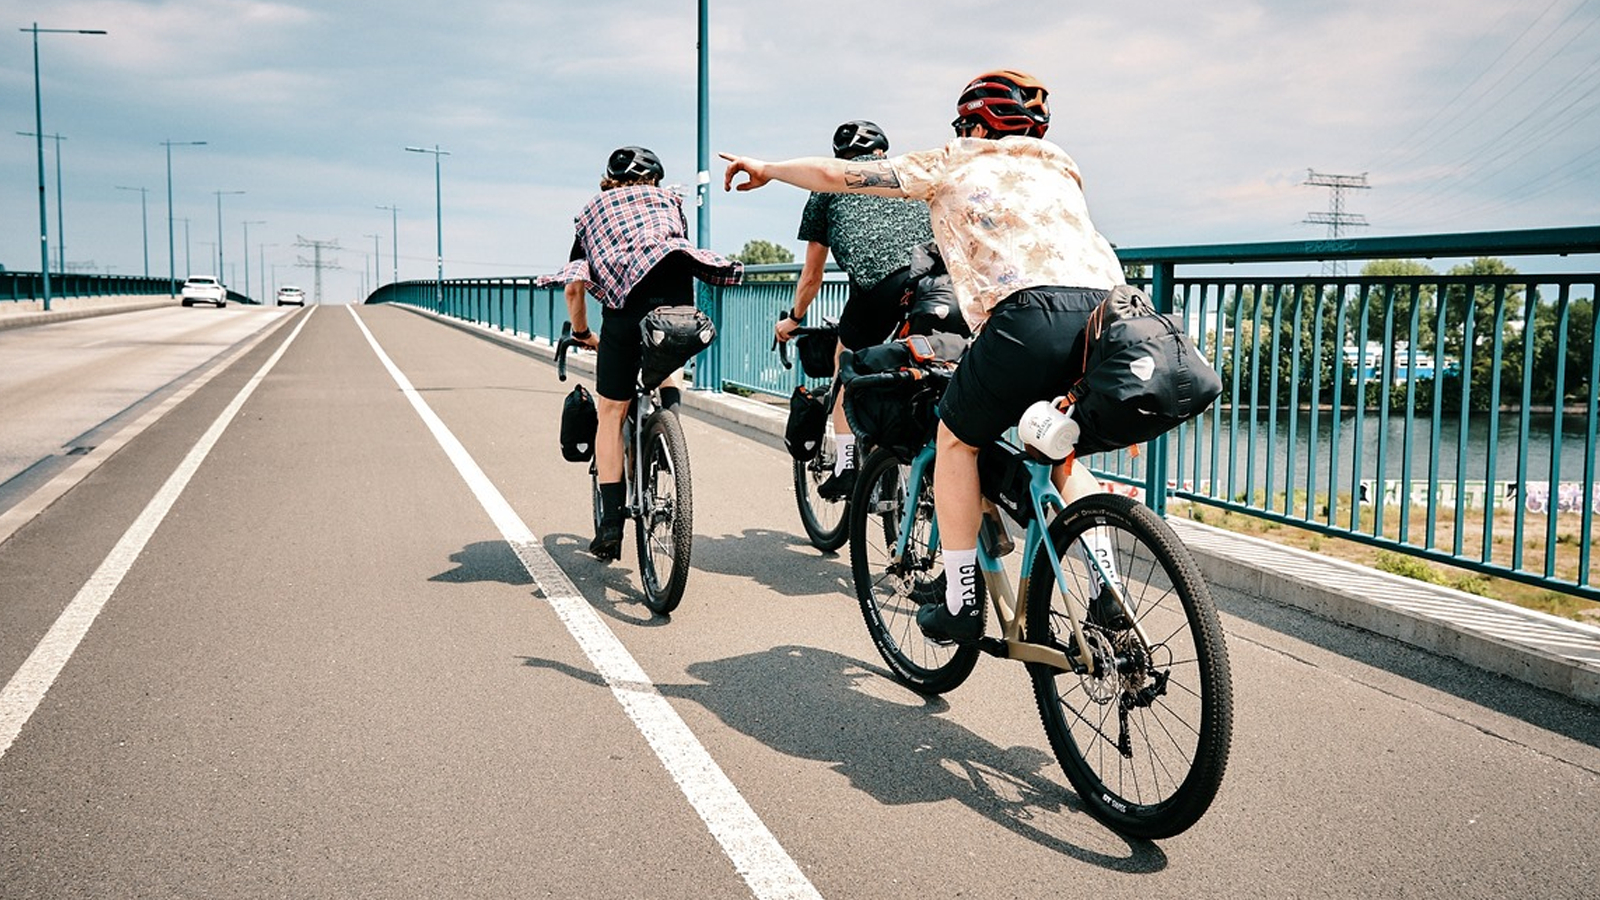
Preparation
Know yourself and research the type of riding or specific route/area you want to explore! From the outside bikepacking can seem hardcore but more often than not, the opposite is true! It’s all about being kind to yourself, taking care of your body and mind. This all starts with a solid base of preparation.
Mental preparation
Checking in with yourself is one of the most useful bits of mental preparation you can do. If you are the kind of person that is happy making things up as you go then you probably don’t need to know every turning and just have an idea of any sections that are likely to be tricky and keep a note of where you can resupply with food and water. If you prefer to be better informed of what’s coming up around the next bend then you’ll want to make more detailed route notes.
You also want to mentally prepare yourself for the low points as well as the high points. While there will be some amazing views, bivvy spots and thrilling descents there will also be tough times. Your body may get sore, you might spend several days with wet feet or spend a night getting nibbled by midges. Bikepacking brings with it a huge variety of challenges and solving these problems as you go is part of the fun!
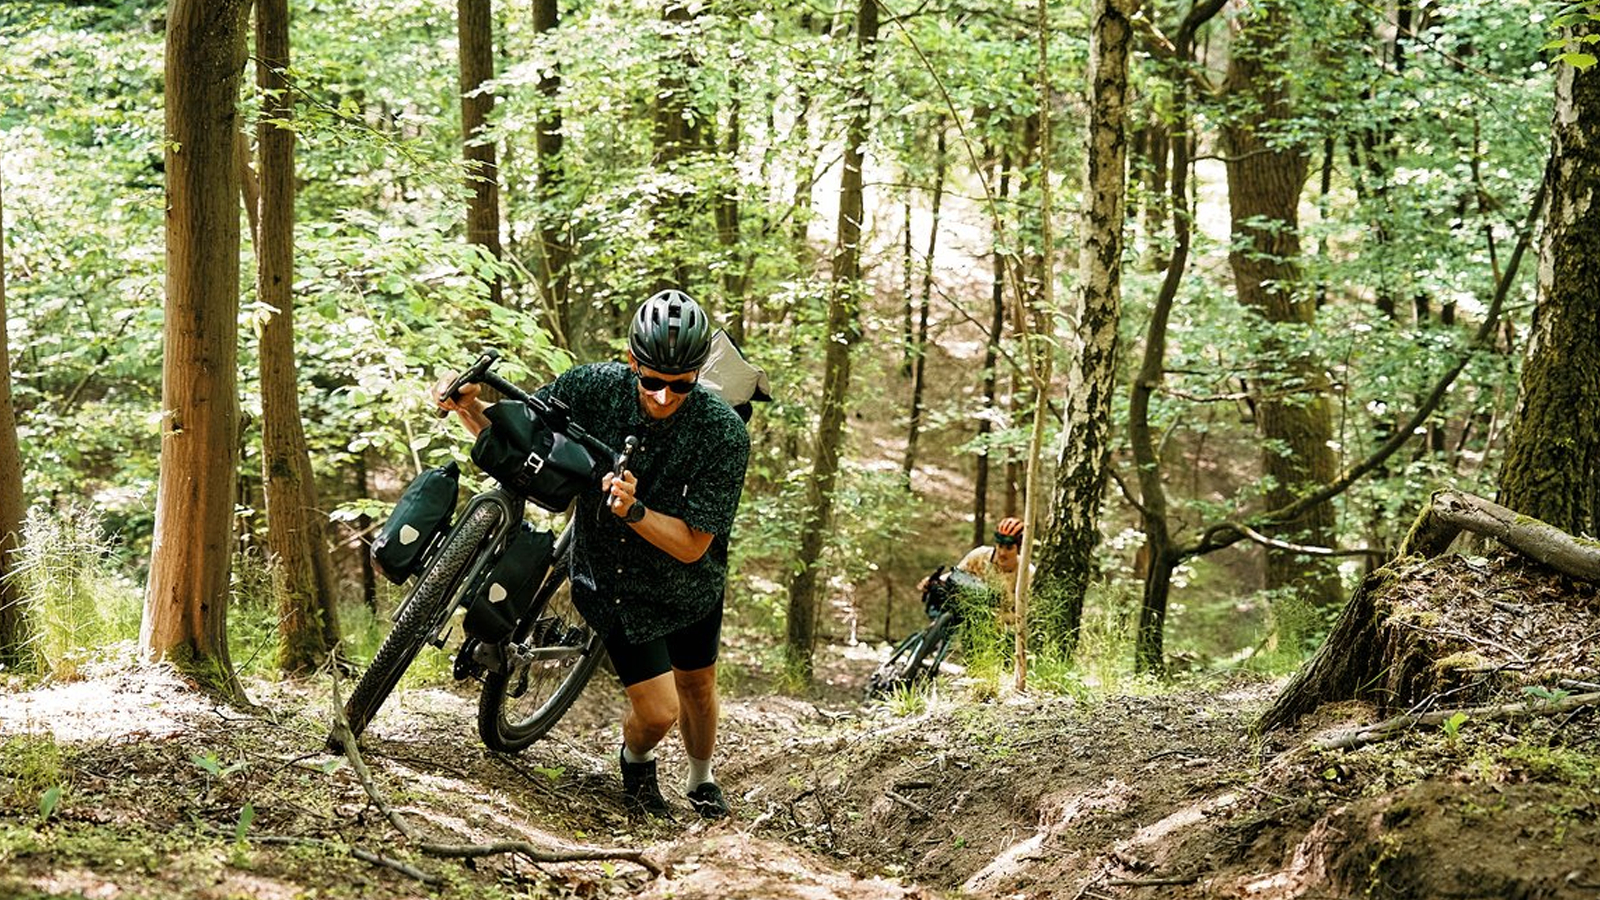
Physical preparation
Once again check in with yourself. One of the beautiful things about bikepacking is that there are so many ways to do it! You don’t have to be a lean mean machine to go bikepacking! There are so many groups out there advocating for taking the less hurried approach. But, if you have aspirations of winning the Tour Divide or Highland Trail 550 then you probably want to do some training…
To get the most enjoyment out of a trip it is worth doing some physical preparation, going for shorter local rides to get used to the feel of a loaded bike. Working on those cyclist noodle arms if you’re going to be pushing, carrying and lifting a lot. The stronger your body is the easier it all feels and the less likely you are to get injured. The most fun way to prepare your body is to go bikepacking regularly! If you are doing a route with lots of pushing and hiking it is worth incorporating a lot of walking into your preparation to make sure your feet and legs are conditioned to this. Bikepacking uses more muscles than just those needed to pedal!
Why you should bikepack
Choosing bikepacking isn't a binary choice of either racing or vacationing or bikepacking. You can really have it all when it comes to bikepacking. If you want to race you can do an ultra-endurance race that takes you across a continent and spend your night sleeping on the route. In some ways that's the root of bikepacking and if you want to feel the push of competition the option is there. You can even choose to do something a bit shorter that still involves long-distance bikepacking.
The advantage of a race that involves bikepacking is that it is just you and your thoughts for most of the race. There is no peloton where you have to spend time racing elbow to elbow and there is no need to worry about COVID safety either. The only real question is can you ride faster while sleeping less?
If that kind of competition doesn't sound like your cup of tea, then a bikepacking vacation can be the complete opposite. Instead of riding until you can't see straight, you can ride as far as you want. Set up camp where you want to enjoy the rest of the day exploring. Choose the right route and you could even bring a little one with you in a trailer. Feel like staying an extra day before moving on, go ahead. Bikepacking can be as relaxing, or as intense, as you want it to be.
Josh Ross was our US tech writer. He's most happy when talking about the finer details of how bicycle parts and components work, and enjoys putting his thoughts to words. He is a road cyclist at heart but can often be found taking the gravel road less traveled. Although he rarely races these days, he still enjoys a good Zwift session and race but will always choose the real world over pixels.
Height: 5'9"
Weight: 137 lb.
