How to fix a broken bike chain – three methods that are easier than you might think
A broken chain might seem like the end of a ride, but it needn't be with these simple fixes that will get bike back in working order

Nothing will stop you dead in your tracks like a broken chain. A metallic snap followed by the chain falling onto the trail below will send a sinking feeling to your stomach (if pedaling hard, your stomach might suddenly hit your stem too). I've broken many chains over the years, and as long as you're carrying a couple of pieces of equipment, you can get your chain back in one piece back to riding relatively quickly.
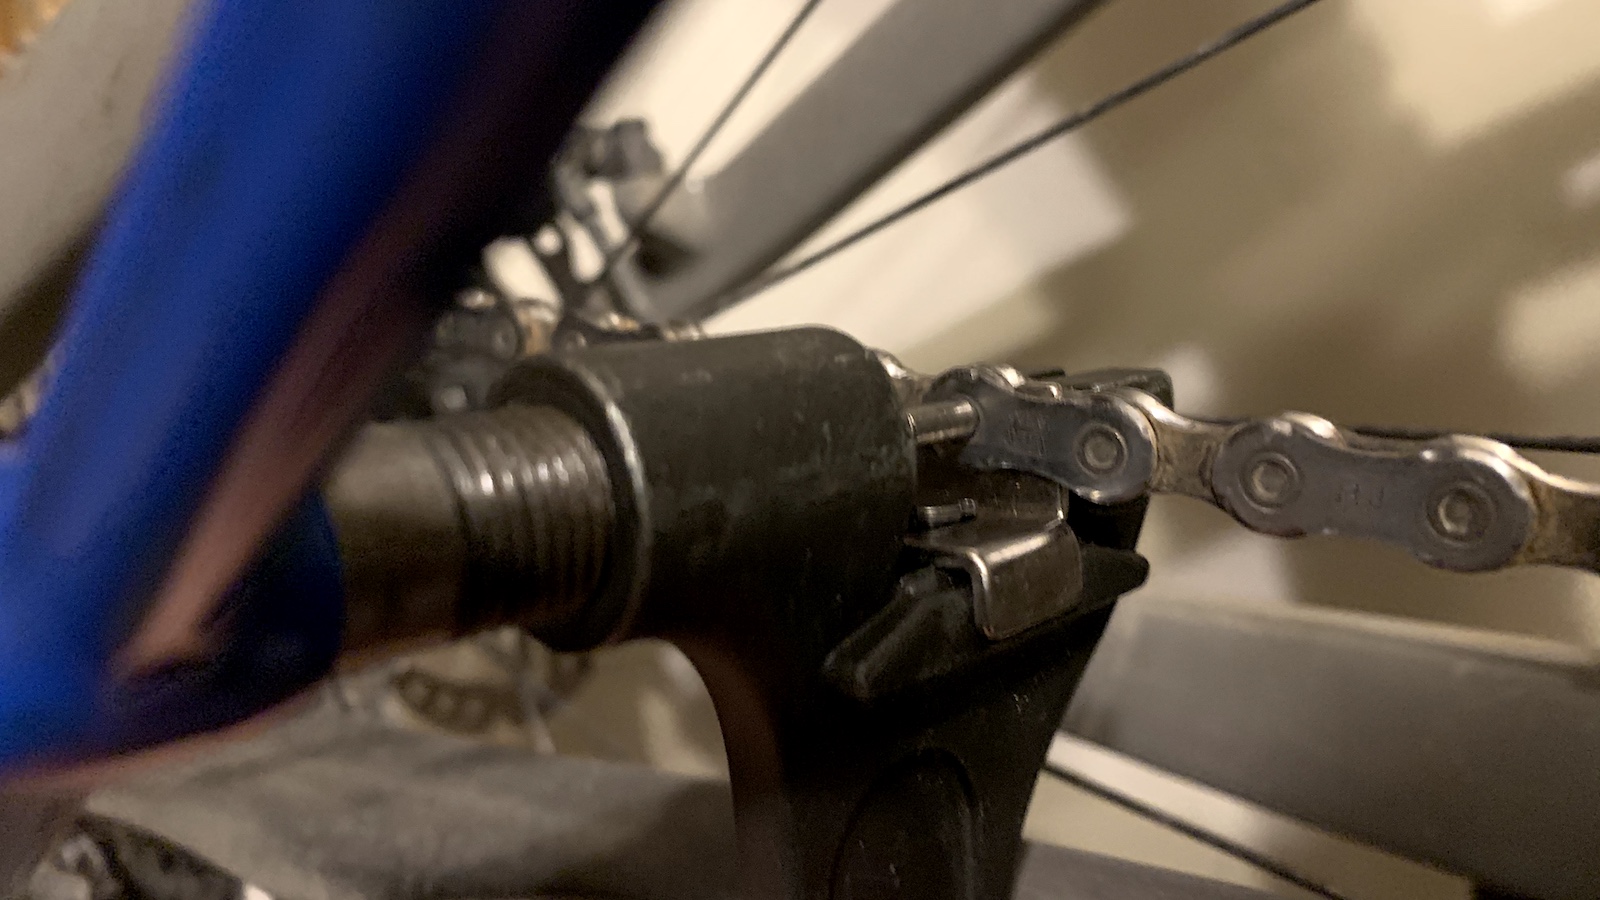
The most important tool for fixing a chain is a chain tool. Many brands make workshop-size chain tools, which are a good thing to have in your toolbox. However, you won't want to carry a full-size chain tool on your pack or pocket while out riding. Lots of the best MTB multi-tools have a chain tool function, which makes them ideal for carrying on rides.
There are a few different methods that can be used to fix a chain, which we will explain here.

Method 2. Use a master link
Equipment needed
- Chain tool
- Master link
Perhaps the easiest method to fix a broken chain is by using a master link. Multiple brands make master links, including both SRAM and Shimano, so it's a good idea to carry a couple of spares with your riding gear.
Note: the master link will need to be compatible with the speed of your chain, aka how many gears you have on your cassette – 11-speed, 12-speed, etc, (buy a master link from Wiggle.) Master links usually have the speed of the chain they're designed to be used with (11S, 12S, etc) and the type (Shimano, SRAM, etc) stamped on them, so it's easy to tell which is the correct one to use. KMC master links work with most SRAM and Shimano chains, as well as KMC ones.
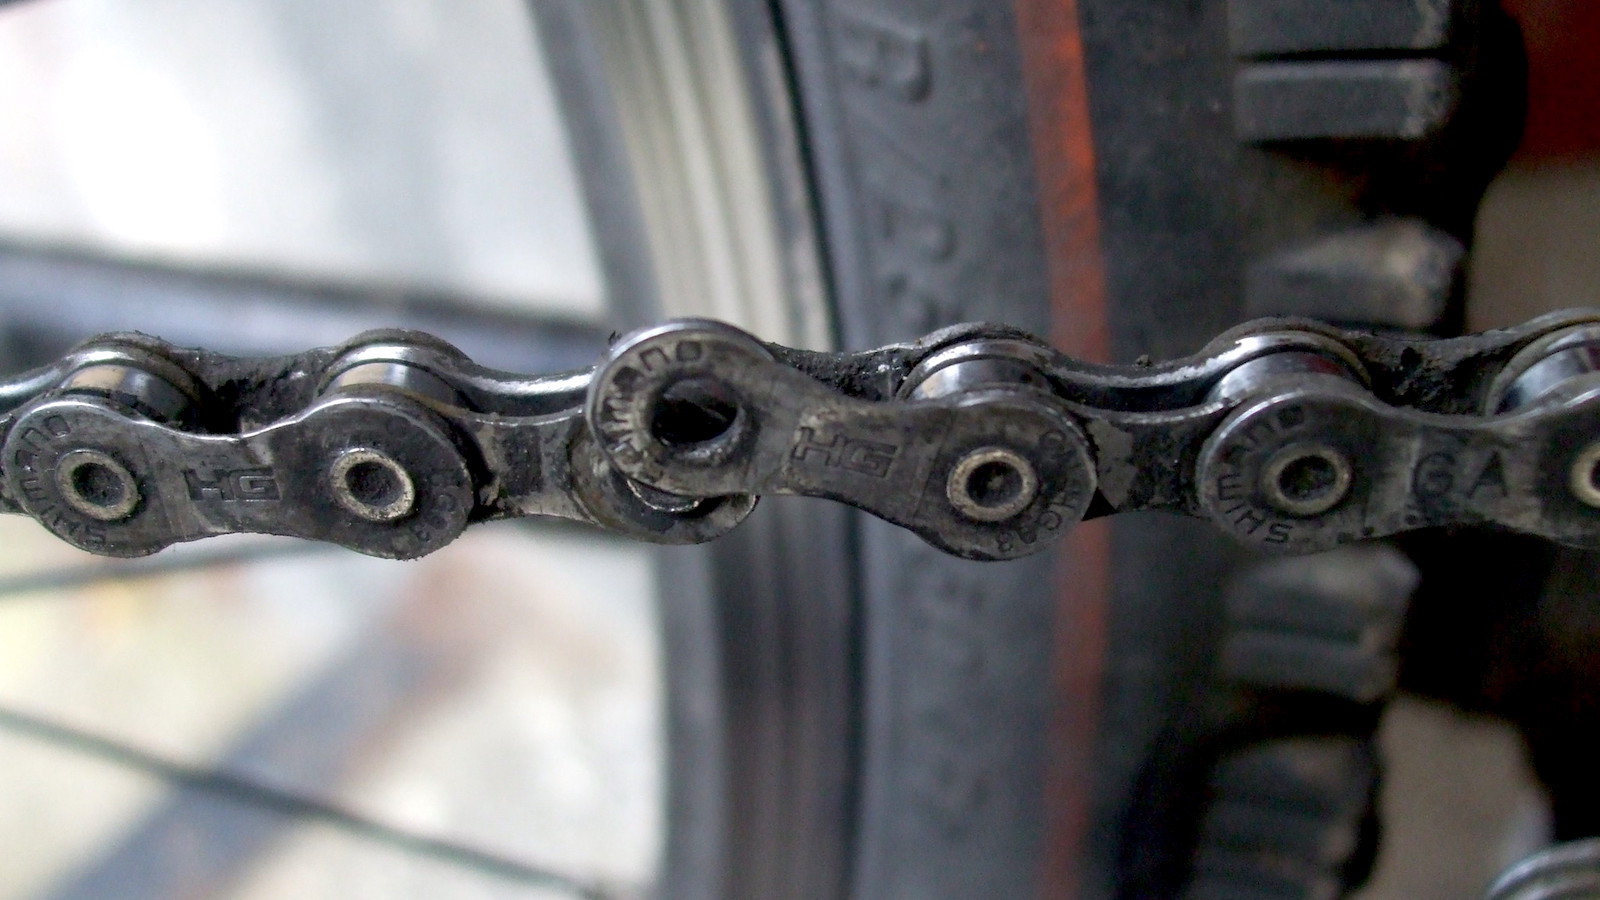
To start, use a chain tool to remove the damaged link so that both ends of the chain have an inner link. Then, insert the two master link plates into the inner links and connect them. That's not all though, as the master link needs tension in order to snap securely into place.
To finish installing the master link, turn the cranks so that the master link sits above the chainstays if it's not already. Pull the rear brake lever and apply pressure to the pedals. This will allow the master link to lock into place – usually with an audible clunk.
If you only removed one link, using a master link will keep the chain the same length as it was before. If you need to remove multiple links, remember not try to shift into the largest cassette cogs as the shortened chain won't be long enough.

Method 2. Reuse the rivet
Equipment needed
- Chain tool
If all you have is a chain tool, it's possible to remove the damaged links and reconnect the chain by reusing the rivet, or pin. This can be cumbersome, and it's only meant to be a temporary fix.
To do this, start by using your chain tool to remove any damaged links. Push out a rivet just enough to fit the corresponding inner link. Make sure to not push the rivet completely out.
Then, match up the corresponding inner link and push the rivet back through the links. The rivet should be flush with the other rivets throughout the chain.
This is a 'get me home' fix, as removing and reusing the rivet decreases its integrity. Since you are removing a link, this means that the chain will be shorter and probably won't be able to shift into the biggest cogs on the cassette. Avoid shifting into the biggest cogs or hitting the cranks too hard – or the chain could get damaged again.
Method 3. Use a connecting pin
Equipment needed
- Chain tool
- Spare connecting pin
Older Shimano chains are joined with a connecting pin rather than a master link. Pins are rarely used these days though and you have a 12-speed drivetrain, you should definitely use a master link. Here's the method, just in case though...
To install a connecting pin, you need to remove the broken link and the neighboring inner link. Connect the two ends of the chain by pushing in the connecting pin with your chain tool. Once it is flush with the other pins the chain, use the chain tool to snap off the excess section of the pin.
How to not break a chain
While sometimes things just break, you can help prevent a broken chain by keeping your drivetrain clean and lubricated. Check out our guide on how to clean a mountain bike for more detailed instructions. Lube your chain every few rides or as the riding conditions require, for more on lubes, see our best chain lubes guide. It's also worth occasionally taking apart the drivetrain for a deep clean – the best degreasers will come in handy here.
Unless you're running SRAM's fancy new Eagle Transmission drivetrain which is designed to shift under heavy loads, it's important to not shift gears when you are really mashing the pedals. Instead, make sure you are spinning the pedals to relieve tension on the chain when you shift. On mountain bike trails, you can read the terrain and plan spots along the trail to shift. Rather than trying to shift when powering up a rock garden, instead, do so on a smoother section of trail.
Like any bike maintenance task, fixing a chain is possible out on the trails, but it can be much easier to do so at home or in a proper workshop. Wherever a broken chain occurs though, knowing how to fix it can save you from walking home.

Rich Owen joined the BikePerfect team as editor in 2021. He's worked as a journalist and editor for over 24 years, with 12 years specializing in cycling media. Rich bought his first mountain bike (a rigid Scott Tampico) in 1995 and has been riding MTB for almost 30 years.
Current rides: Merida One-Forty 6000, Banshee Paradox, YT Jeffsy Core 3, Saracen Ariel 30 Pro
Height: 175cm
Weight: 69kg
