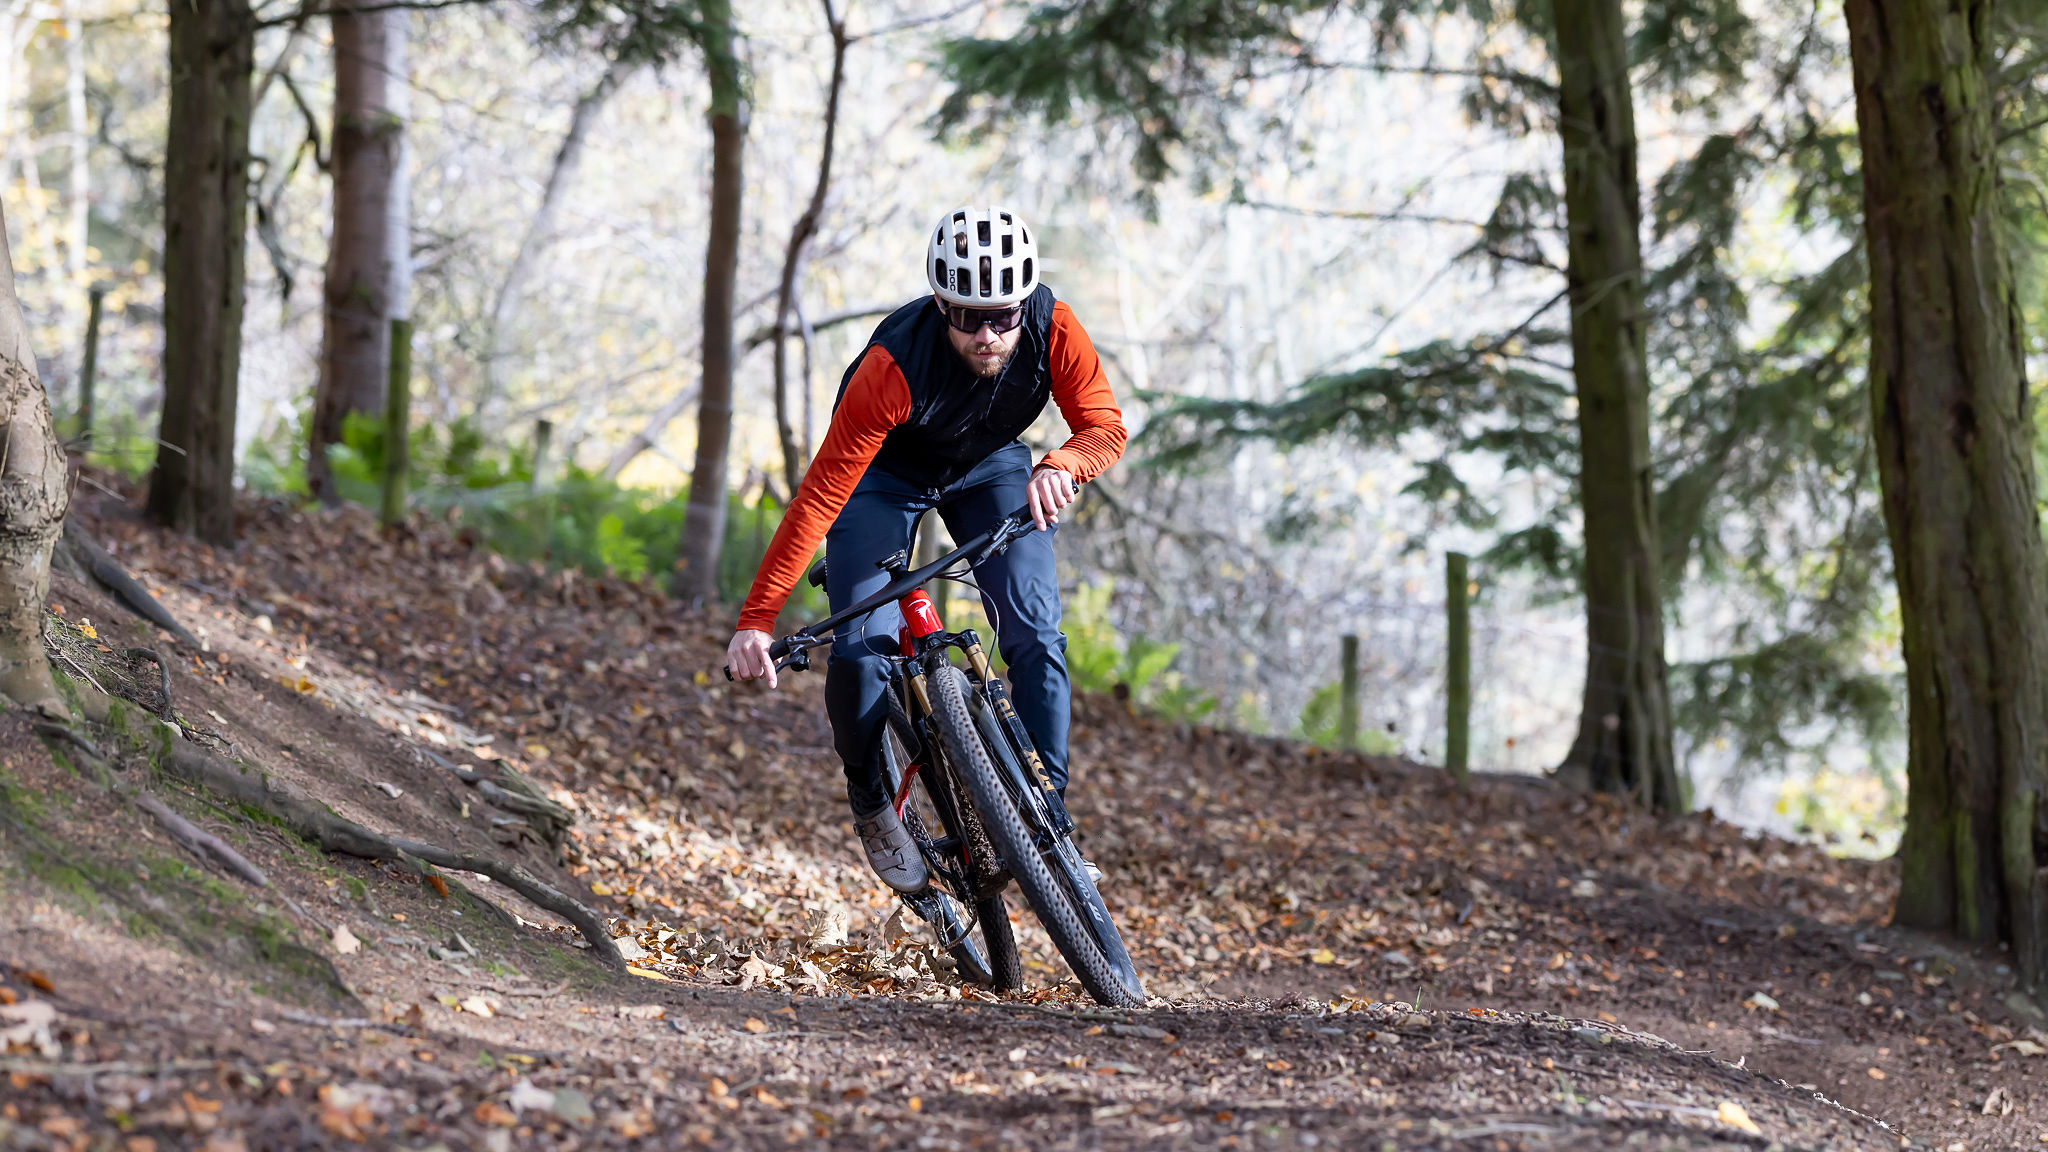
How to set up tubeless bike tires – 5 quick and simple steps from adding sealant to easily inflating the tire once again
Everything you need to know about setting up tubeless tires
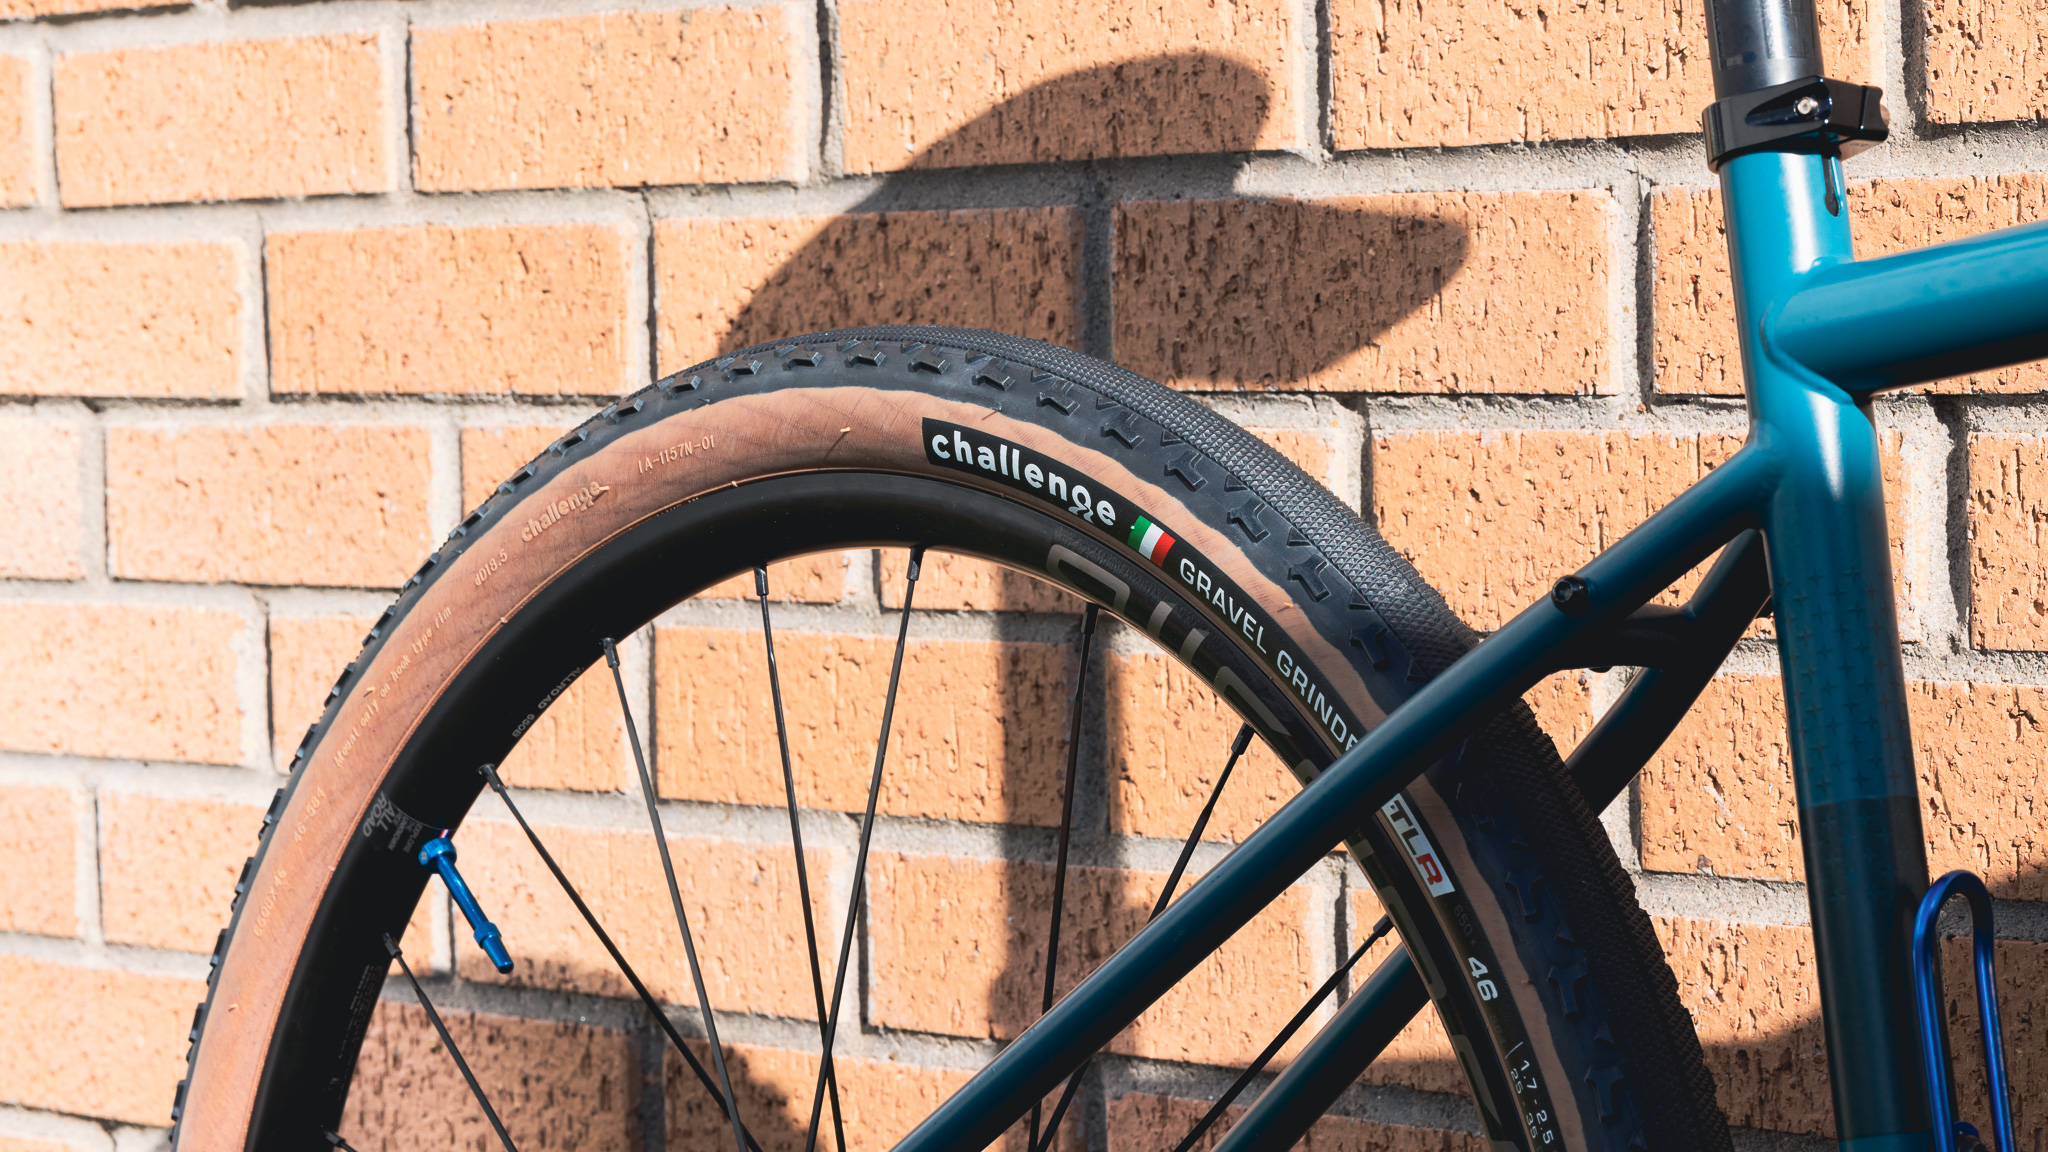
Firstly, I'll confess I'm no mechanic. I've ridden bikes all my life but have never been one for tinkering with my bikes. So switching my gravel bike to a tubeless setup seemed a potentially daunting task. However, I made the switch a few years ago after a triple puncture day meant a long walk home and I have never looked back. All my bikes are now tubeless and to date have never had a flat. It's probably the cheapest, easiest and most effective upgrade you can do to your bike.
So even if, like me, you're not the most gifted in the workshop, it's easy. Having looked around at the various guides available, to me it seems most people make it sound more difficult than it is, so read on for layman's terms, simple and almost guaranteed five steps to success with a tubeless setup.
Before you start your tubeless journey, you'll need all the required parts and equipment ready. You will need tubeless-ready rims and tires, the best tubeless sealant and a pair of tubeless tire valves. Most rims these days will come already tubeless ready/pre-taped, and nearly all the best gravel tires are tubeless-ready. If your rims aren't already sealed then you'll need to install tubeless rim tape, and for this guide, we are going to assume the rims aren’t taped and require a full setup. For the uninitiated, rim tape is a tape stuck to the inside of your wheel, it stops air from leaking around the spoke holes and so creates part of the air-tight seal.
Most guides recommend inflating the tire using a tubeless inflator or a compressor, I've only ever used a floor pump and never had an issue, so try before you buy here.
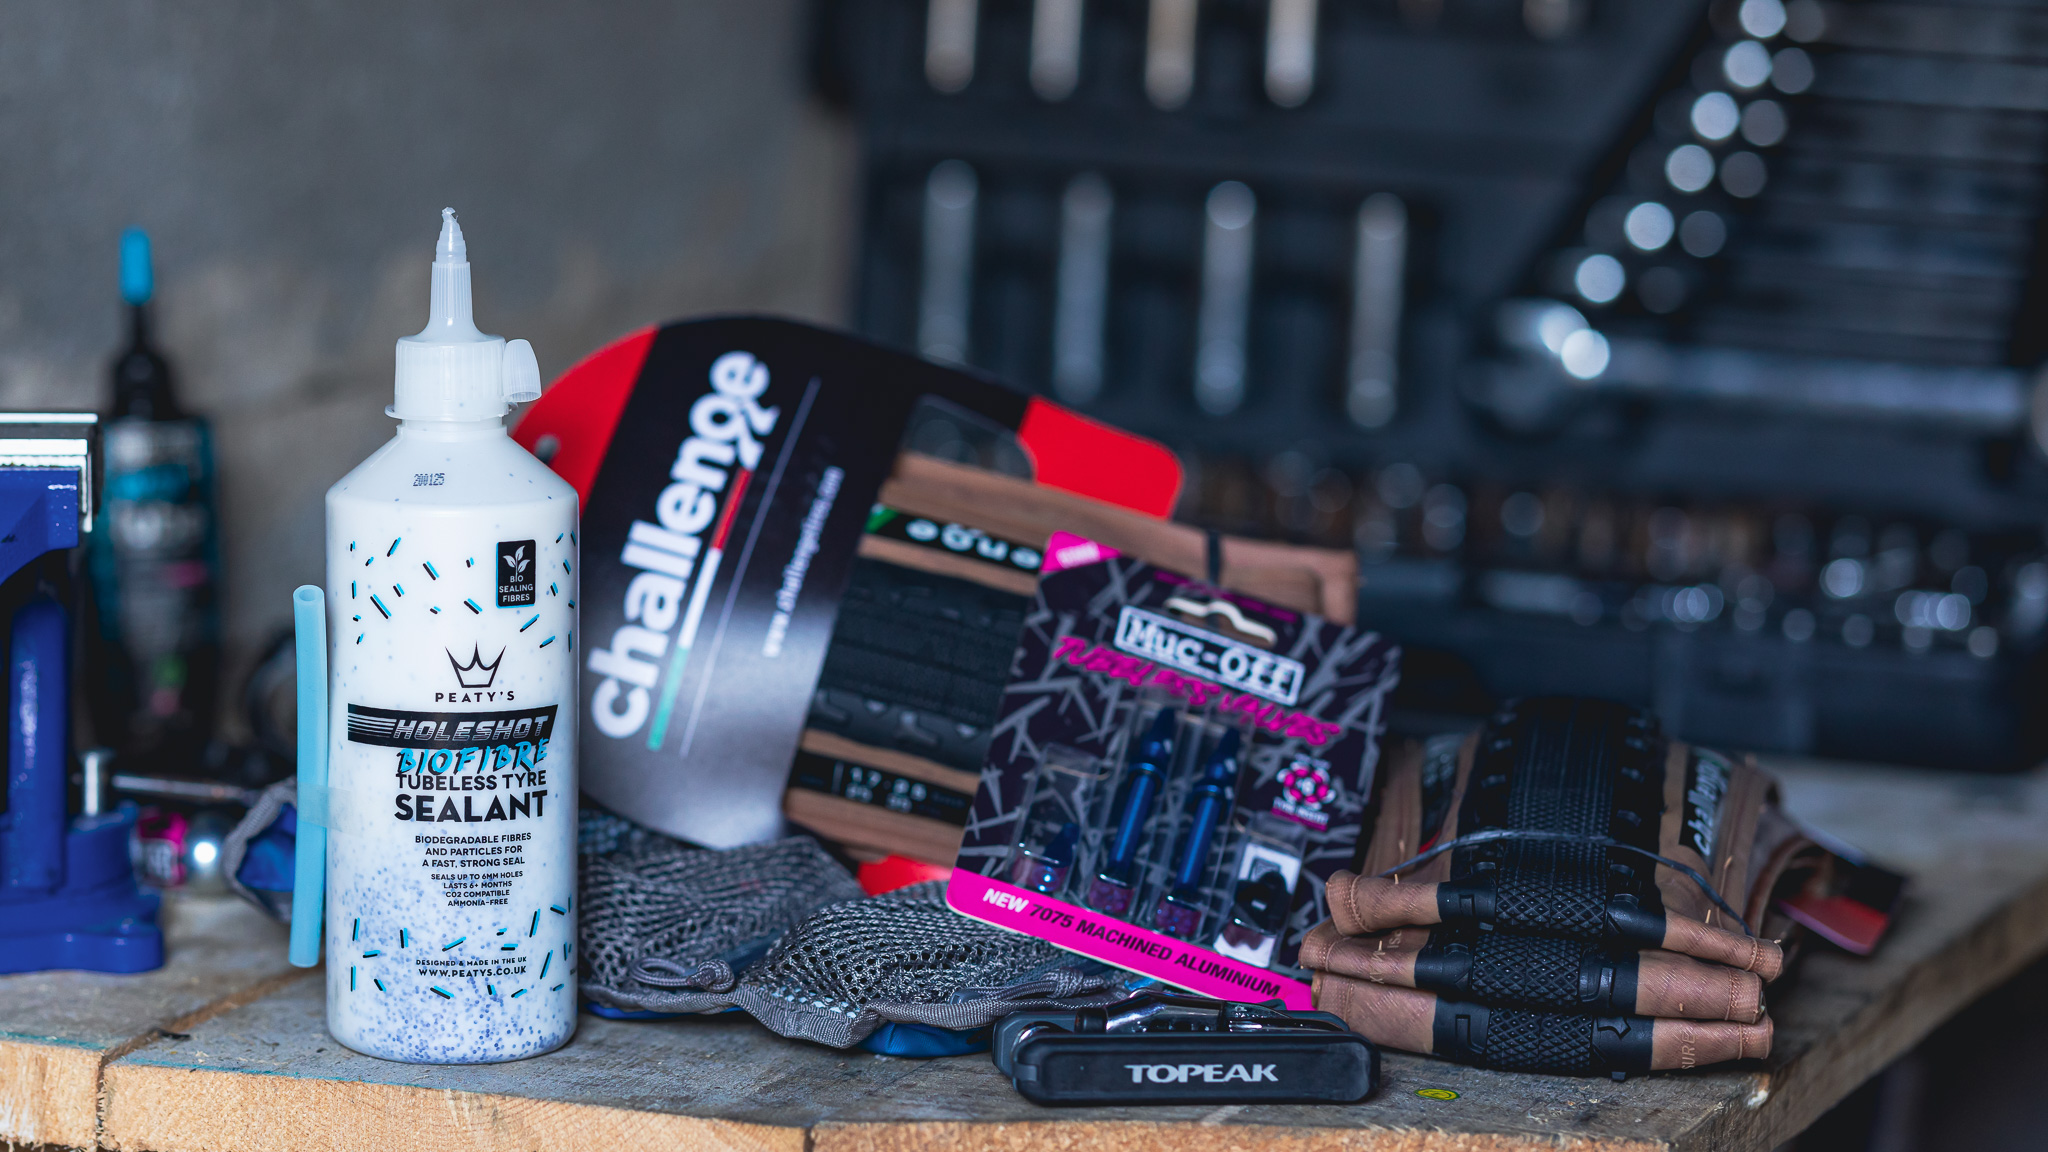
What you'll need
- A compatible tubeless rim and tire
- Tubeless sealant
- A high-volume pump, tubeless inflator pump or compressor
- Tubeless valves
- Tubeless tape (if your rims aren’t pre-taped)
- Tire levers (optional)
- Isopropyl alcohol (optional)
For this guide we are setting up gravel wheels, the process is the same for any other wheels, but its worth mentioning a compressor or tubeless inflator will work better on an MTB setup with the large volume of the tires involved.
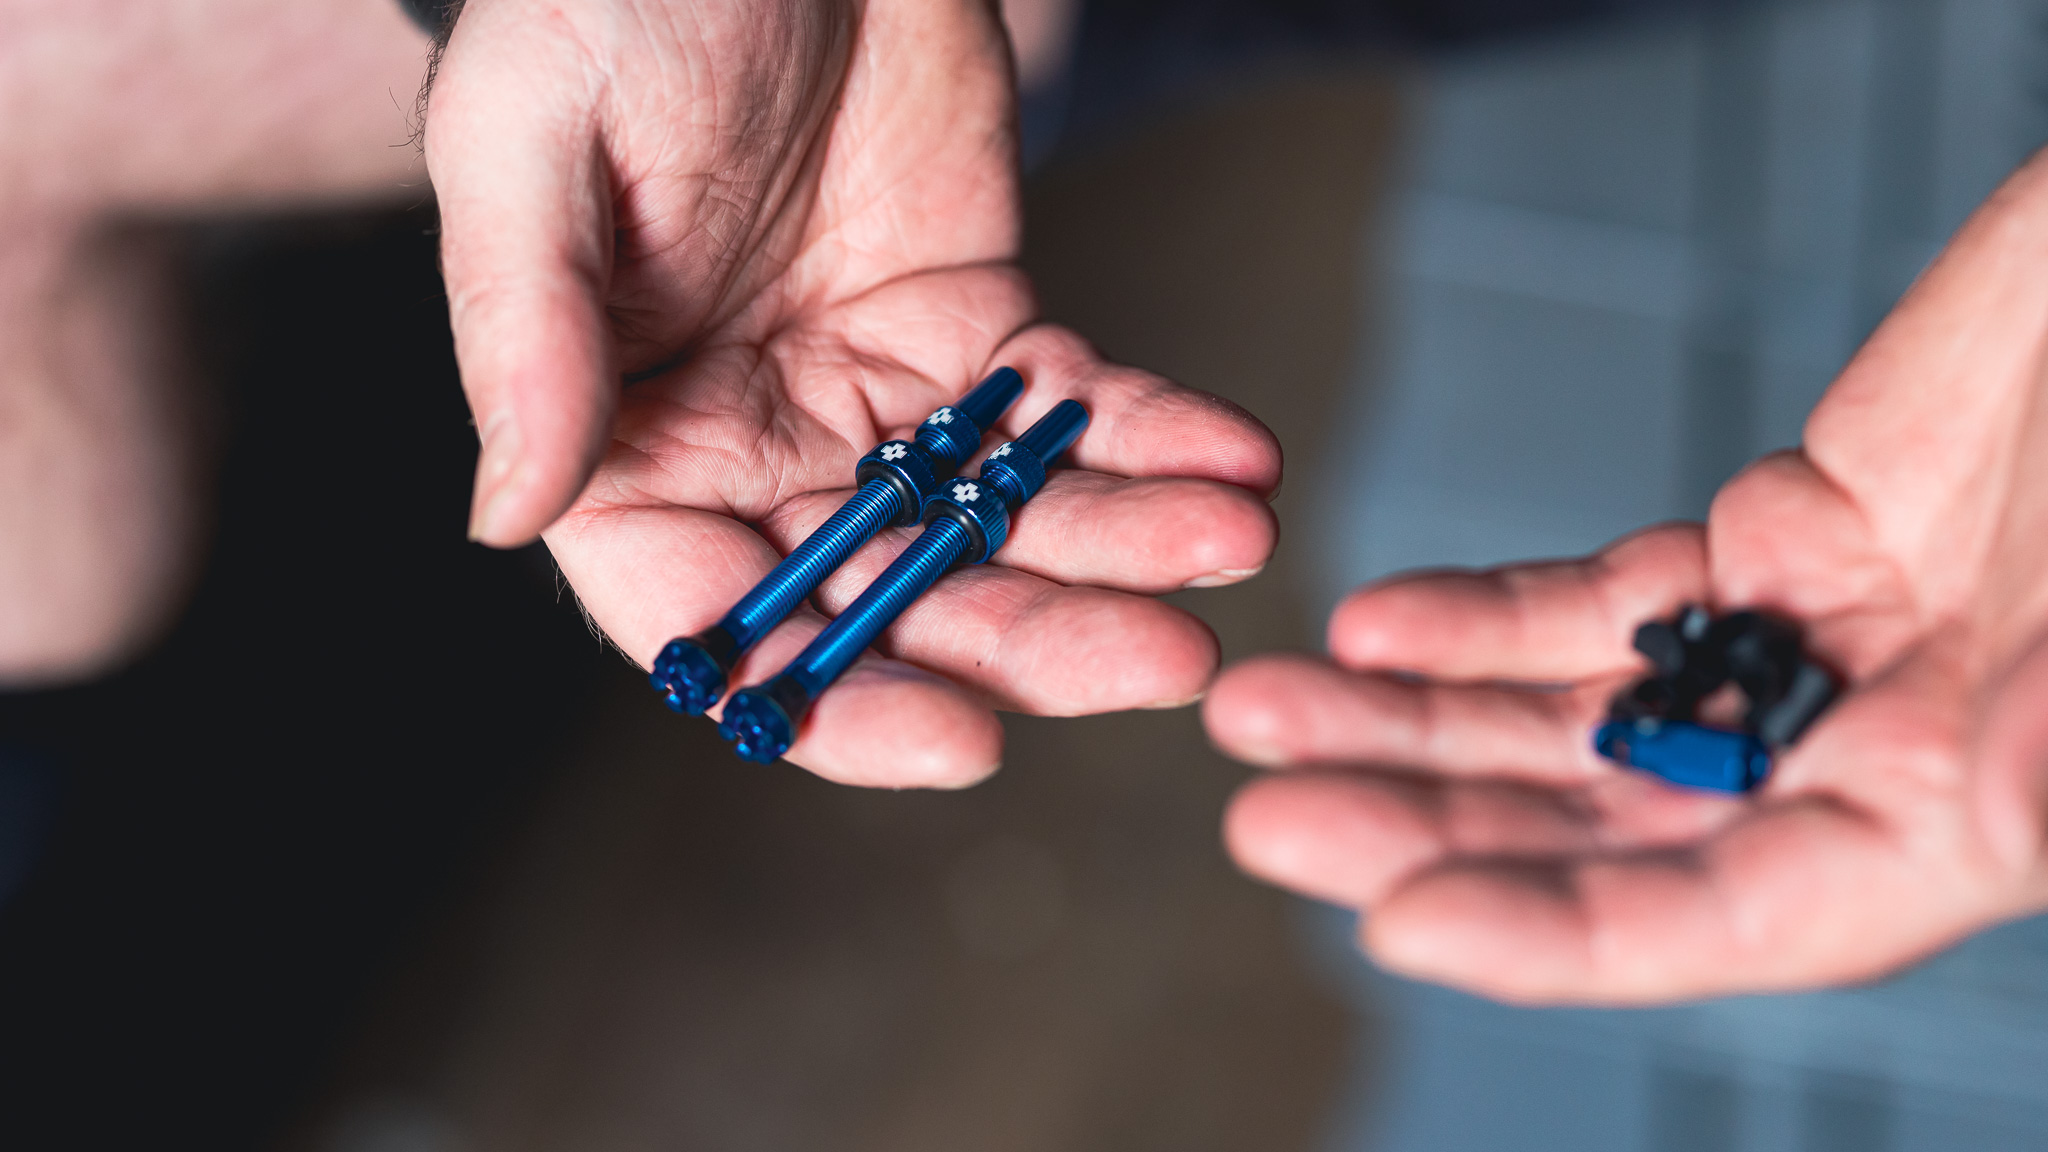
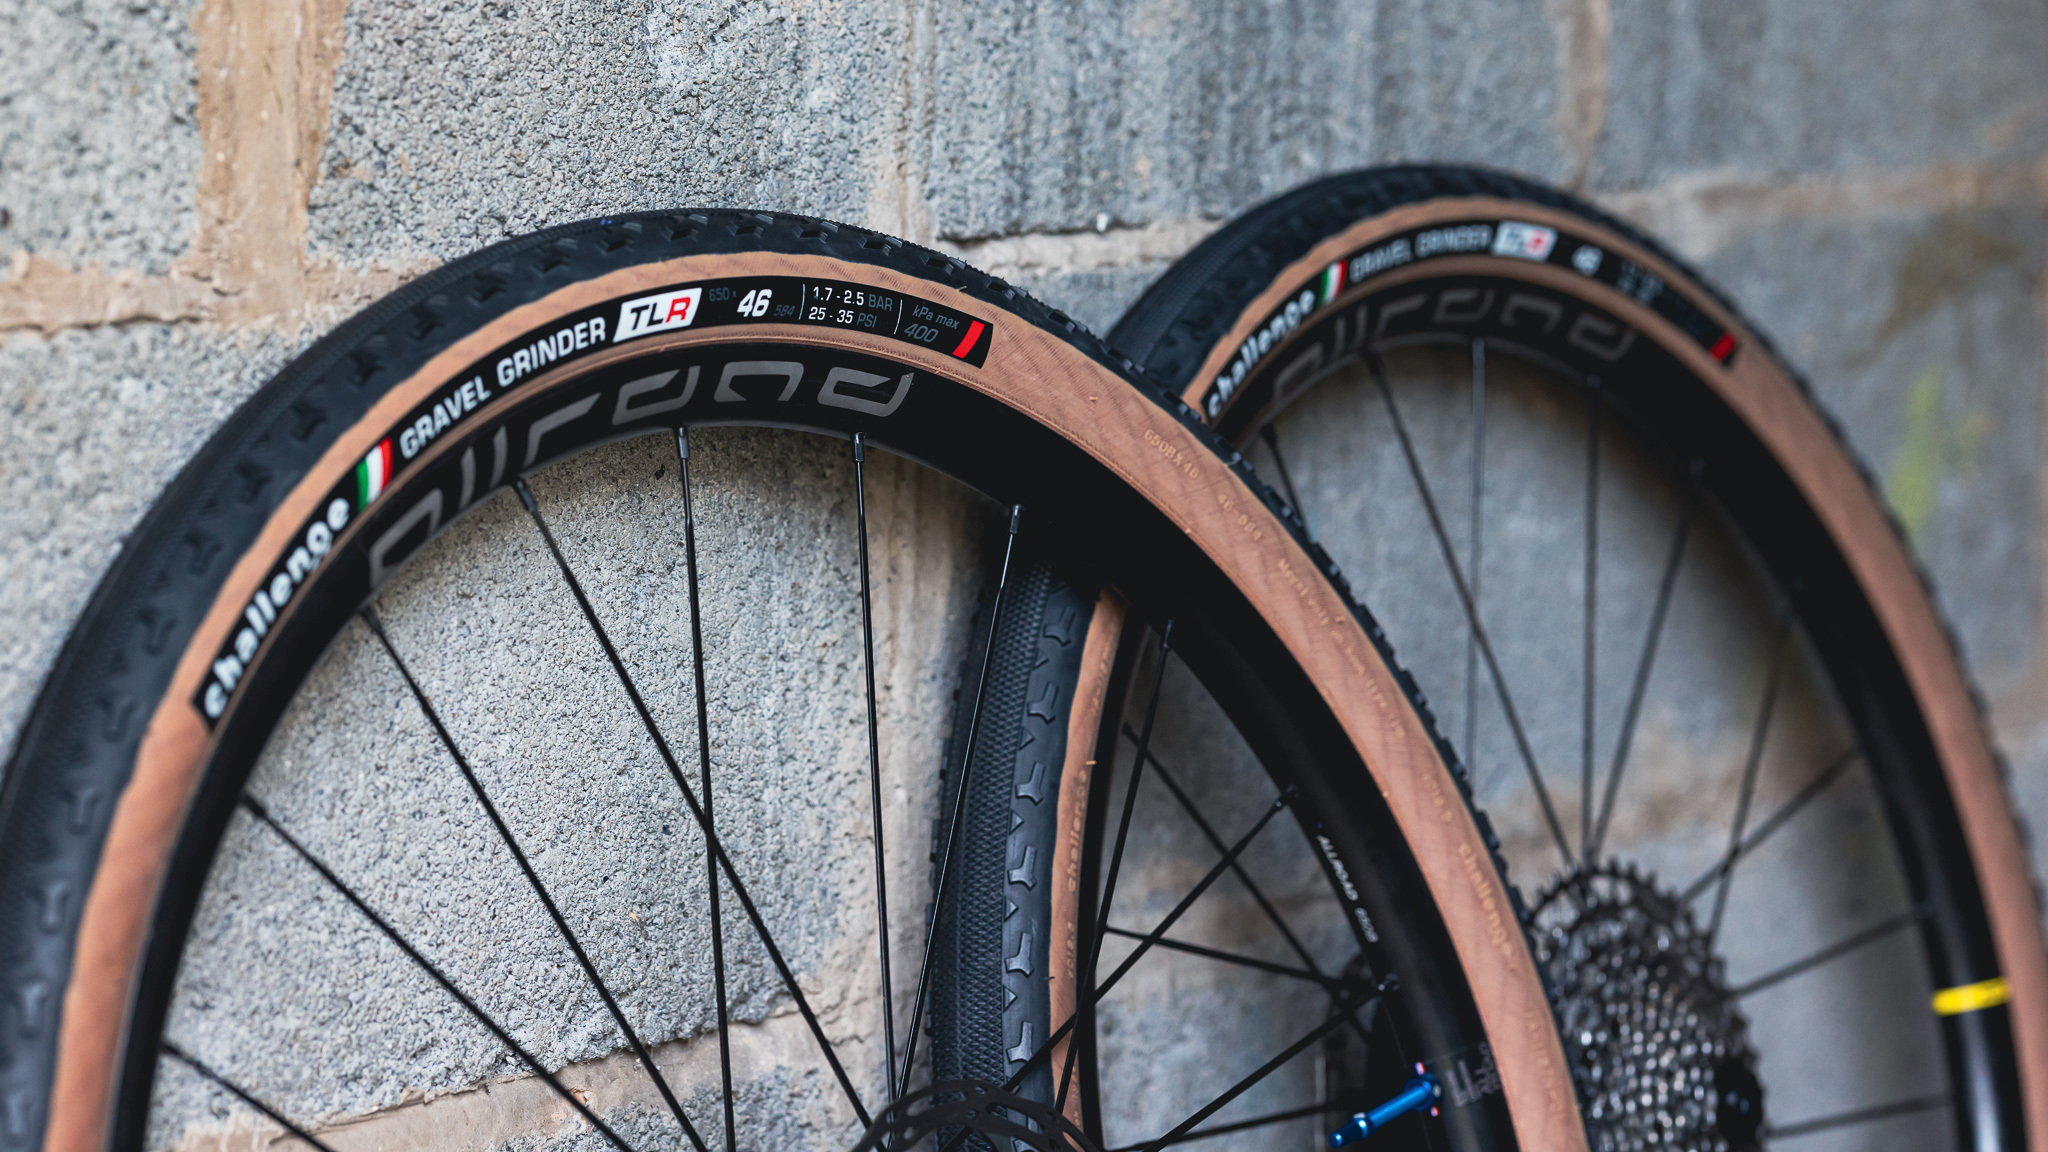
As I was taking the images of the process, my friend Lewis took on the role of the tubeless virgin, and we were working with a Mavic tubeless ready Allroad wheelset, Challenge Gravel Grinder tires, size 650B x 46, using Peaty's Holeshot Biofibre tire sealant and Muc-Off valves.
With stopping and starting, taking images, a coffee stop with some general chit chat the whole process took 45 mins, from removing old tires and tubes to two inflated, tubeless and ready to ride wheels, that I've now ridden and tested with no air loss problems.
1. Tape the rims
So luckily the Mavic Allroad rims on my Ribble 725 came tubeless ready/pre-taped. However, if you need to add rim tape, before installing the tape, make sure your rims are clean and dry, making sure that you have the correct size of tape for your rim’s internal width.
Clean and dry the rim bed, using a clean rag (ideally with some isopropyl alcohol) to ensure there is no dirt or any undesirable liquid in the rim bed. Start away from the valve hole, then carefully begin to apply the tape, maintaining constant pressure to ensure the tape is under tension. While maintaining tension, firmly press down the section you have just applied using your thumb or have your assistant doing the pressing. Continue this process until you meet the start of the tape and overlap the tape past the start point by around 10 cm. Then, carefully cut the tape and press down firmly. Check over your taping work for bubbles and rips. If there are any suspect areas, apply another layer or start again. Another good practice is to run a tire lever around the bead of the wheel, to push the tape into place and this will help in creating the air-tight seal.
2. Install the valves
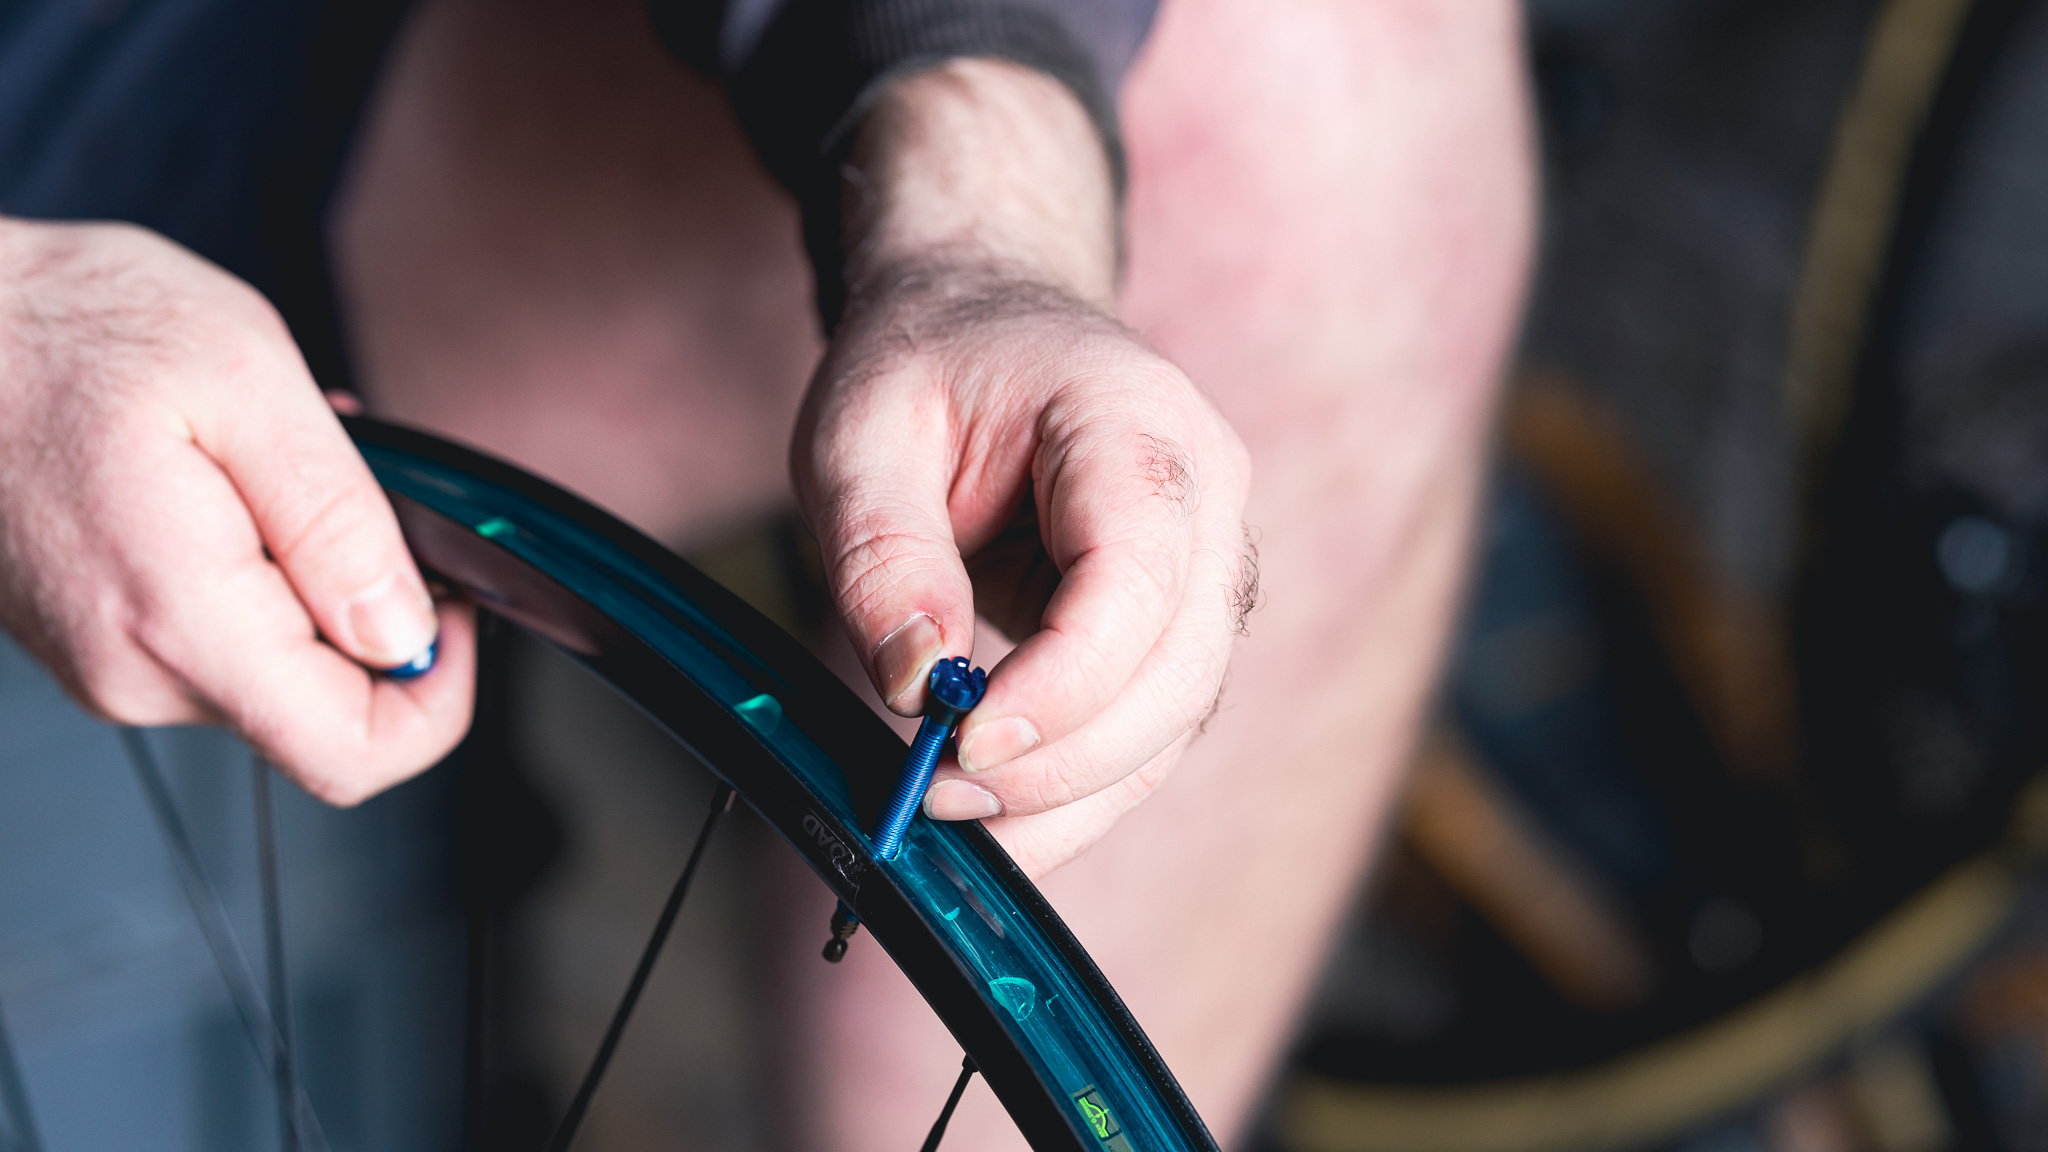
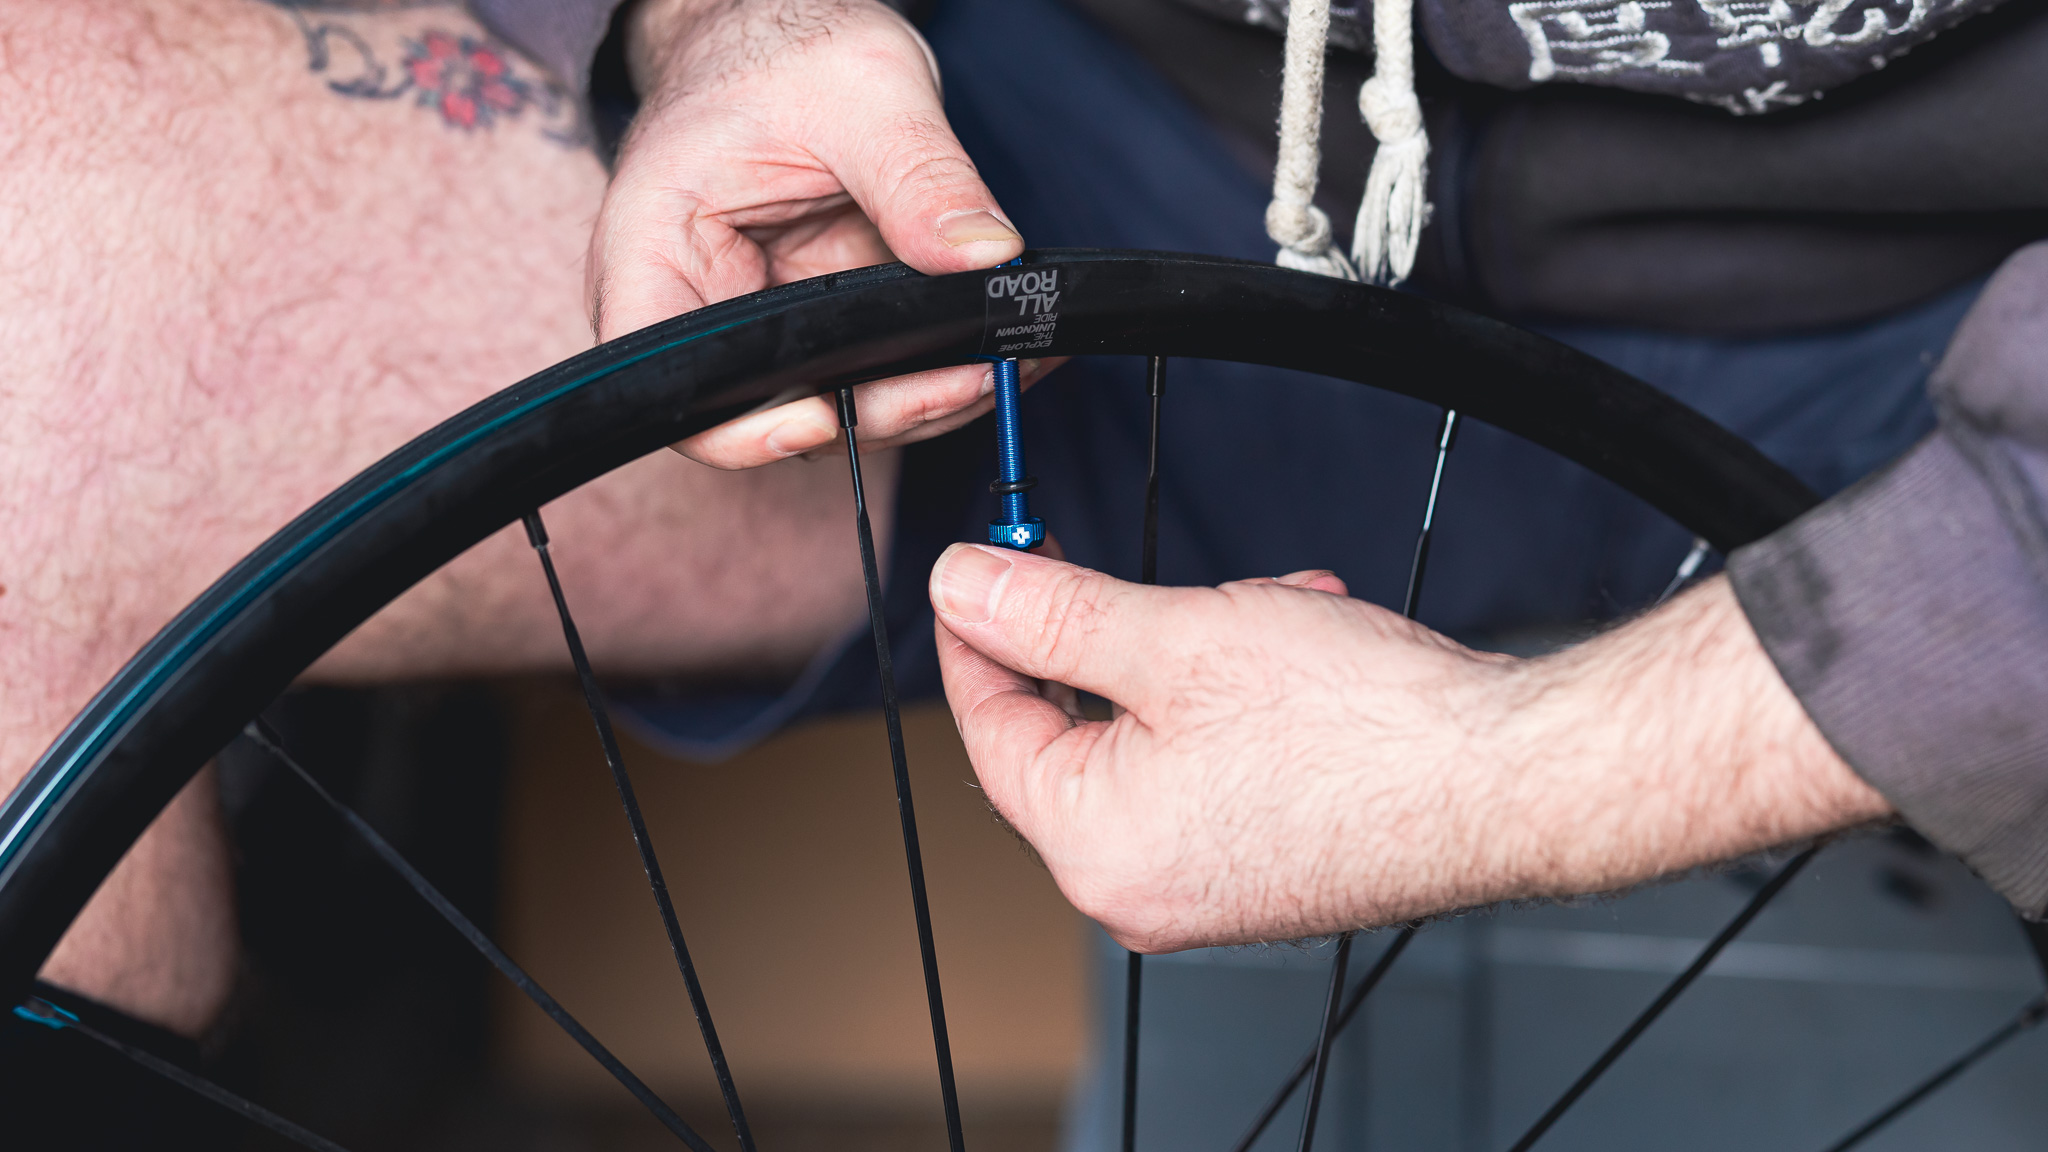
Locate the valve hole and carefully puncture the tape using an pointed tool. Using a round spike to create the valve hole ensures a clean circular puncture, as opposed to a knife or razor which cuts a long slice in the tape, that could split and compromise the seal.
Most tubeless valves come with a few options for rubber seals that fill the hole in the tape and create the seal with your wheel, so pick the best one that suits your own rims. Insert the valve into the rim and carefully push it through the valve hole, making sure the base of the valve sits flush with the rim tape. Then, add the valve lock nut and wind it on finger-tight. You don't need to be swinging on the nut to tighten, as over-tightening can damage the rims. Once locked in place, check closely that the valve is seated correctly and looks air-tight (no sign of light) and you're done.
3. Mount the tire
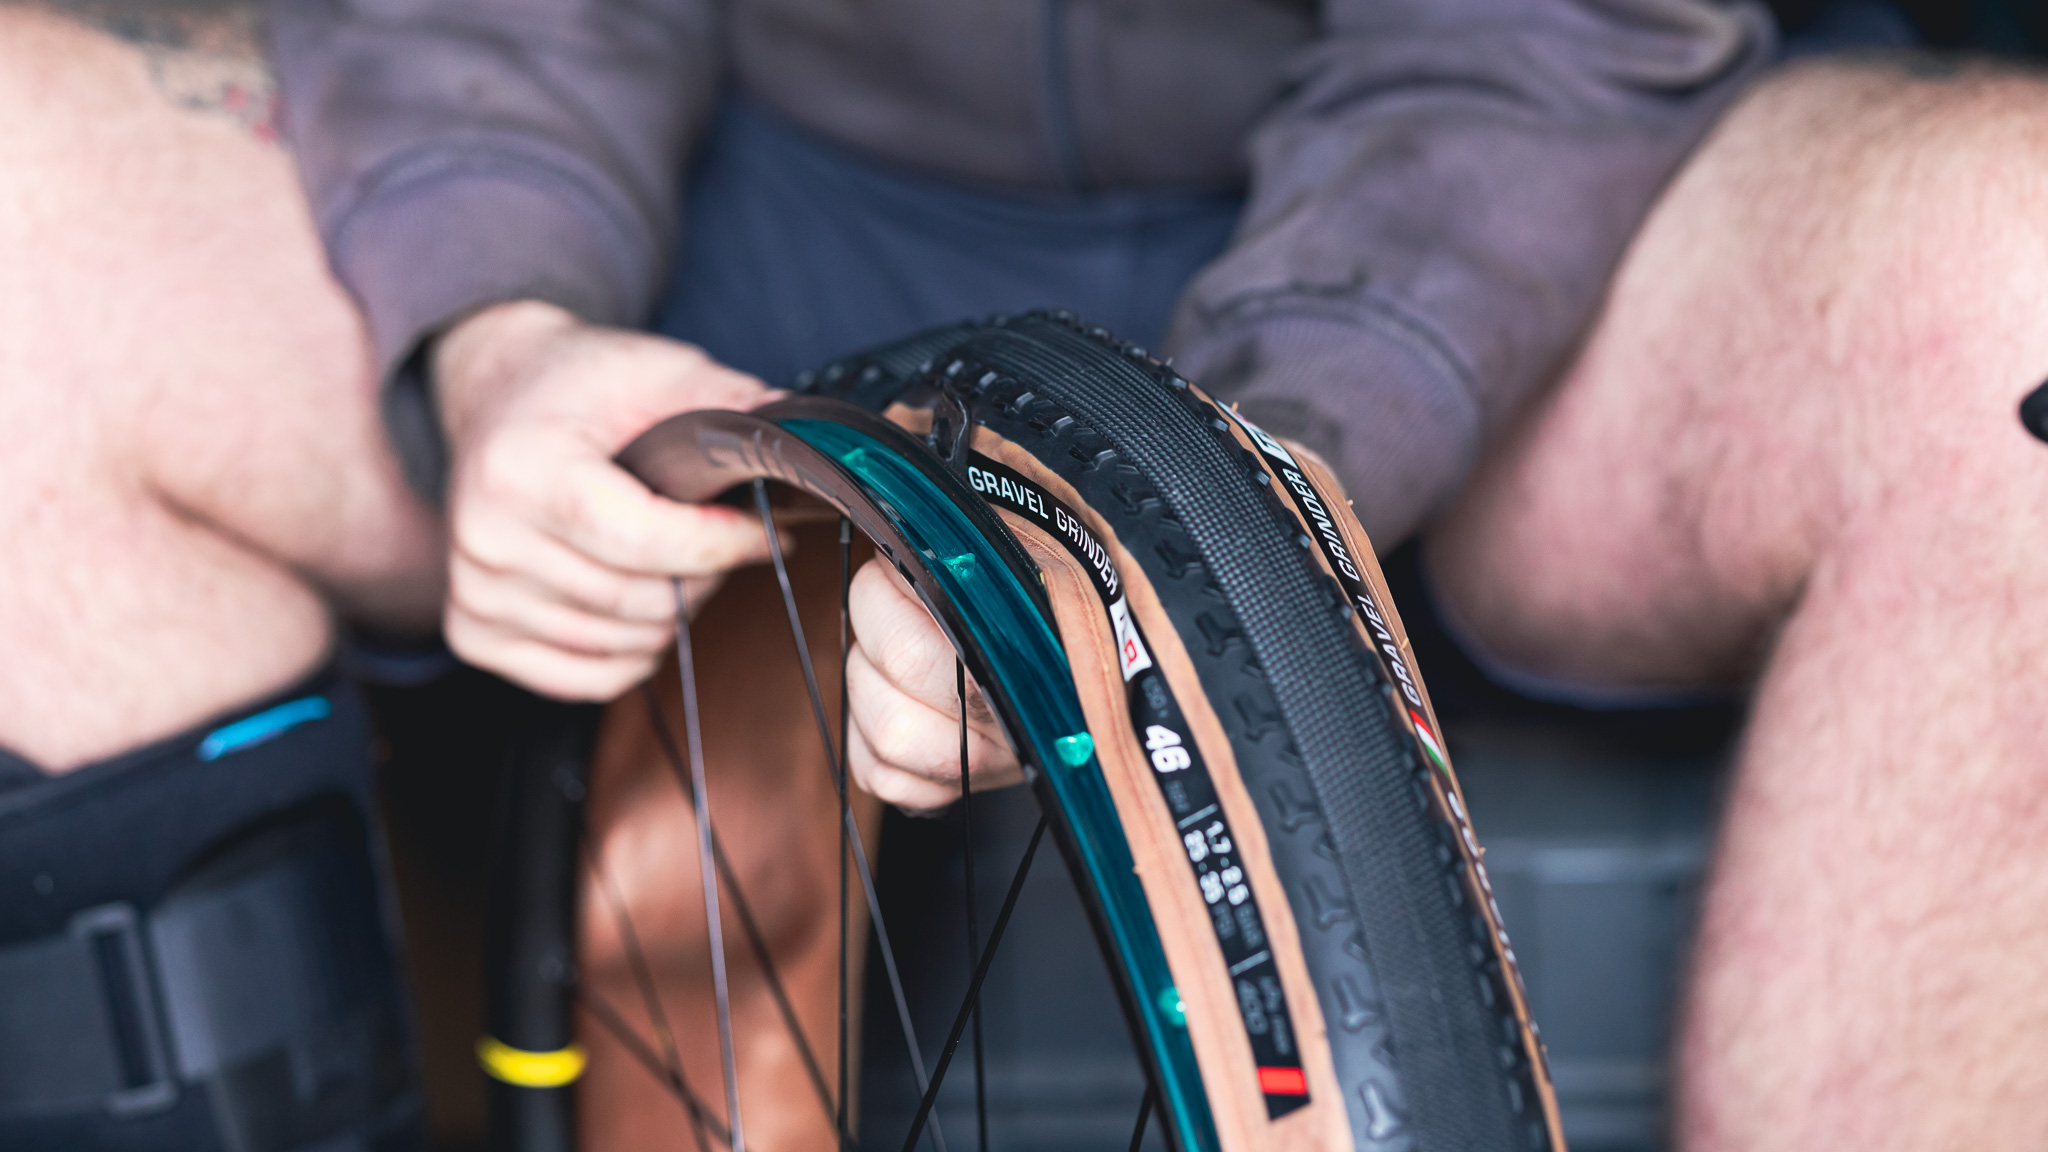
So I'll admit this bit can be tricky, depending on tire brand and wheel combo. It can be tough getting the tires on and sore on the hands. Tire levers, gloves and an extra pair of hands can help with this step, and also some soapy water or there are various easy fit tire liquids available.
Before mounting the tire, make sure to check the orientation arrow on the sidewall so the tire will be running the correct way once installed. Sit one bead of the tire into the rim, and install one side of the tire. For aesthetics, you might want to align the logo of your tire either with the valve or the wheel branding, whatever you think looks best.
Then, starting opposite the valve, push the other tire bead into the rim using both hands. This bit is down to your technique but generally by resting the rim on your legs or the floor you can hopefully push the tire bead onto the rim. The closer you get to the entire tire being on the wheel, the harder it will get. You may need to use a lever here or extra hands to hold the tire in place and avoid chasing the last few inches of the tire around the rim. Depending on how you choose to install the sealant you may at this point choose to leave the final part of the tire open (see below) or if you're adding through the valve, then fit the entire tire. You can even inflate at this point as this helps seat the tire and you can check the valve is well sealed before any sealant is added.
4. Adding sealant – inject or pour?
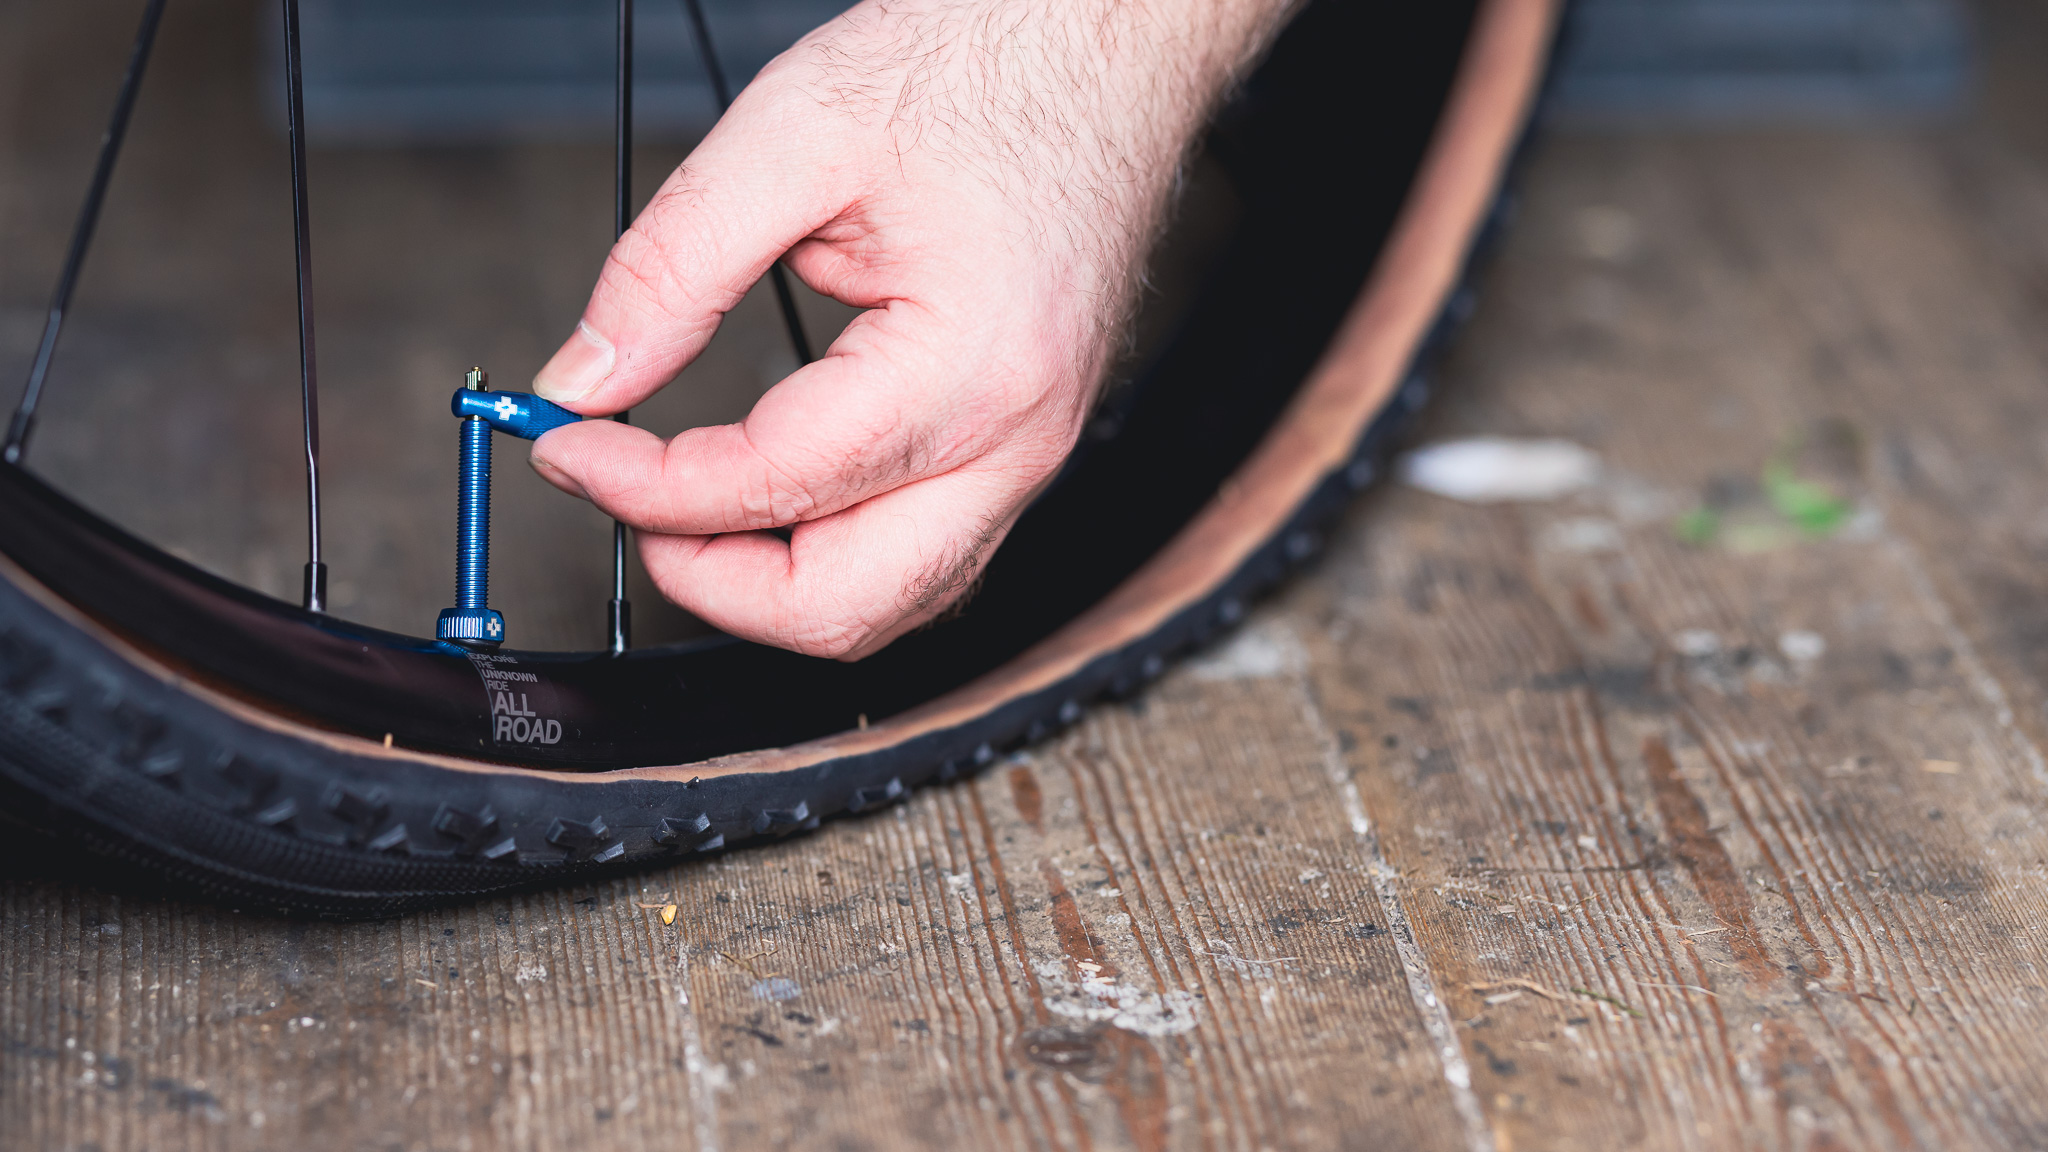
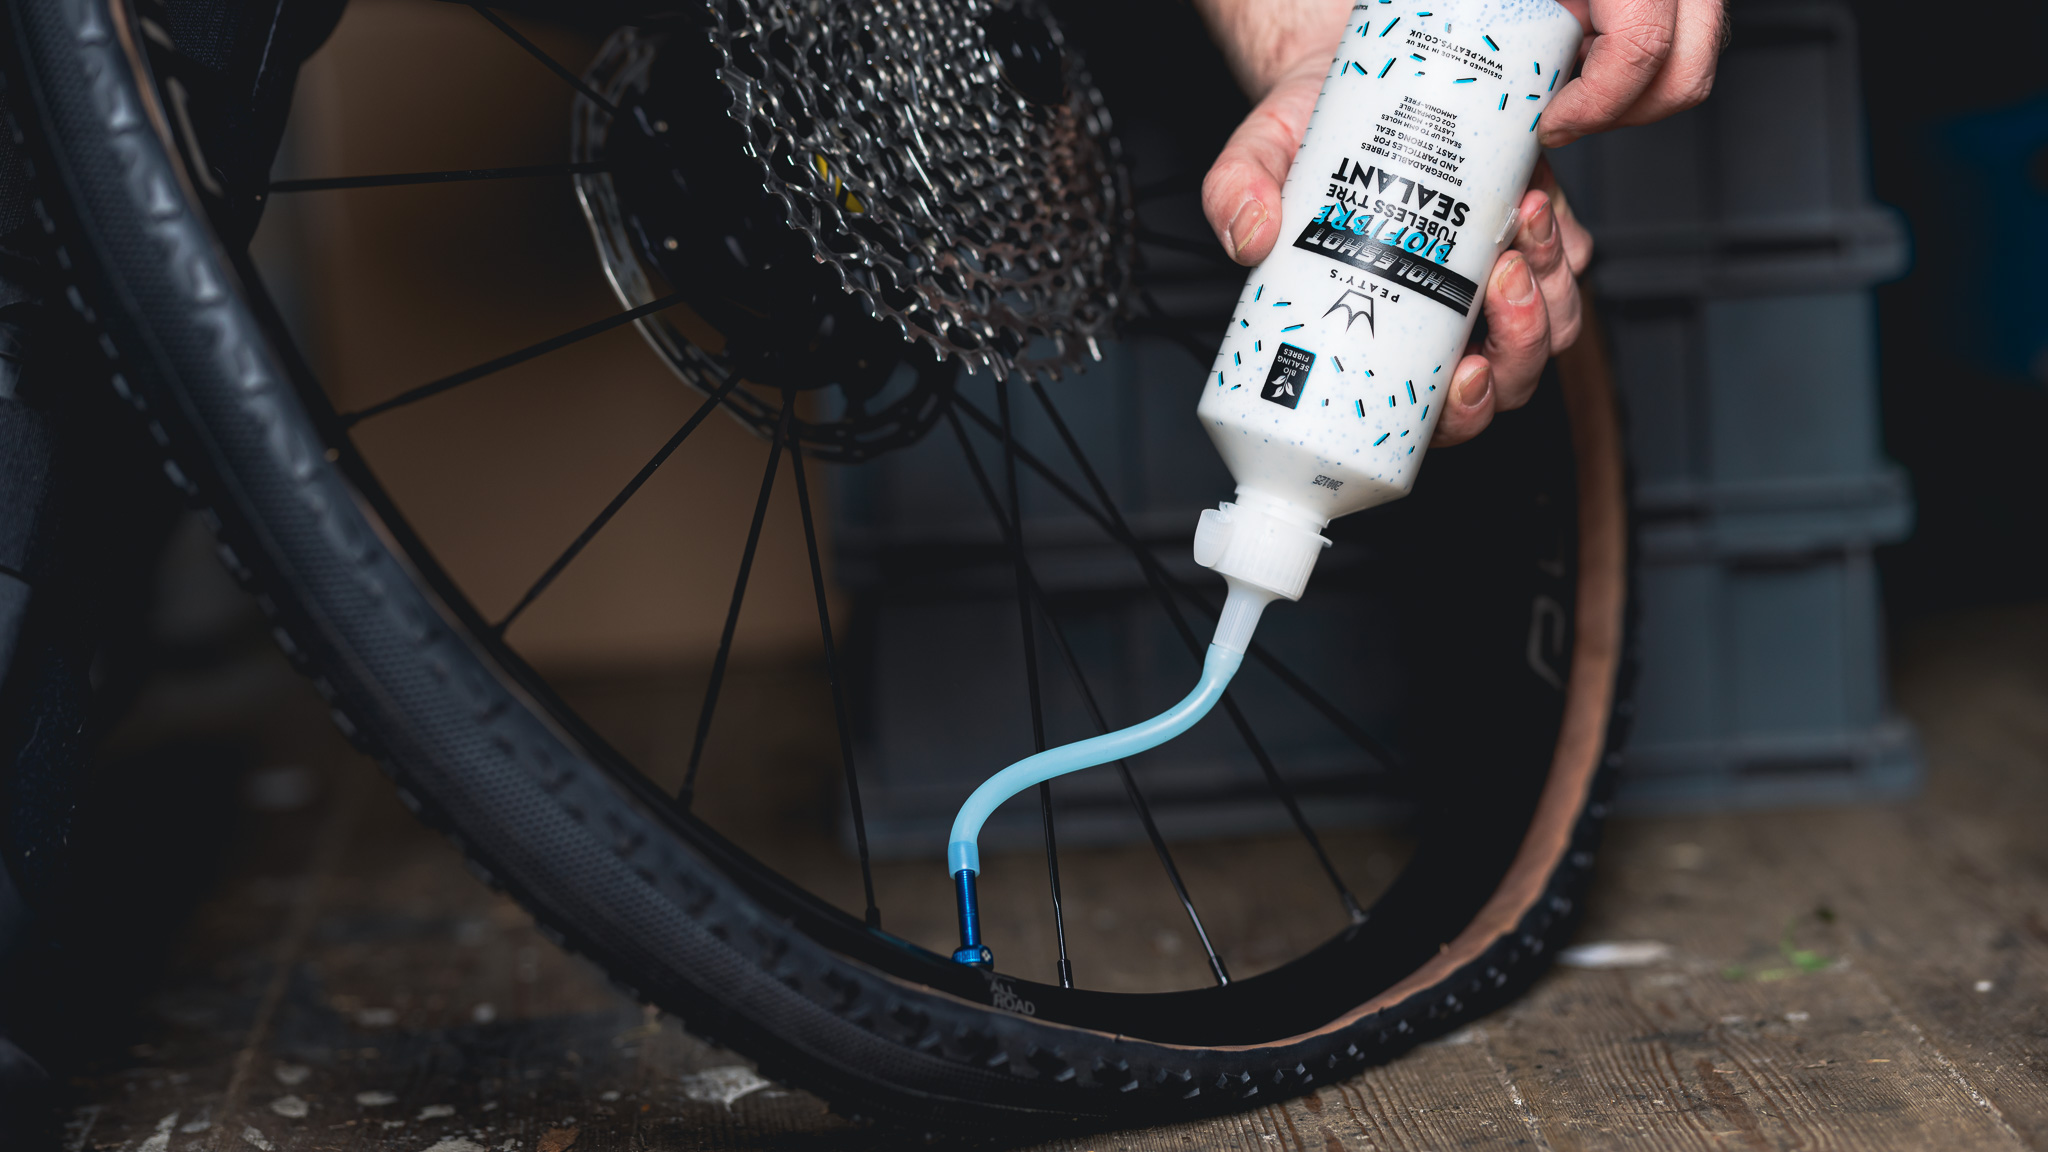
There are two methods of adding sealant to the tire – through the valve stem or pour into an open section of tire. For the purpose of the guide, we use a pour of sealant in one wheel and the valve stem injection method in the other. The cleanest way to install sealant is probably by injecting it straight through the valve. To do this, you simply remove the valve core, most valve kits will come with a core removal tool, and that allows you to squirt the sealant in using a sealant injector or nozzle bottle. The Peaty's sealant we used came with a nozzle and a tube that fits on the valve. Most sealants will have a recommended amount to use, depending on the size of the tire. It will likely be around 50–70 ml of sealant per tire depending on tire type, skimping here will reduce the effectiveness of the sealant dramatically, so from my experience more is better. Then simply refit the core and the injection method is complete.
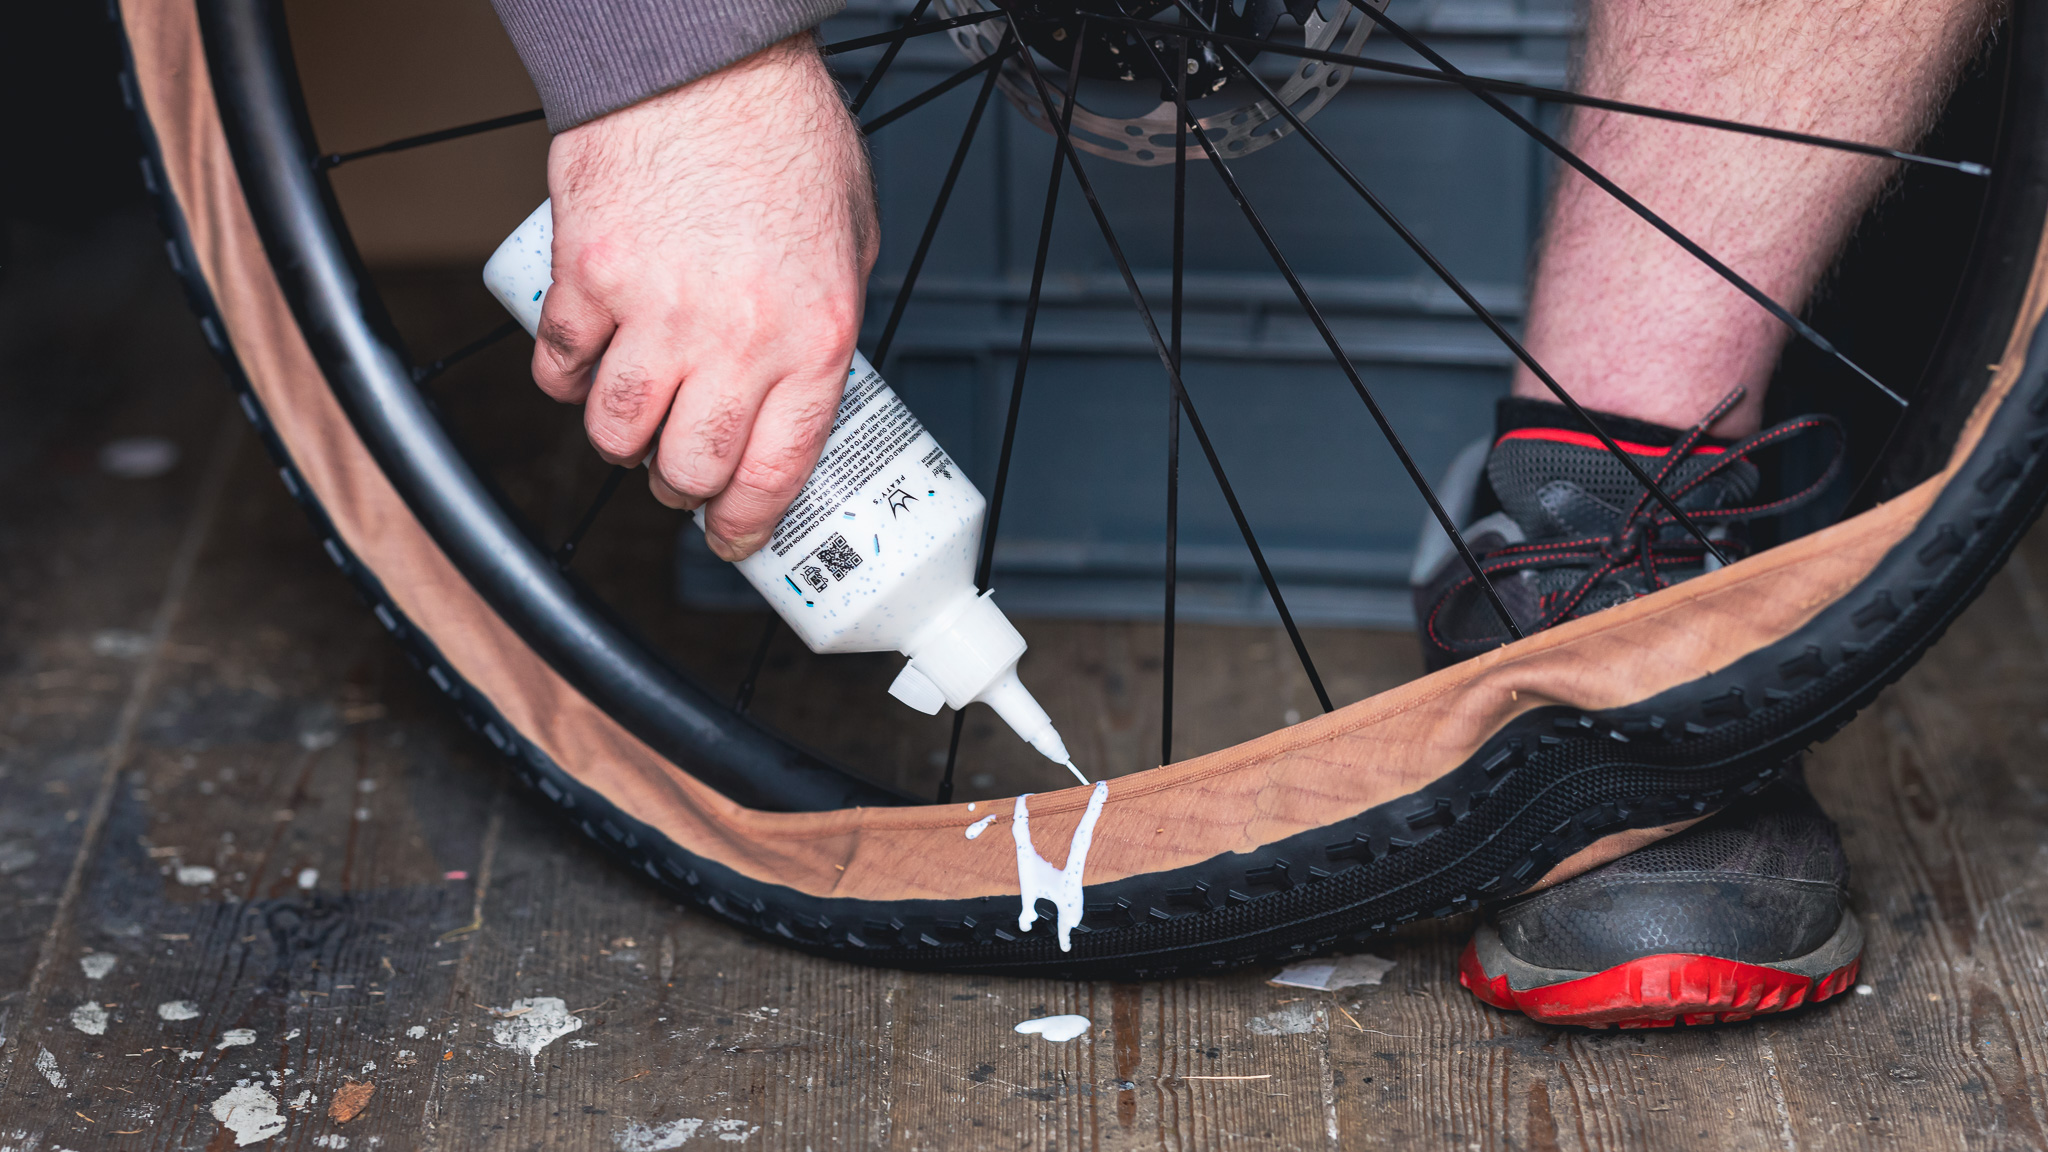
If you are going to use the pouring-in method, which for me is way easier unless you're dealing with a super tight tire bead, then you'll have your open section of tire, pour in the required amount and rotate the wheel to disperse the puddle and pop the final part of the tire bead on. This method can be a little messy but it's not the end of the world – a quick wipe up and you are done.
5. The satisfying pop
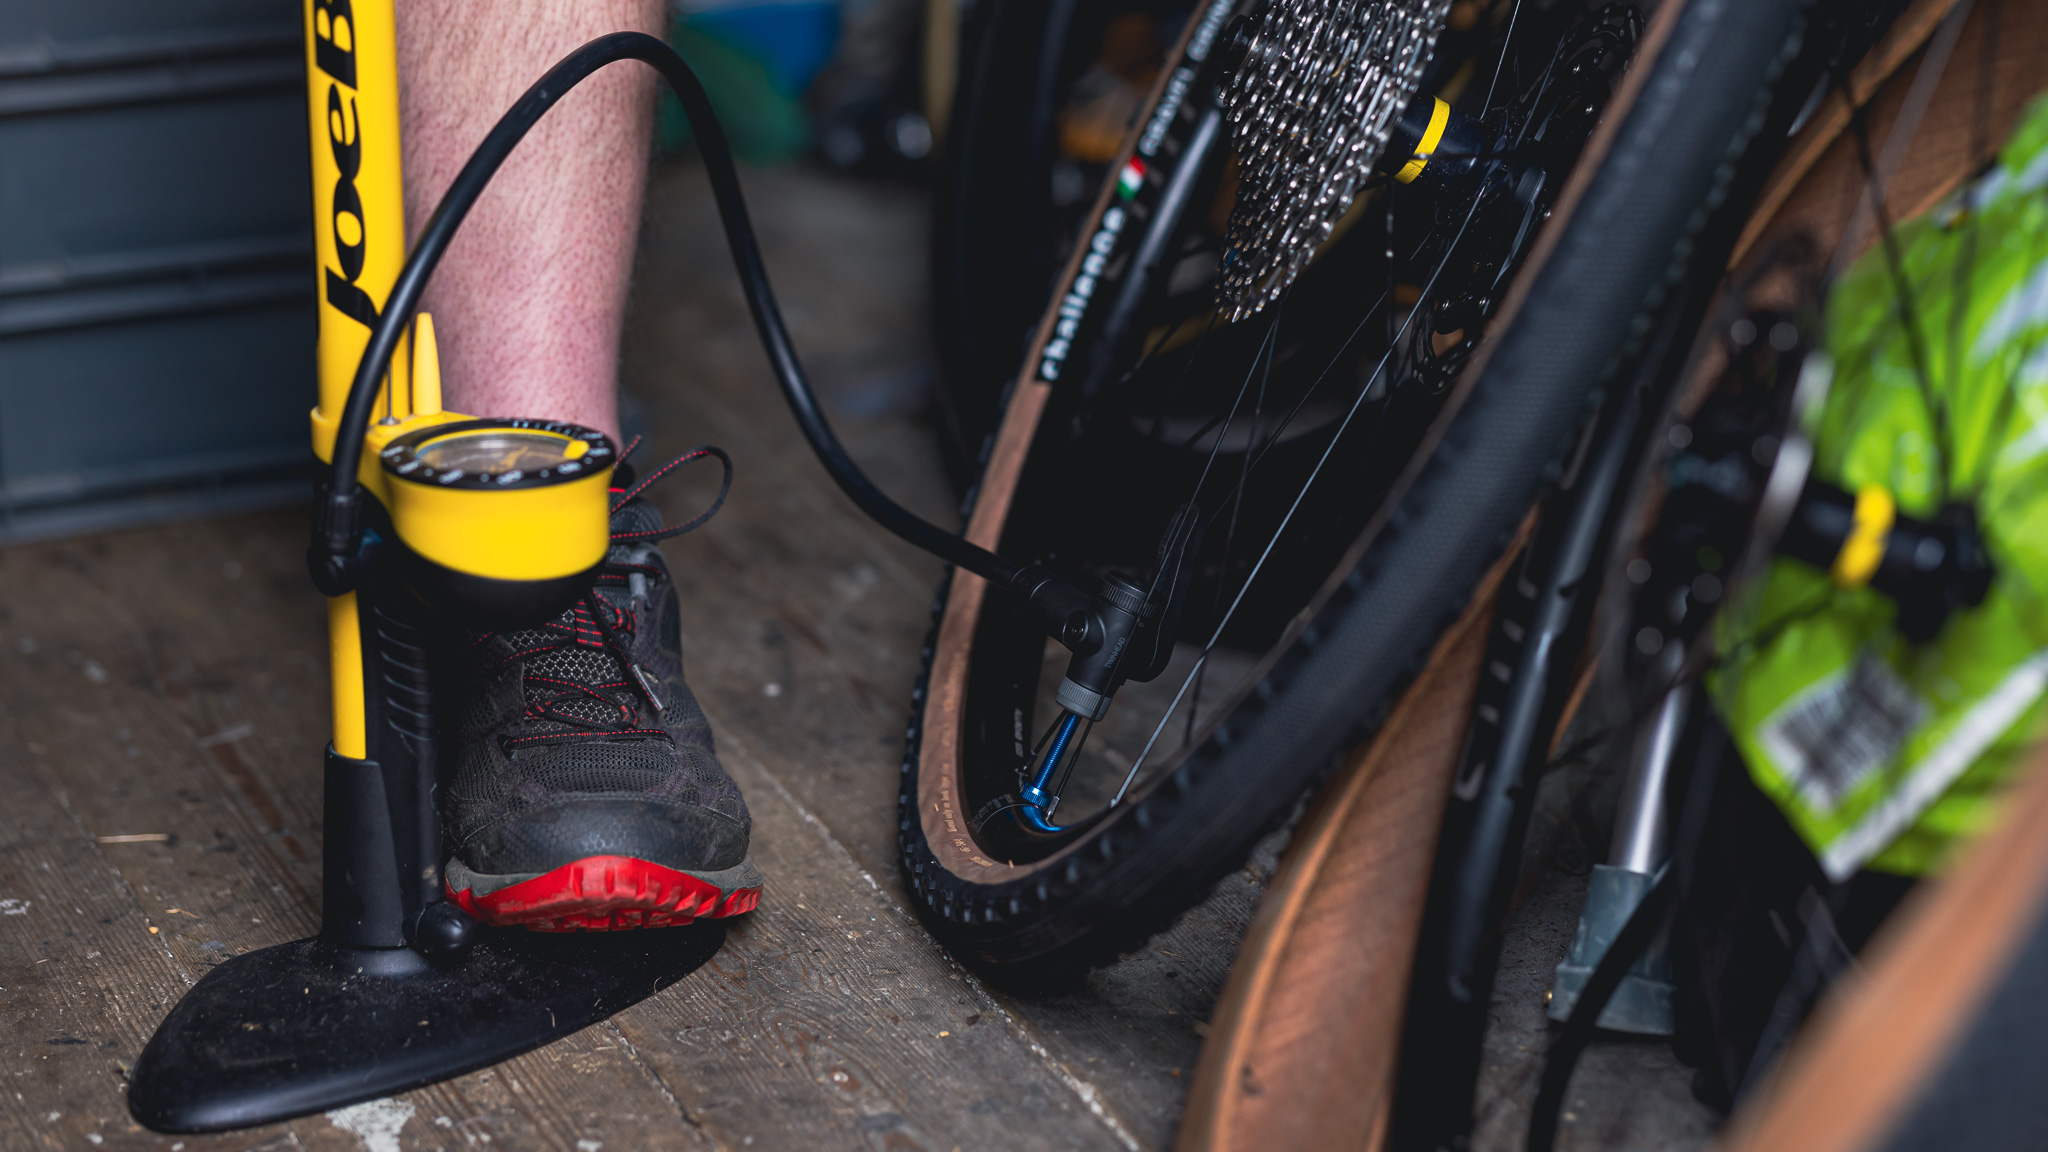
All that’s left now is to inflate your tire, it is said that a tubeless inflator makes this a lot easier. However, we used and I've always used a floor pump, and never had any problems.
If your tire is seated correctly, inflating without sealant should have helped here, it will inflate and the big pop of the bead engaging with the rim is the satisfying reward of a job well done. If it's not inflating and being stubborn, you can try a few techniques that may help, a gentle massage of the tire can maneuver the bead into position, or removing the valve core to inflate will increase airflow, and can help get it seated (just remember to add it back once inflated).
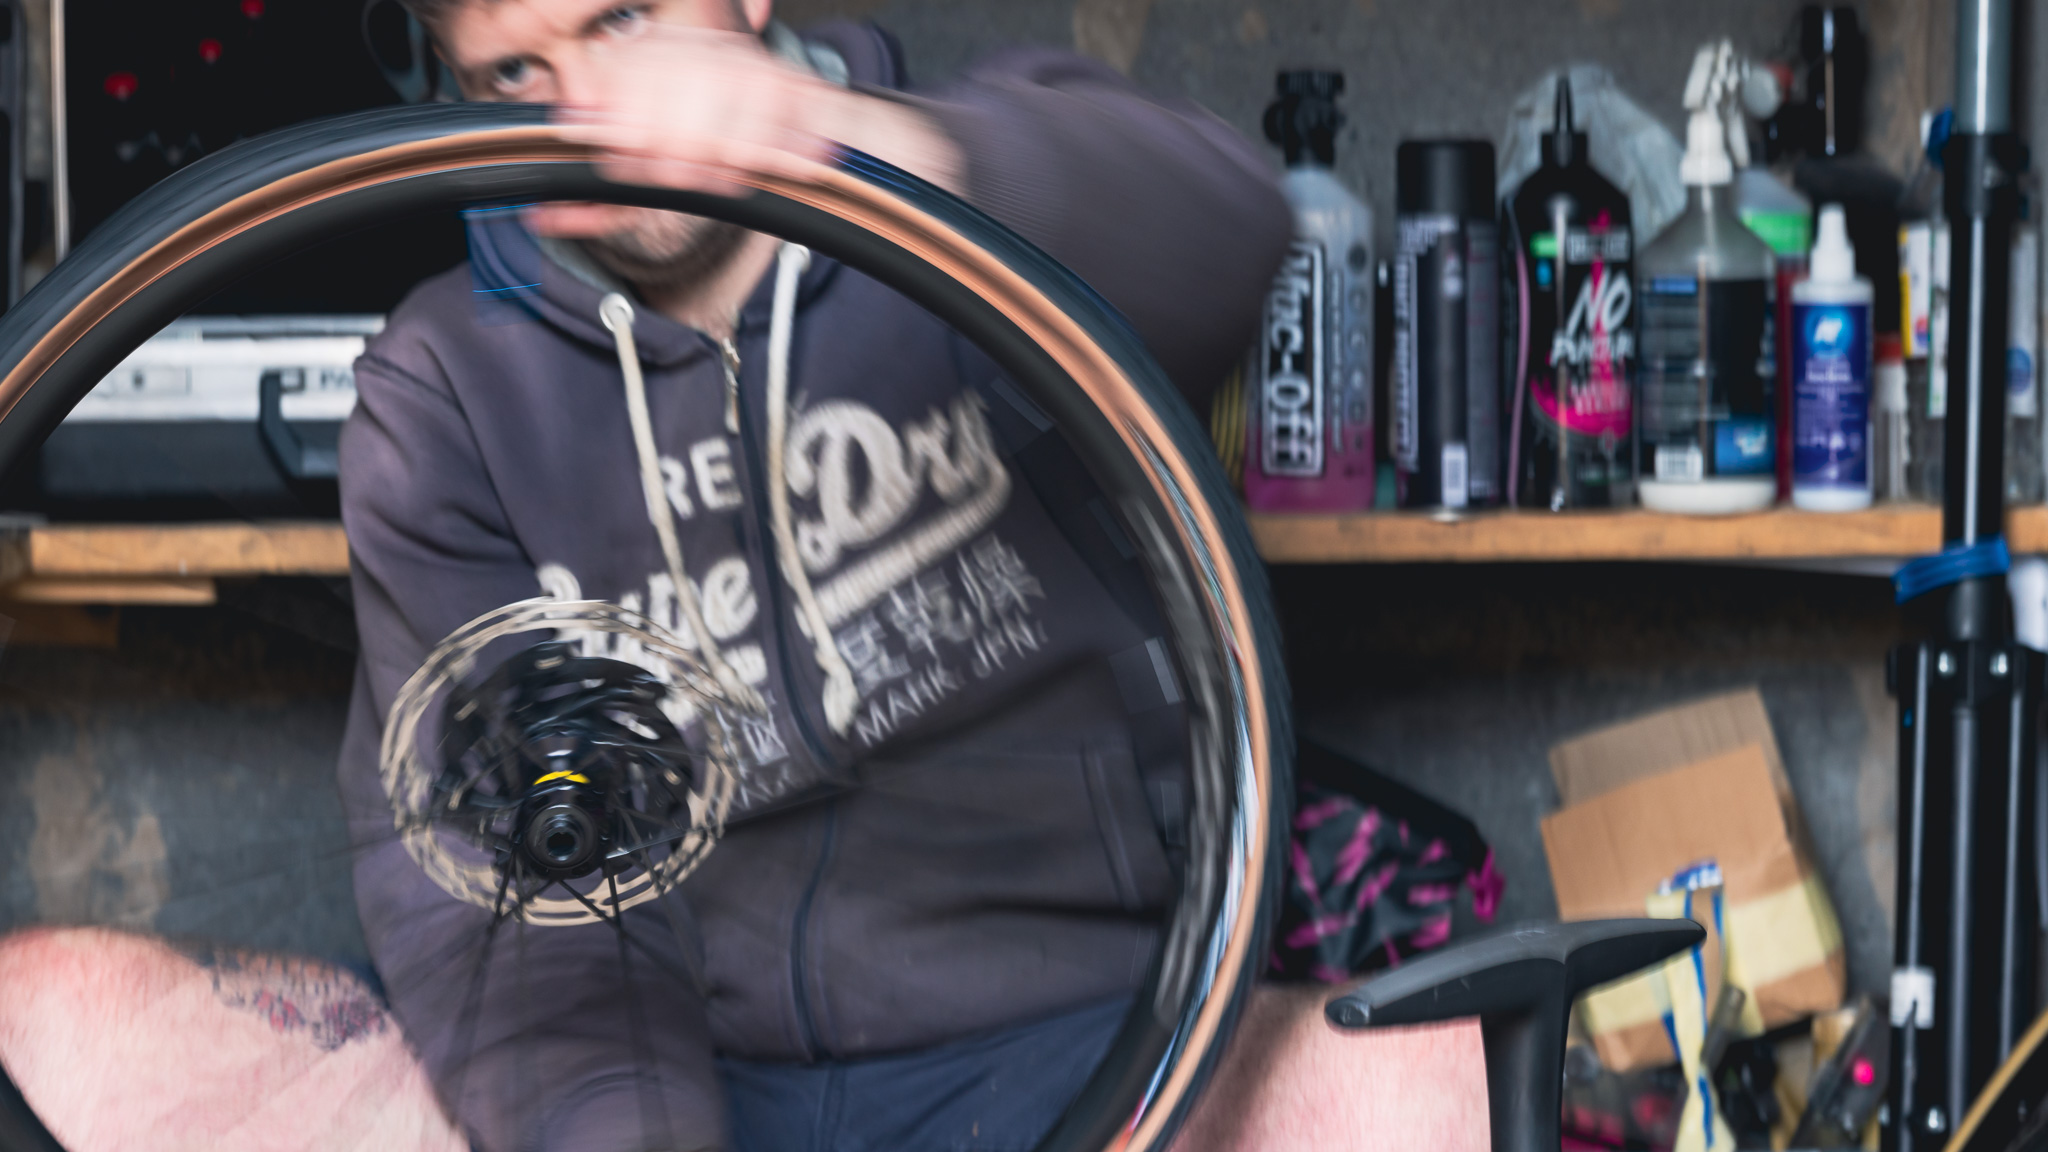
Once sorted, inflate to the recommended PSI, we went slightly over before dropping some air and then gave the wheel a spin and a shake to make sure the sealant coats the inside of the tire evenly. Fitting on your bike straight away and going for a short spin will test the seal and also help the sealant properly coat the tire.
If you do find that you have a few leaks between tire bead and rim, a good method for locating them is to remove the wheel, brush the rim area with soapy water and then watch for any areas that bubble up. Once you've located your leak/s, spin the wheel so that the troublesome part is at the lowest point of the wheel and give it a shake to coat that area with sealant and so stop the leak.
And you're done. Simple and easy. However, if your tire just won't inflate then you may have to get your hands on a tubeless inflator, compressor or a visit to the local bike shop for a blast of air to get it seated correctly. Don't let this put you off, as I said at the start, I'm no mechanic and have completed the tubeless setup several times, solo and with a floor pump.

Paul Brett joined BikePerfect as a staff writer in 2022. He has been an avid cyclist for as long as he can remember, initially catching the mountain biking bug in the 1990s, and he raced mountain bikes for over a decade before injury cut short a glittering career. An award-winning photographer, when not riding a bike, he can be found at the side of a cyclocross track or a downhill mountain bike world championship shooting the action. Paul was the founder, editor and writer of Proper Cycling magazine, and he's traveled the world interviewing some of the biggest names in mountain biking and writing about some of the biggest cycling brands.
Current rides: Canyon Inflite, Specialized Diverge, Marin Alpine Trail 2
