You probably have your MTB saddle set up wrong, but here's how to find your sweet spot
Saddle setup is a complicated subject, but it doesn't have to be a pain in the ass
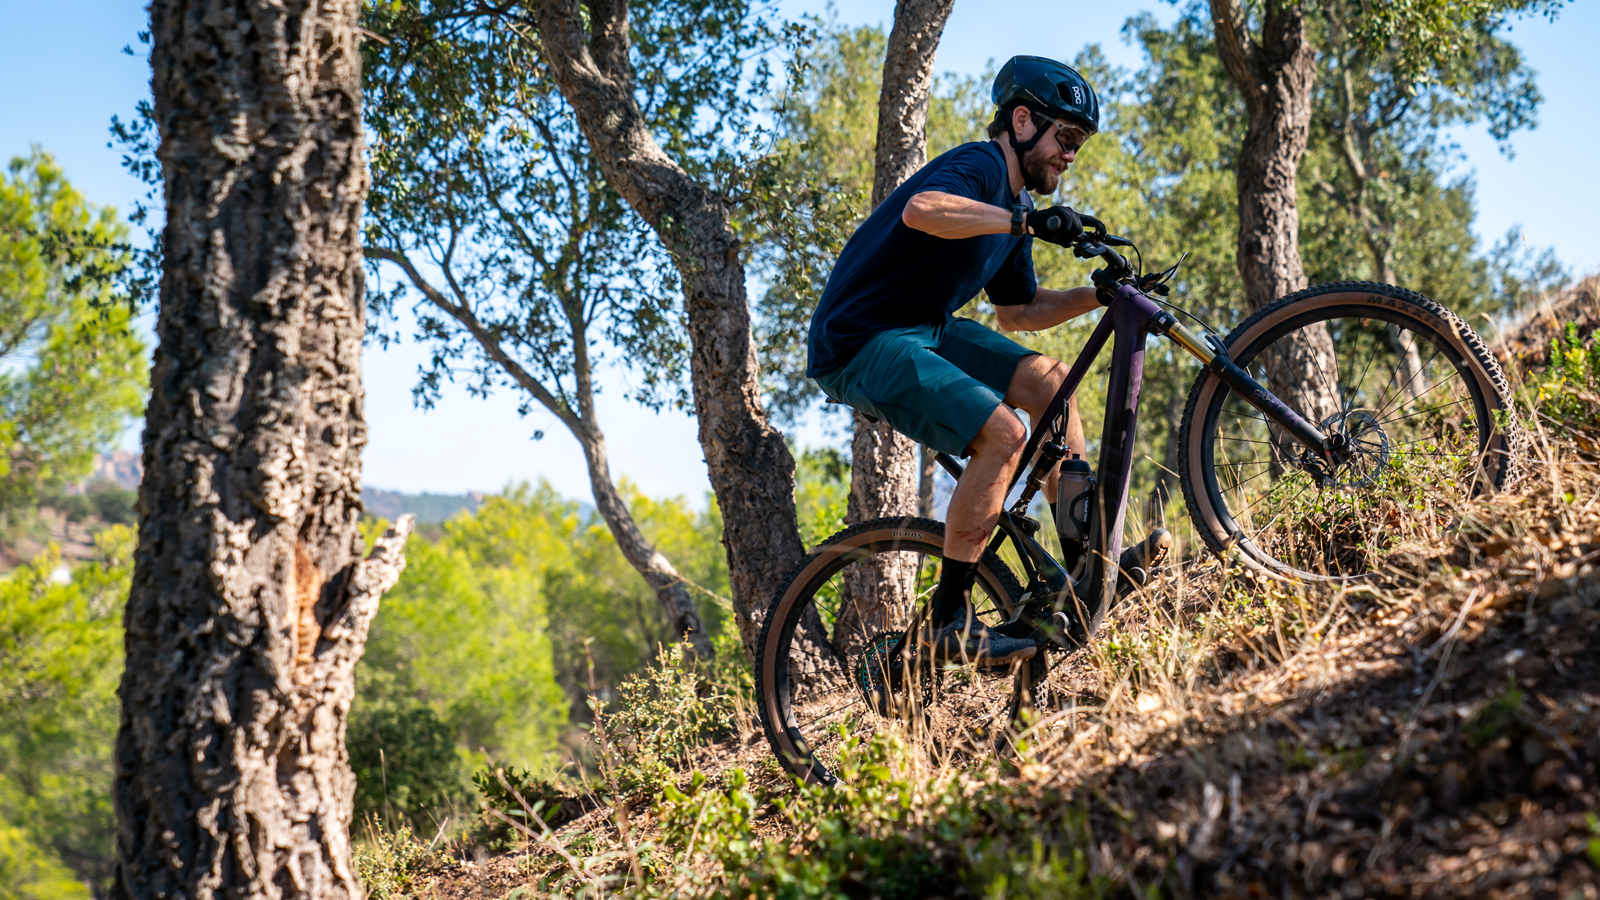
Search the internet and you will find plenty of information about road and gravel bike saddle setup but far less specifically about mountain biking. Although the average mountain biker won’t spend as much time in the saddle, given the extremes in gradients, variations in terrain, and dynamic nature of mountain bikes and riding, saddle setup is arguably far more involved than the static pedaling optimized position of drop bar bikes.
I’m not going to go deep into how to choose the right saddle or the intricate science of bike fitting. Instead, this is a guide on how you can experiment with your current setup, gain a better understanding of the effects of saddle position, and maybe find a more comfortable mountain bike saddle position. So let's dig into it.
Let's start with the saddle
Saddles are a personal preference and what works best for one person won't necessarily suit someone else. The type of riding you do will affect the saddle you choose too so there is a fair bit of consideration when choosing the best MTB saddle. All the options can be a bit bamboozling if you aren’t sure what you want or don’t have access to loads of saddles to try out.
Similar to handlebar setup, if you don’t want to change your saddle there is loads of scope to experiment with your current setup to find a more comfortable position. Unless your saddle is causing you specific discomfort, I would recommend experimenting with your existing setup first as even small adjustments to saddle height and angle can often have dramatic effects on comfort.
If you are choosing a new saddle there are a few things to consider. Step one is determining what size of saddle you need. Most saddles, specifically those aimed at the pedal-lier end of mountain biking, will be available in at least a couple of different widths. These widths correlate to your sit bones so it’s worth measuring those to get the right size. Some bike shops will have machines to do this or you could pay a bike fitter for a saddle fitting, however, it's easy to get a rough sit bone measurement at home to get a ballpark guide to your required saddle width.
Unfortunately from here, you are kinda on your own. Some people like long-nosed saddles, others prefer short ones, there are flat or curvy profiles, and more padding can be both more or less comfortable depending on the rider or riding. There are no right answers.
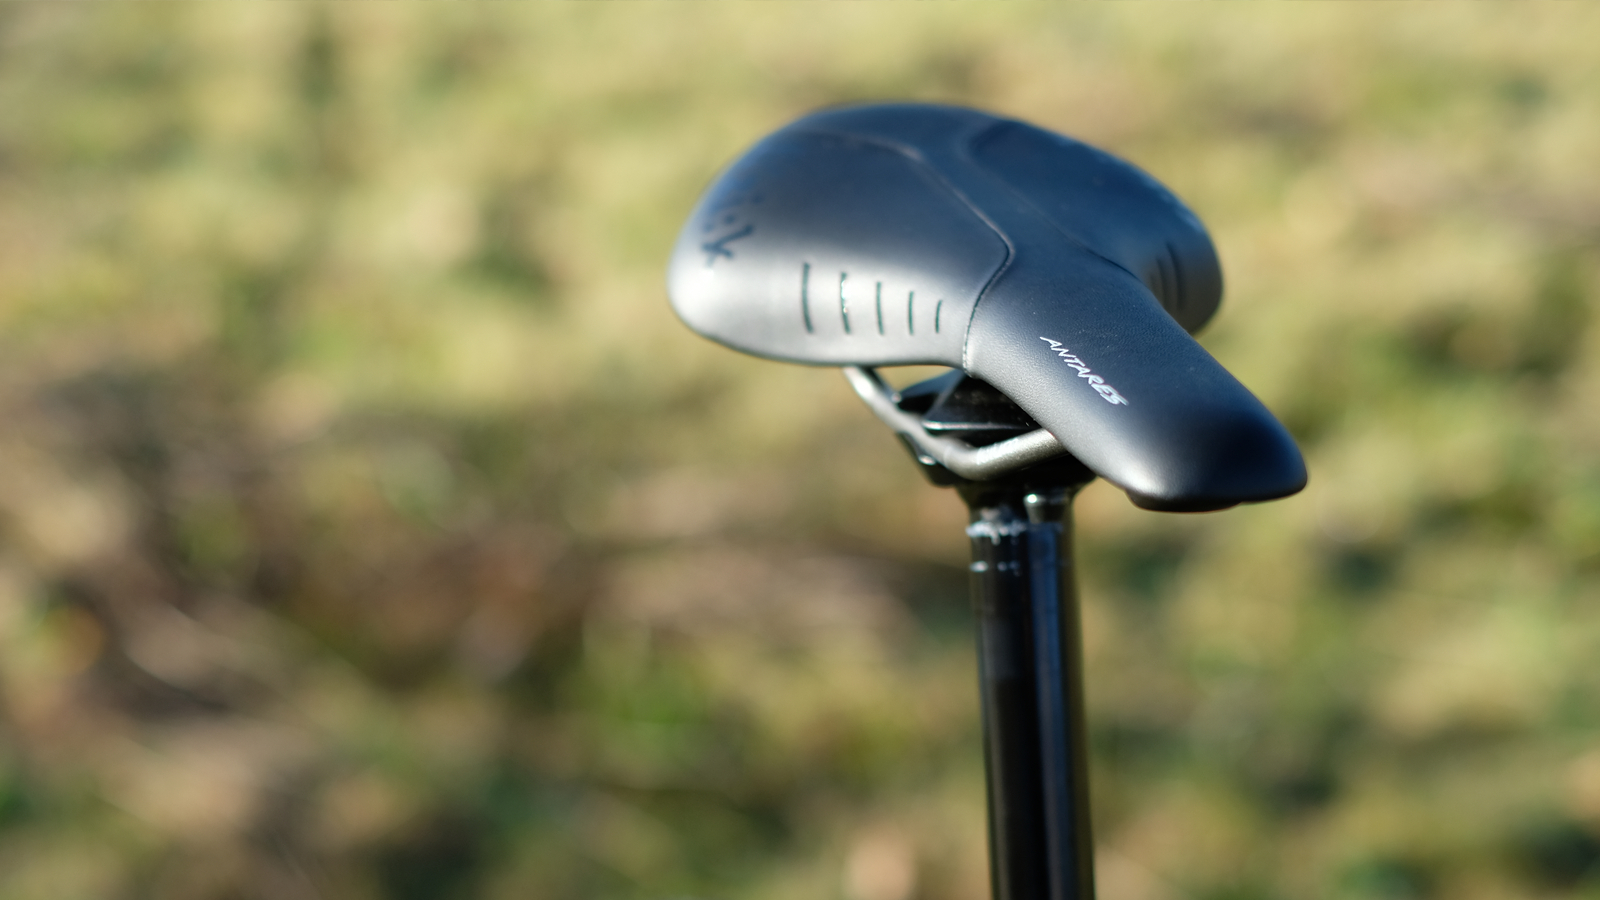
You also get discipline-specific saddles as well. Cross-country and trail saddles are focused on pedaling dynamics and are very similar, if not the same, as road or gravel saddles. Enduro saddles will be similar as well but usually feature a burlier construction and some extra padding. Downhill saddles aren’t really meant to be sat on, instead, the shape is designed to aid bike control. E-MTB-specific saddles are interesting as they often feature a raised tail to help hold the rider in position when climbing super steep gradients.
It's worth noting that bigger bike shops may have demo saddles for you to try before you buy so it's worth asking whether you can give one a test before you commit with your cash.
It’s not just about having the right saddle
Choosing the right saddle is important but arguably the setup of a saddle is more essential. Different saddles have different shapes which can affect how you fit them onto your bike. The type of riding you do will also influence the position, as will the geometry of your bike. This is where things start getting a bit confusing.
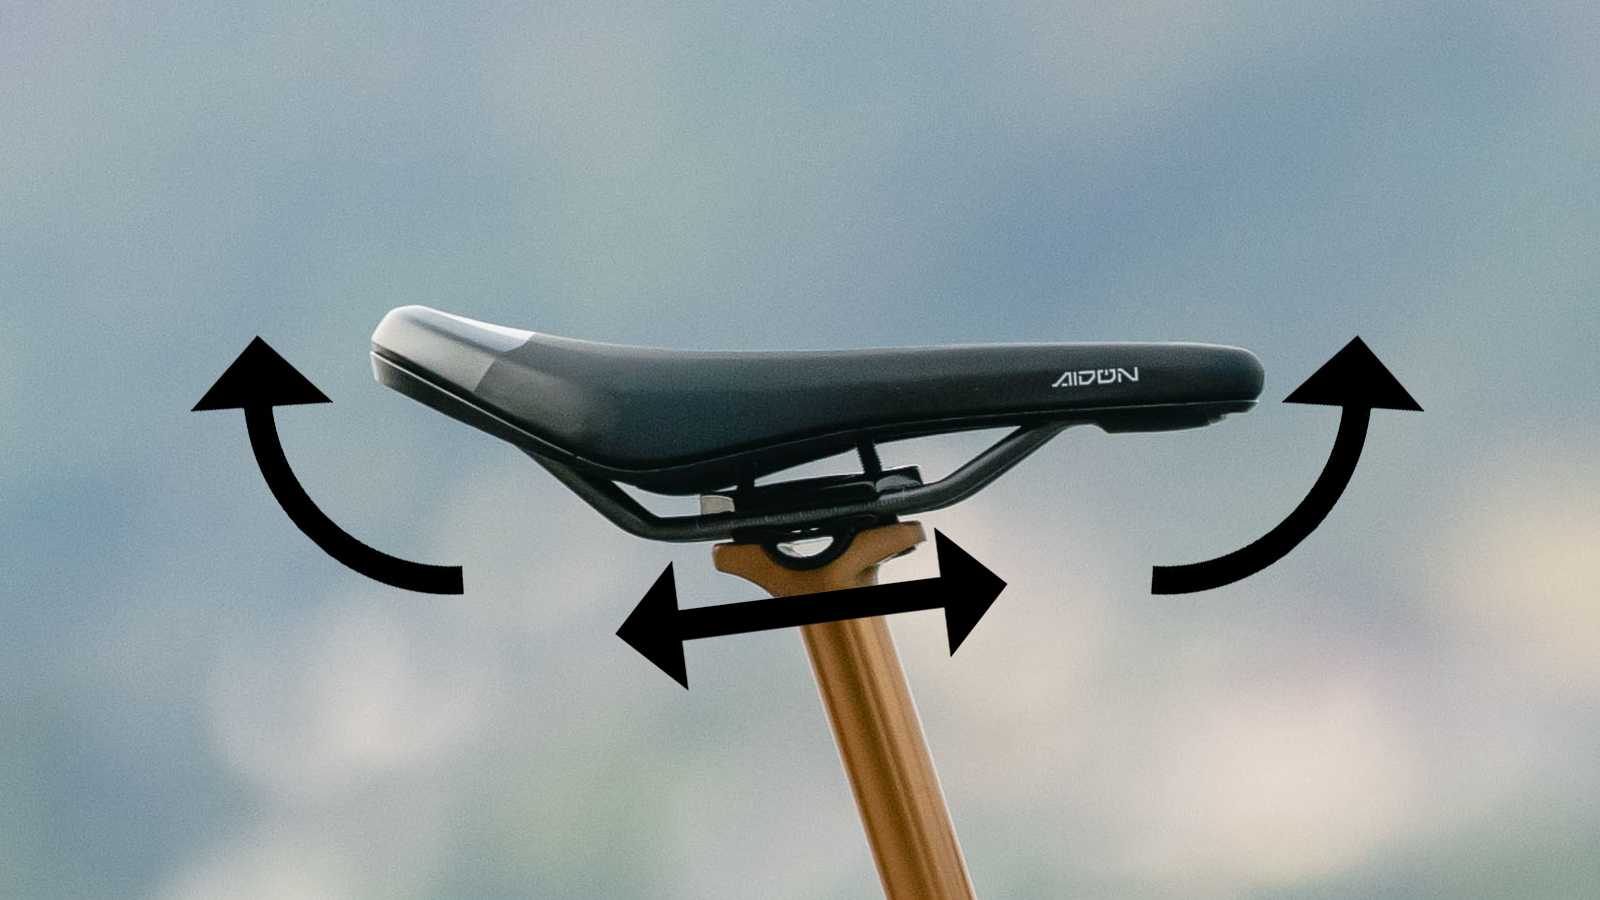
Saddles can be adjusted horizontally using the length of the saddle rails while most seatposts give loads of angle adjustment. Even minor adjustments can have some significant effects on how comfortable you are on the bike, it's not just your bum either, changes to saddle position can also affect the back, shoulder, wrist, hand, knees, and feet too. What makes saddle adjustment so complex is that any adjustment has a cause-and-effect relationship so you have to be meticulous and patient when making any changes.
Your saddle position is in direct relation to the position of your pedals, which means a saddle and saddle position that works on one bike, may not directly translate to another. Seat angle, crank length, and suspension sag all affect your saddle position. For example, you will often see riders on bikes with slack effective seat tube angles (effective seat tube angle is the angle of the seat tube when the suspension is at its sag point) with their saddles pushed forwards on the rails. This is because the saddle is effectively further back towards the rear axle. By pushing a saddle forward, riders are biasing seated weight towards the front which will reduce front wheel lift on climbs, although manufacturers are combating this with ever steeper seat tube angles on modern bikes.
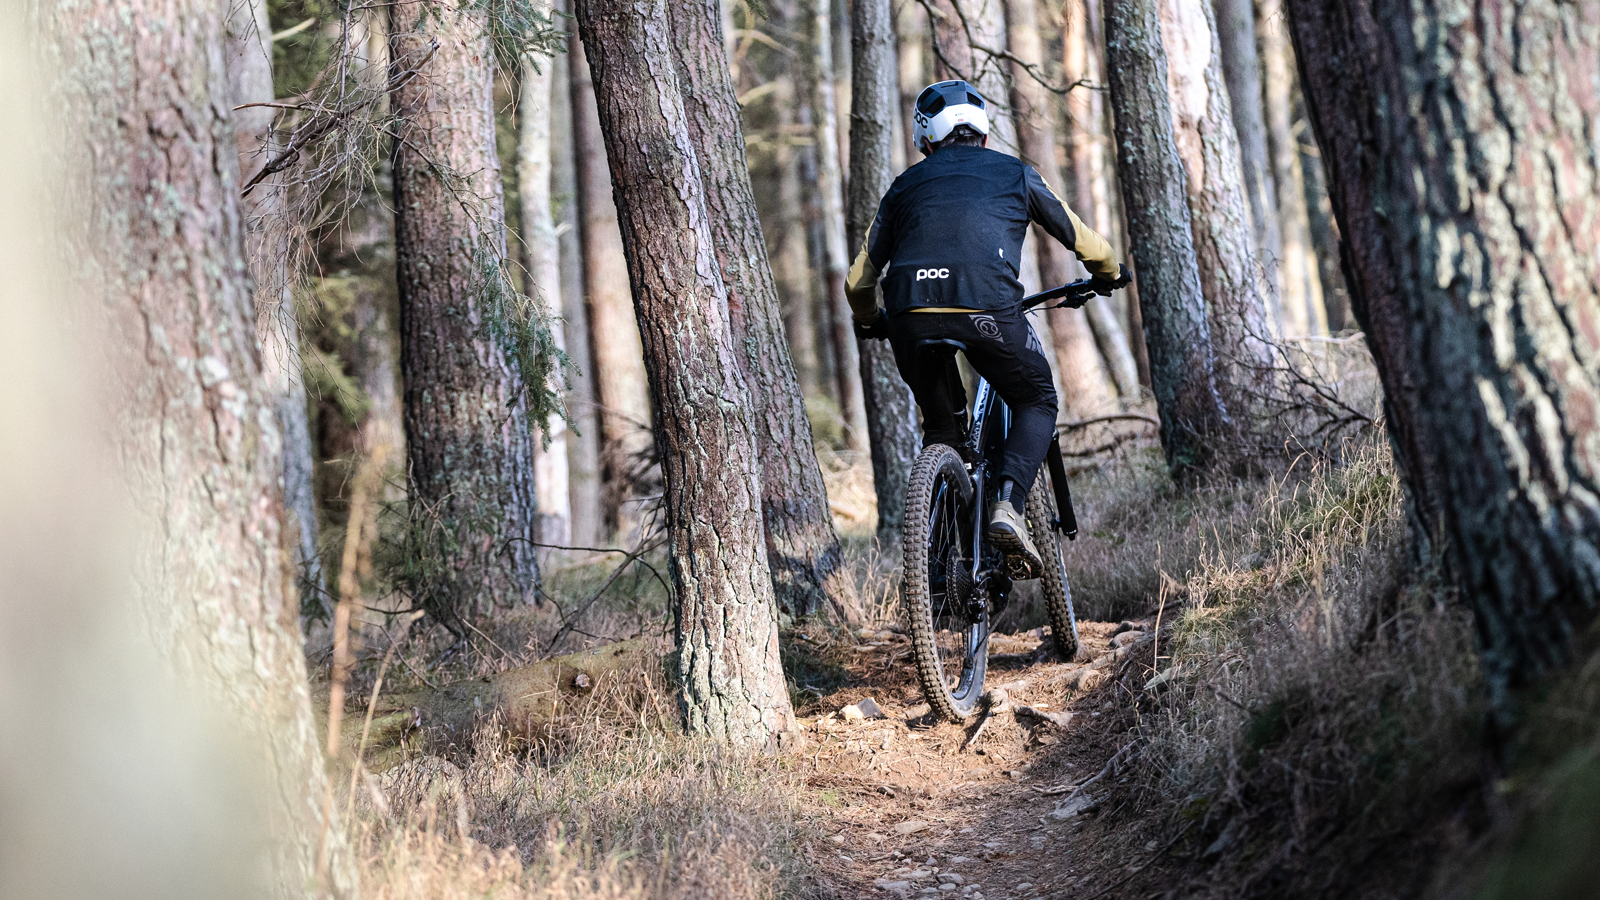
Seat angle is set by the seatpost's saddle clamp and is usually positioned close to flat, that said there are a few reasons why a rider may want to add a little more tilt. Gravity riders will often set their saddles with positive tilt (saddle nose pointing up) as it puts the saddle in a better position when descending. Conversely, riders who do a lot of steep climbing use more negative tilt for a more comfortable position on long climbs. Saddle shape will also determine angle with some favoring more positive or negative angling.
Getting a basic saddle setup
The trick to finding the optimal saddle position is being able to self-diagnose problems and make specific changes to target any issues. Similar to suspension setup, adjustments are likely to be quite small so if you make loads of changes at once then it will be very hard to determine what the effects are. What makes it even harder is unlike suspension, there are no clicks, dials, or numbers for you to reference, although some saddles and seatposts will have guide markings, which can be a massive help when it comes to testing.
Again, I want to iterate that I am not a bike fitter and the below is only intended to help you get a better understanding of how to get a basic setup up your bike. With the below process, you should be able to get a ballpark saddle setup yourself but if you want to be more specific then you’re best speaking to a professional bike fitter.
The first step is setting the saddle up in a neutral position. I recommend trying to set the top of the saddle as flat as possible and the seatpost positioned in the center of the rails. On curvier saddles, setting the angle can be a little more tricky as it's not clear which bit needs to be flat. Sometimes it is a case of taking a level measurement with a spirit level from the rear to the nose of the saddle while others will have a specific section that should be level. manufacturers sometimes provide setup guides which are always worth consulting.
Once you have your saddle fitted you will want to set your saddle height. It surprises me how often I see people with their saddle at the wrong height as despite being an in-depth subject all of its own, it's a simple process to get a good ballpark. For a basic initial setup, I recommend using the heel method as it is the easiest and generally fosters a decent result.
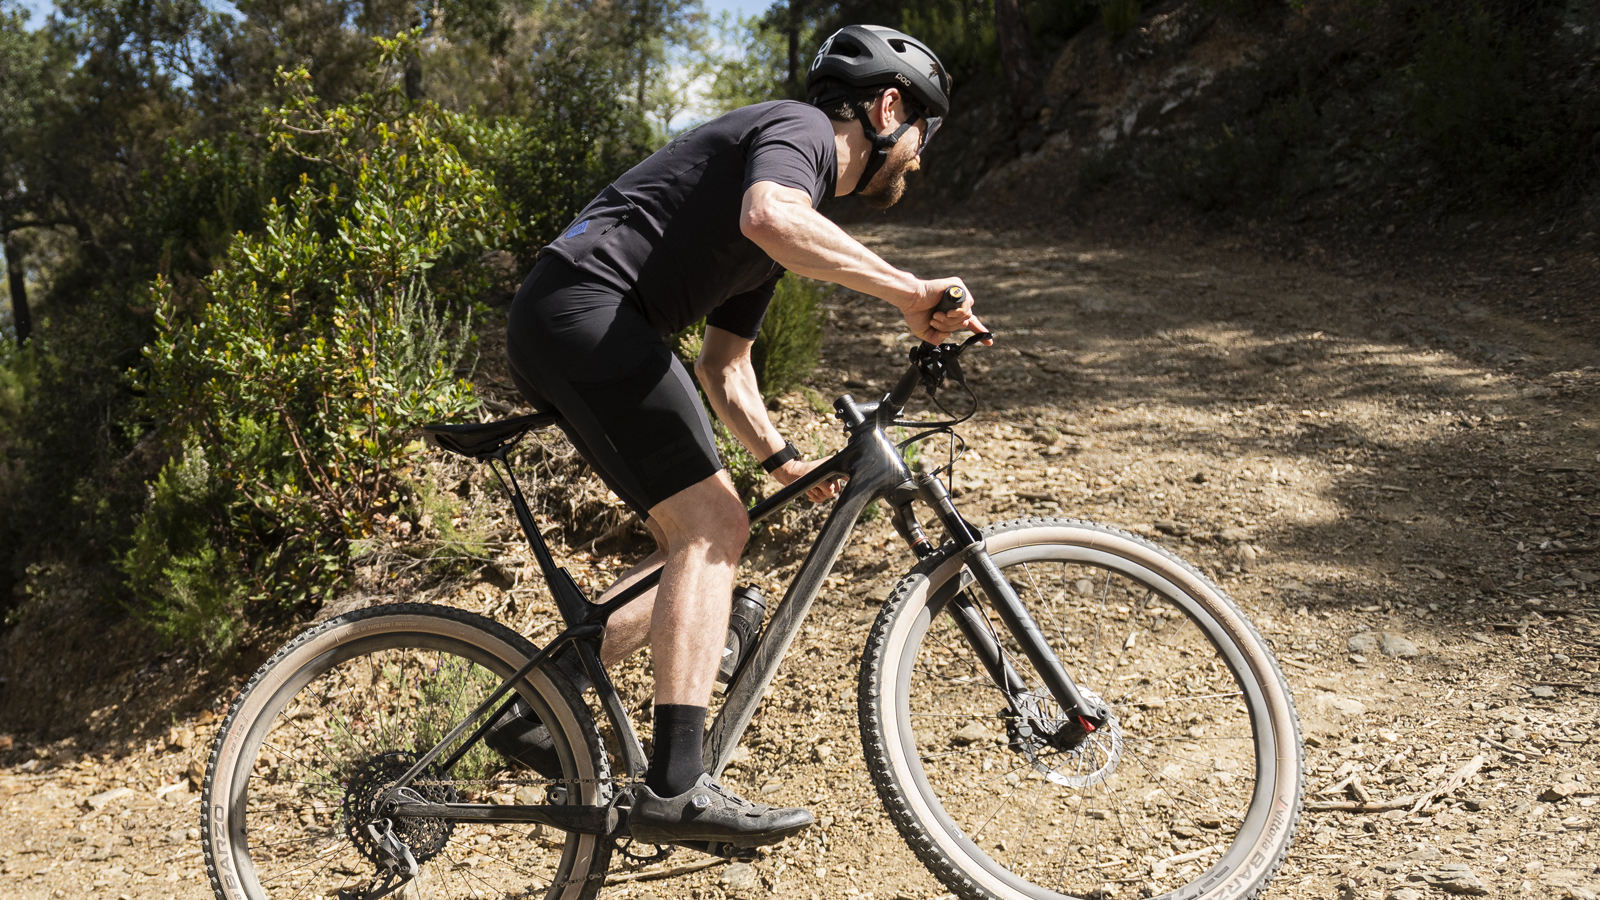
To do this, sit on your bike with your riding gear on while leaning against a wall. Place your heel on the pedal and spin your cranks so it's at its furthest away point from the saddle. It’s worth noting that this won’t be the 6 o’clock crank position due to your effective seat tube angle, the slacker the effective seat tube angle the more rotated forwards the longest extension point will be. Adjust your saddle height so that at peak leg extension with your heel on the pedal your knee is almost locked out. Once you have set your saddle height you should now have a nice bend in your knee when your feet are level on the pedals in your normal riding position.
Experimenting with saddle setup
From here is a case of diagnosing any issues that may need to be addressed, with the most common being any pain, numbness, or instability when pedaling.
While numbness and pain may seem like the most important to address, instability or rocking while pedaling should be a priority. If you find that your hips are rocking from side to side while pedaling, this is a sign your saddle is too high. A saddle that is too high can be the cause of many other issues and even dropping the saddle by 5mm can take off a huge amount of pressure and alleviate knee, back, and hip pain or saddle sores. It’s not just undercarriage and joint problems, even symptoms like tingly hands and toes can be caused by restricted blood flow caused by a high saddle and fixed with a minor height adjustment. Lower saddle height isn’t a solution for all cycling ailments, but it's a great place to start.
If tweaking your saddle height hasn’t sorted you out then it's a case of experimenting with other adjustments. Here are some common issues and adjustments that could fix them:
It's worth noting after each adjustment, assuming you don’t experience excessive discomfort, you should do at least a couple of decent rides to let yourself readjust as changes may feel a little off at first.

Graham Cottingham joined the BikePerfect team as our senior tech writer in 2020. With over 20 years of riding experience, he has dabbled in downhill, enduro, and gravel racing. Not afraid of a challenge, Graham has embraced bikepacking over the last few years and likes nothing more than strapping some bags to his bike and covering big miles to explore Scotland's wildernesses. When he isn’t shredding the gnar in the Tweed Valley, sleeping in bushes, or tinkering with bikes, he is writing tech reviews for BikePerfect.
Rides: Cotic SolarisMax, Stooge MK4, 24 Bicycles Le Toy 3, Surly Steamroller
Height: 177cm
Weight: 71kg
