Ultimate bikepacking setup: Our perfect bikepacking kit list
We have all thought about it and here it is: Bike Perfect's breakdown of the best bikepacking setup
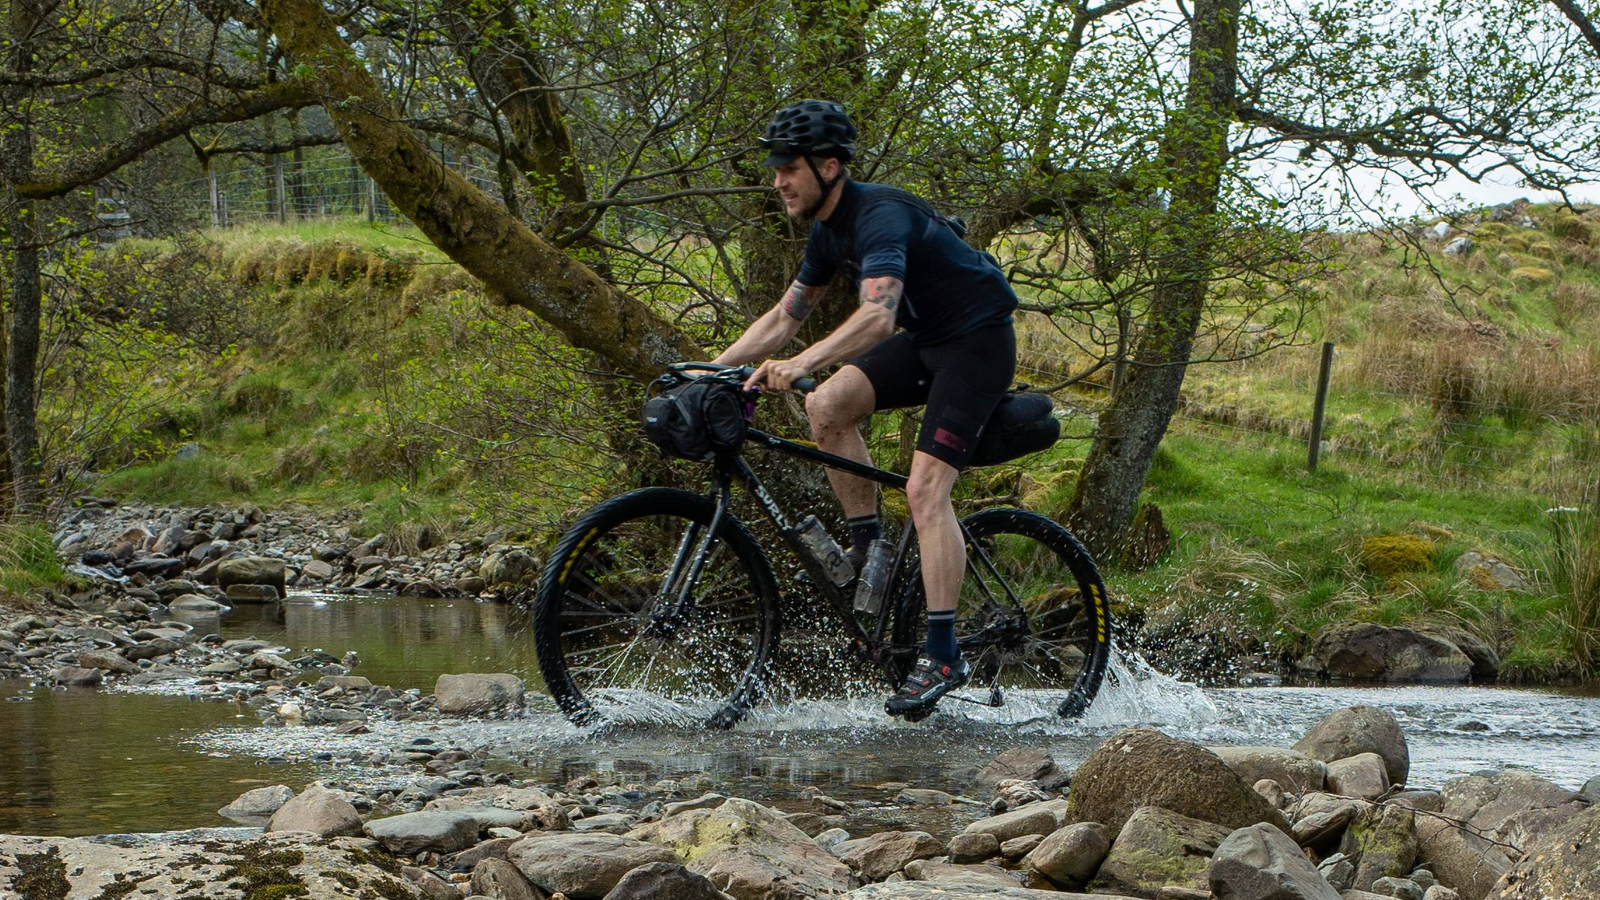
For the record, I know the ultimate bikepacking setup doesn’t exist. Anybody that has ever bikepacked before, knows too well that the ultimate bikepacking setup doesn’t exist. There is always something that can be improved, whether it’s tweaking a setup or learning the hard way mid-trip that something doesn’t work. That's ignoring the fact that every rider has a different approach and every location has unique challenges on top of a whole host of real-world variables. It means an item that is an absolute necessity for one person, may not even make it onto another bikepacker's kit list.
Cyclists are generally quite a tech-orientated bunch and we have to be, as a bike's weight, stiffness, geometry, and gear ratios all play a massive part in how much we enjoy riding a bike. Adding all the additional kit that comes along with bikepacking means it’s a smorgasbord of specifics and details for the tech head that can always be tweaked and improved. Combine that with the fact that bikepacking gives you miles after miles to reflect on these details, and if you are like me, you're always thinking about how you could achieve the ultimate bikepacking setup next time around.
My chosen ultimate bikepacking setup would be a reflection of the riding on offer around Scotland but, with a few modifications or tweaks, it could perform well across a range of trips in North America and Europe. Choosing which bike is best for bikepacking can be tricky, however the routes around my local area contain a wide enough variety of terrain and can often be ridden equally successfully on a gravel bike or a mountain bike. Bikepacking-specific routes can navigate through remote areas where weather can be changeable and there needs to be an element of self-sufficiency.
So trying not to be too specific, here is my theoretical ultimate bikepacking setup for a northern European bikepacking adventure, in early spring, with a good weather forecast and tailored for riding UK ‘gravel’ routes like the Capital Trail, the Badger Divide or Second City Divide.
1. Packing style
Why trust BikePerfect
Before you can find the perfect bikepacking setup you need to drill down what you want from your bikepacking adventure and kit. It roughly breaks down into two categories: those that ride to camp and those that camp to ride. My leanings are towards the latter, using bikepacking as a way to extend the time and mileage on the bike and riding through locations that would be otherwise impractical to formulate as a single day of riding. This means my preference is to pack light and maintain the bike’s ride characteristics as much as possible.
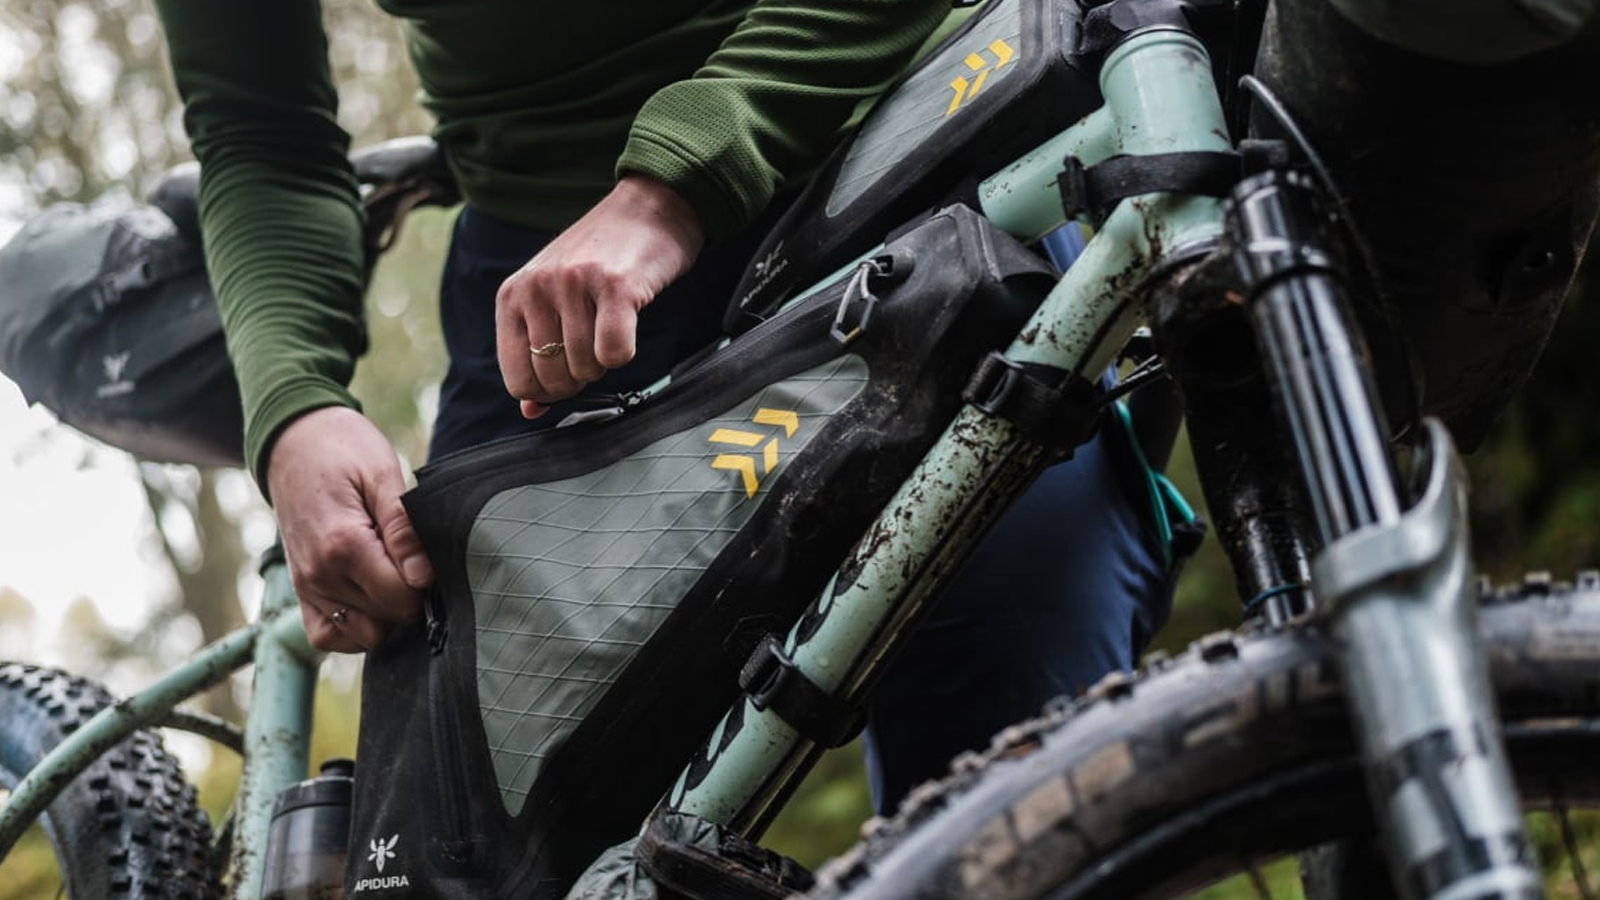
Arguably more important than the bike itself, assuming the bike is suitable for the terrain, is the quality of the bags. Choosing the best bikepacking bags has a huge influence on how equipment is packed and ultimately how a bike rides. As this is an ultimate bikepacking setup, then a custom frame bag made from lightweight and ultra-tough Dyneema (formerly known as Cuban fiber) is the best option. Custom bags mean the space in your frame can be used fully as well as customizing how the bags are fitted to the bike. I would opt for a full-frame bag with a horizontal divider.
For fitment, I'd opt for a lace-up design along the top tube and bolted on using the frame's bottle cage mounts to secure the rest of the bag for a clean finish. Hydration would either be from a hydration bladder in the bottom compartment of the frame bag with a hose to the handlebars or fork-mounted bottle cages. Camelbak's bladders are some of the best and you can disconnect the hose from the bladder without spilling water for easier refilling.
The rest of the bags would be spread across the bike in the form of a small seat pack and handlebar bag. If needed, additional storage could be added with a top tube bag and bottle or accessory keg attached under the downtube.
2. Kit list
While the items that are packed will vary depending on the ride, planned sleeping arrangements and weather conditions, there are some core items that will always be included.
The frame bag houses the heavy items and those products that you need at hand. Storing water, food and tools in the frame bag keeps weight centered and if you need to grab a quick snack, it’s just a zip away and can be done while riding. For an ultimate bikepacking setup, we would opt for tools such as the Topeak Ratchet Rocket Lite for trailside fixes, Dynaplug or Stan's Dart for tubeless repair and Tubolito to keep spare tubes as compact as possible.
I’m often torn about whether carrying a cooking setup around is actually worth the added bulk and weight. Not only do cooking setups complicate packing they also add an element of faff time that can cause delay. After a hard day's riding when I'm ready to sleep, the last thing I want is to do is sit and cook a meal in the dark, and I’m happy to forego a wake-up coffee in favor of a mid-morning coffee shop stop. Plus any excuse to stop for fish and chips or a takeaway pizza is going to make a ride better in my books. This is personal preference though, and not a strict rule either, I have been on more than enough cold rides to know the invigorating power of a coffee to get the body moving in the morning. If a stove is included, the full setup must fit inside a 750ml mug to keep it as compact as possible.
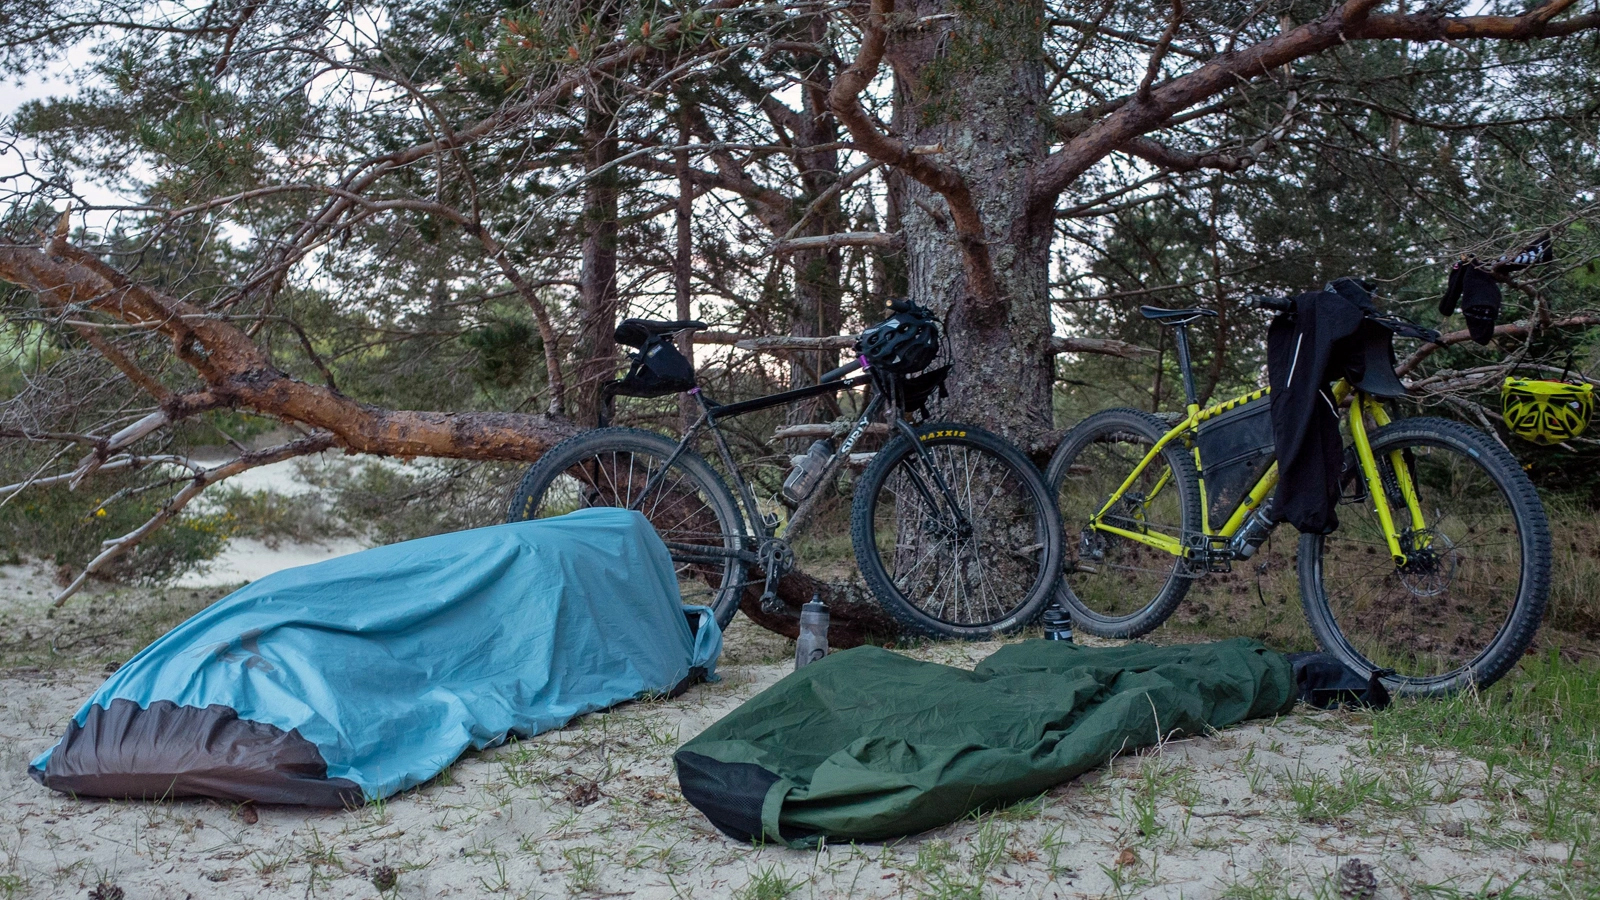
Packed in the rear is the sleeping system. As temperatures in my scenario would probably not go below five degrees and would stay dry, I would opt for a bivy instead of a tent due to its lighter weight. This would be paired with a minimalist mat such as the Klymit Inertia Ozone, which may look uncomfortable but if you are a back sleeper the webbed structure supports you in all the key areas and it has a built-in pillow. If you want a little extra comfort or are a side sleeper the Therm-a-Rest NeoAir XLite might be a better option. The sleeping bag size and weight would be an important factor although luckily sleeping bag ranges such as the Therm-a-rest Hyperion, Rab Mythic and Sea To Summit Spark all offer comfort down to around 0 degrees Celsius, pack super small and weigh roughly 400g. Of course, opting for a bivy rather than a tent is going to be limiting though, so if the weather is looking poor I would opt for routes with alternative shelters such as mountain bothies, huts or hostels instead. However as this is an ultimate kit list where money is not important, it would be hard to look past the Terra Nova Laser Pulse Ultra 1 which has a staggering 490g pack weight.
The handlebar bag houses everything else, whether it’s casual campsite attire, spare riding clothing and other bits and bobs that need to be kept dry and don’t need to be accessed as much. Sizing down the handlebar bag size is beneficial as it reduces the front surface area and while aero may not always be the first consideration in bikepacking it can make a massive difference, especially if you’re plugging into a headwind for 50-plus miles.
There are some bikepacking essentials that can be easily overlooked but should be part of any ultimate bikepacking setup. Items like a water filter, toilet paper, biodegradable wet wipes, first aid kit, spare Voile or Velcro straps and zip lock bags are all basic items but are worth their weight in gold out on the trail.
There are a few other vital items that should be touched upon when compiling the ultimate bikepacking setup. Even with the best-laid plans, you need to consider the possibility that you will be riding in the dark, choosing the best mountain bike lights or opting for a dynamo setup for gravel or road will keep you moving after the sun goes down but you aren’t at the camp spot yet. Choosing the best GPS for navigation and ride recording is also important, for ease of use we like the Wahoo Roam or alternatively, Garmin’s 1030 Plus is packed with features and has a massive claimed 48-hour battery life in its most efficient settings. Whichever GPS you choose, make sure it has enough battery life to record a full day of riding, good mapping and doesn’t require a connection to the internet to load routes.
3. Riding clothing
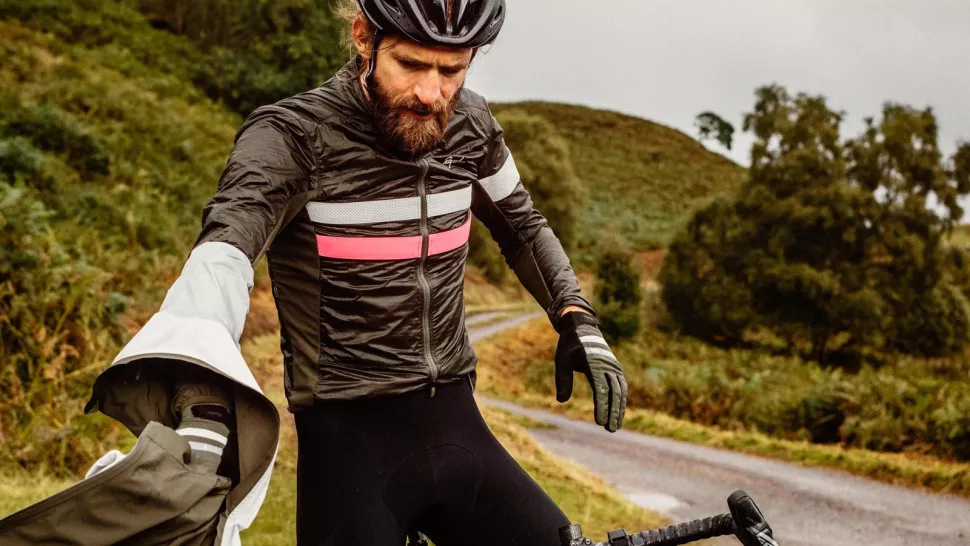
When bikepacking you need to dress for success. Since you are out all day and sometimes into the night, it's possible to experience a wide range of temperatures and weathers, even on a mild day. There are some key products that will make the difference between being a rider on the storm or a rider on the train.
Starting with the outer layers, for an ultimate setup, it has to be a jacket made from Gore’s Shakedry material. The packability, breathability and waterproofness are unmatched and Gore licenses the material out so there is a range of jackets from other manufacturers as well such as 7Mesh, Rapha or Castelli, although if you want more of an MTB fit then Gore’s Shakedry options are the best. A packable down jacket will greatly increase post-ride warmth with a small pack size and can be used on the bike if it is very chilly. Options like Patagonia’s Ultralight Down Jacket or Big Agnes Shovelhead Down Jacket don’t come cheap but are high quality.
The rest of my ultimate bikepacking clothing would be a mixture of merino layers that are hard-wearing, comfortable day after day and thanks to merino’s natural qualities perform across a wide range of temperatures or when wet. These would be complemented with arm warmers, leg warmers, gloves and a buff to increase versatility as much as possible. An extra base layer, small shorts and socks for sleeping in add an extra emergency layer. My last must-have is a cozy hat to keep the head warm in the bivy bag.

Graham Cottingham joined the BikePerfect team as our senior tech writer in 2020. With over 20 years of riding experience, he has dabbled in downhill, enduro, and gravel racing. Not afraid of a challenge, Graham has embraced bikepacking over the last few years and likes nothing more than strapping some bags to his bike and covering big miles to explore Scotland's wildernesses. When he isn’t shredding the gnar in the Tweed Valley, sleeping in bushes, or tinkering with bikes, he is writing tech reviews for BikePerfect.
Rides: Cotic SolarisMax, Stooge MK4, 24 Bicycles Le Toy 3, Surly Steamroller
Height: 177cm
Weight: 71kg
