How to ride drops: Boost your comfort in the air
They are a staple of mountain bike trails, so learn how to ride drops safely and effectively
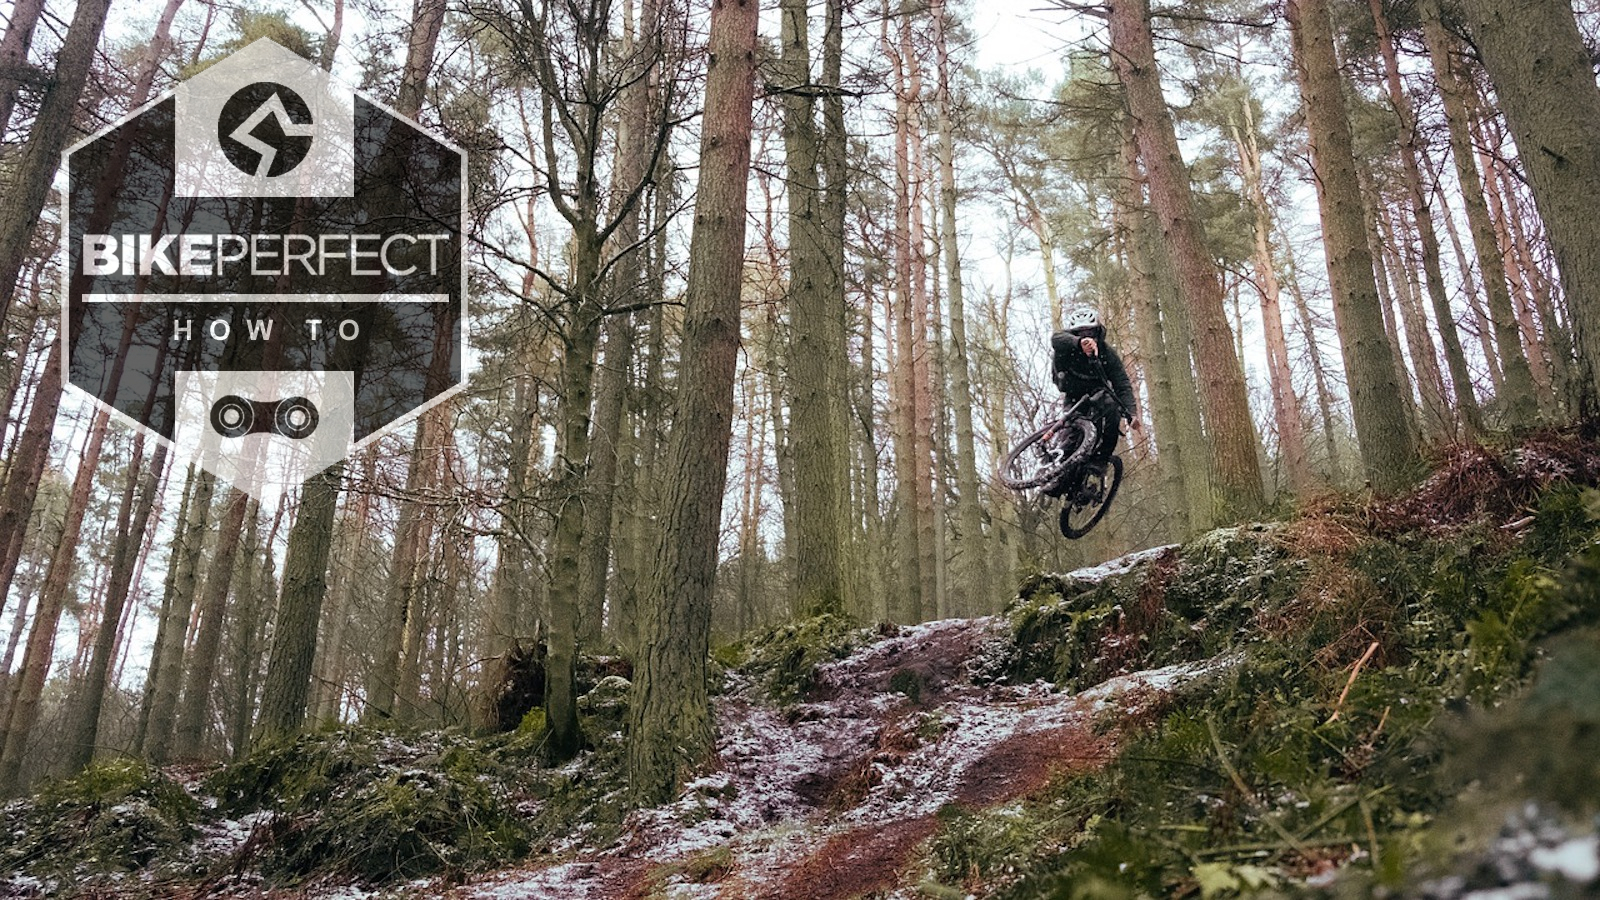
Drops are a staple of many mountain bike trails. In addition to jumps and technical features, drops can be found on various types of trails from full-blown downhill mountain biking tracks to World Cup cross-country racecourses.
Like a lot of trail features though, drops can be quite intimidating, even if you are an experienced rider. However, they don't have to be scary. With the correct practice and mountain bike skills, drops can be ridden safely for a super fun trail experience.
Each rider has their own process for boosting confidence and learning new skills, but this is the process that we recommend. So keep reading to learn how to ride drops whether you are a cross-country racer or aspiring freerider.
Start small
The best thing to do when starting off with riding drops is to start small. You don't even need to be on a trail to practice this.
Find an empty parking lot with a sidewalk/curb. This will be your starting point. Practice rolling off the curb and lifting your front tire as you go off the curb so you land on both wheels at the same time. While we think of this as 'pulling up' on the bars, it is more so shifting your weight backwards in order to keep your front wheel from nose-diving, similar to the motion used when popping a manual or initiating a bunny hop.
This exercise serves a few purposes. First, it's a low-consequence 'drop' that's virtually impossible to crash on. Second, it gives you a sense of the timing for pulling your front wheel up when you go off a drop. You should focus on landing on the ground with both tires at the same time as this will help you understand how weight distribution affects the bike in the air.
Next, you can move on to bigger drops, whether it be another curb or a drop out on the trails.
How do you ride a drop?
You will notice that drops on the trails, whether man-made or naturally occurring, will never be consistent. The entry to the drop could be on a slope, or the landing could be too steep or too shallow. That's why it's important to have the skills to adapt to the trail landscape in front of you.
Hopefully, your timing practice discussed earlier will have prepared you for these scenarios. Other than timing your pop off the drop's take off, the most important part of riding a drop is confidence.
Drops can often be very intimidating but most are no more difficult than dropping off a curb, but build up your confidence by building up the size of drop that you tackle because rolling into a drop and bottling it at the last minute has serious potential for you to hurt yourself. Build up your confidence so when you are tackling a new drop feature you have a better idea of what to expect.
When approaching a drop, you should be in a relaxed, but engaged, riding position. Your body should be balanced and your weight positioned in the center of the bike. If you lean too far forward, you could nosedive and land heavily on the front wheel. If you are too far back, you could loop off the back of the bike or get bucked over the bars on landing.
As you are about to go off a drop, spot the landing. You want to look at where you are going, so once you can see the landing, look past it so you can plan your exit further down the trail. Spotting the landing can also help with gauging speed for drops that have a bit of a gap between the takeoff and landing. A well-built drop should require about the same speed as the rest of the features on the trail.
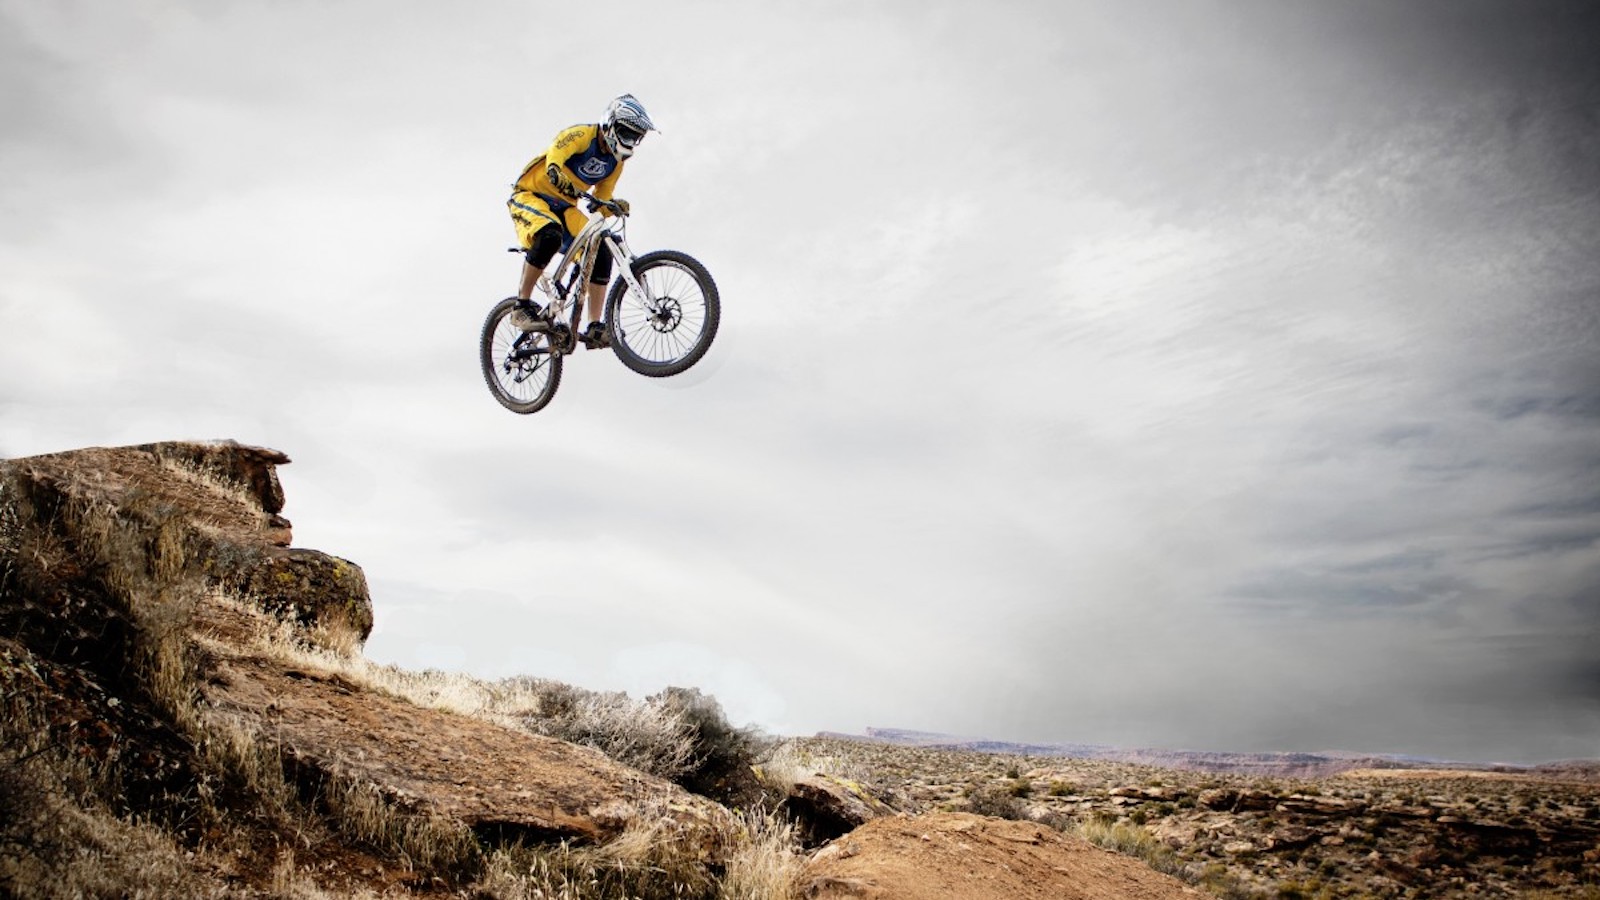
For drops that have a consistent landing surface, it's best to land with both tires on the ground at the same time. You can achieve this by moving your hips back behind the seat as you go off the drop.
Riding a drop at speed will help with this motion. The combination of speed and the proper weight distribution on the bike will help you naturally match your wheels to the landing. It's a much more natural motion in practice than in words.
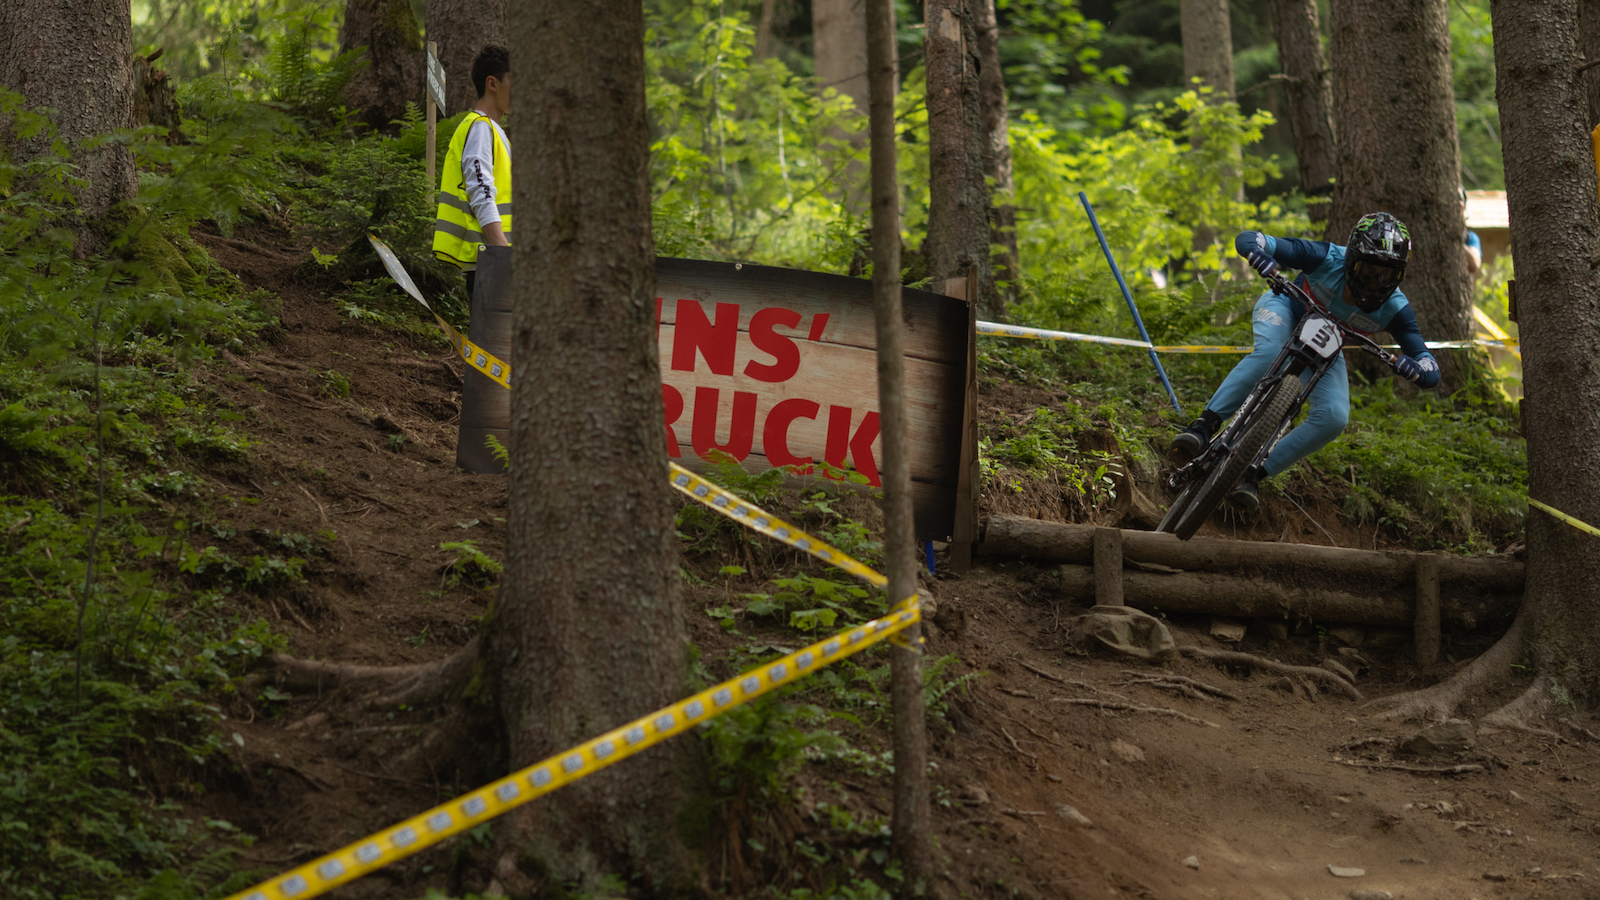
How do you land a drop?
Depending on the landing, you may choose to land with your front or rear tire first. If the landing is steeper, you may want to land with your front wheel first in order to better match the angle of the landing. To do this, move your hips forward slightly and lightly push down on the bars just before landing.
Flatter landings can become less jarring if you land with your back wheel first. It spreads out the impact between the back and the front of the bike with the initial impact being absorbed by the legs. When in the air, simply let the back wheel drop by extending your arms and legs while remaining in a balanced position. As your back wheel makes contact with the ground, your front wheel should follow shortly after.
Remember that suspension includes you and your bike. When landing a drop, your elbows and knees act as natural suspension, bending and absorbing the impact along with your fork and shock. On bigger drops, where the suspension is under a lot of stress, your arms and legs become even more important, which is why it's vital to always ride in the attack position - elbows out and knees bent, ready to absorb impacts.
Bike setup
Bike setup can also impact how your bike performs on drops although if your suspension is set up correctly there shouldn't be much to change when riding drops as part of a longer trail.
That said, knowing how to set up mountain bike suspension can make or break your experience of riding drops. If your suspension isn't set up well, or the drops are particularly large or have heavy landings, too much rebound in the shock may buck you forward, which is the same case on jumps. The best mountain bike forks and shocks can also add more high-speed compression damping to stiffen up the suspension action, adding more support for harsh landings.
A dropper post also drastically improves your ability to ride drops by moving the seat out of your way so you can easily move your weight forwards and backwards.
Ryan Simonovich has been riding and racing for nearly a decade. He got his start as a cross-country mountain bike racer in California, where he cultivated his love for riding all types of bikes. Ryan eventually gravitated toward enduro and downhill racing but has also been found in the occasional road and cyclo-cross events. Today, he regularly rides the trails of Durango, Colorado, and is aiming to make a career out of chronicling the sport of cycling.
Rides: Santa Cruz Hightower, Specialized Tarmac SL4
