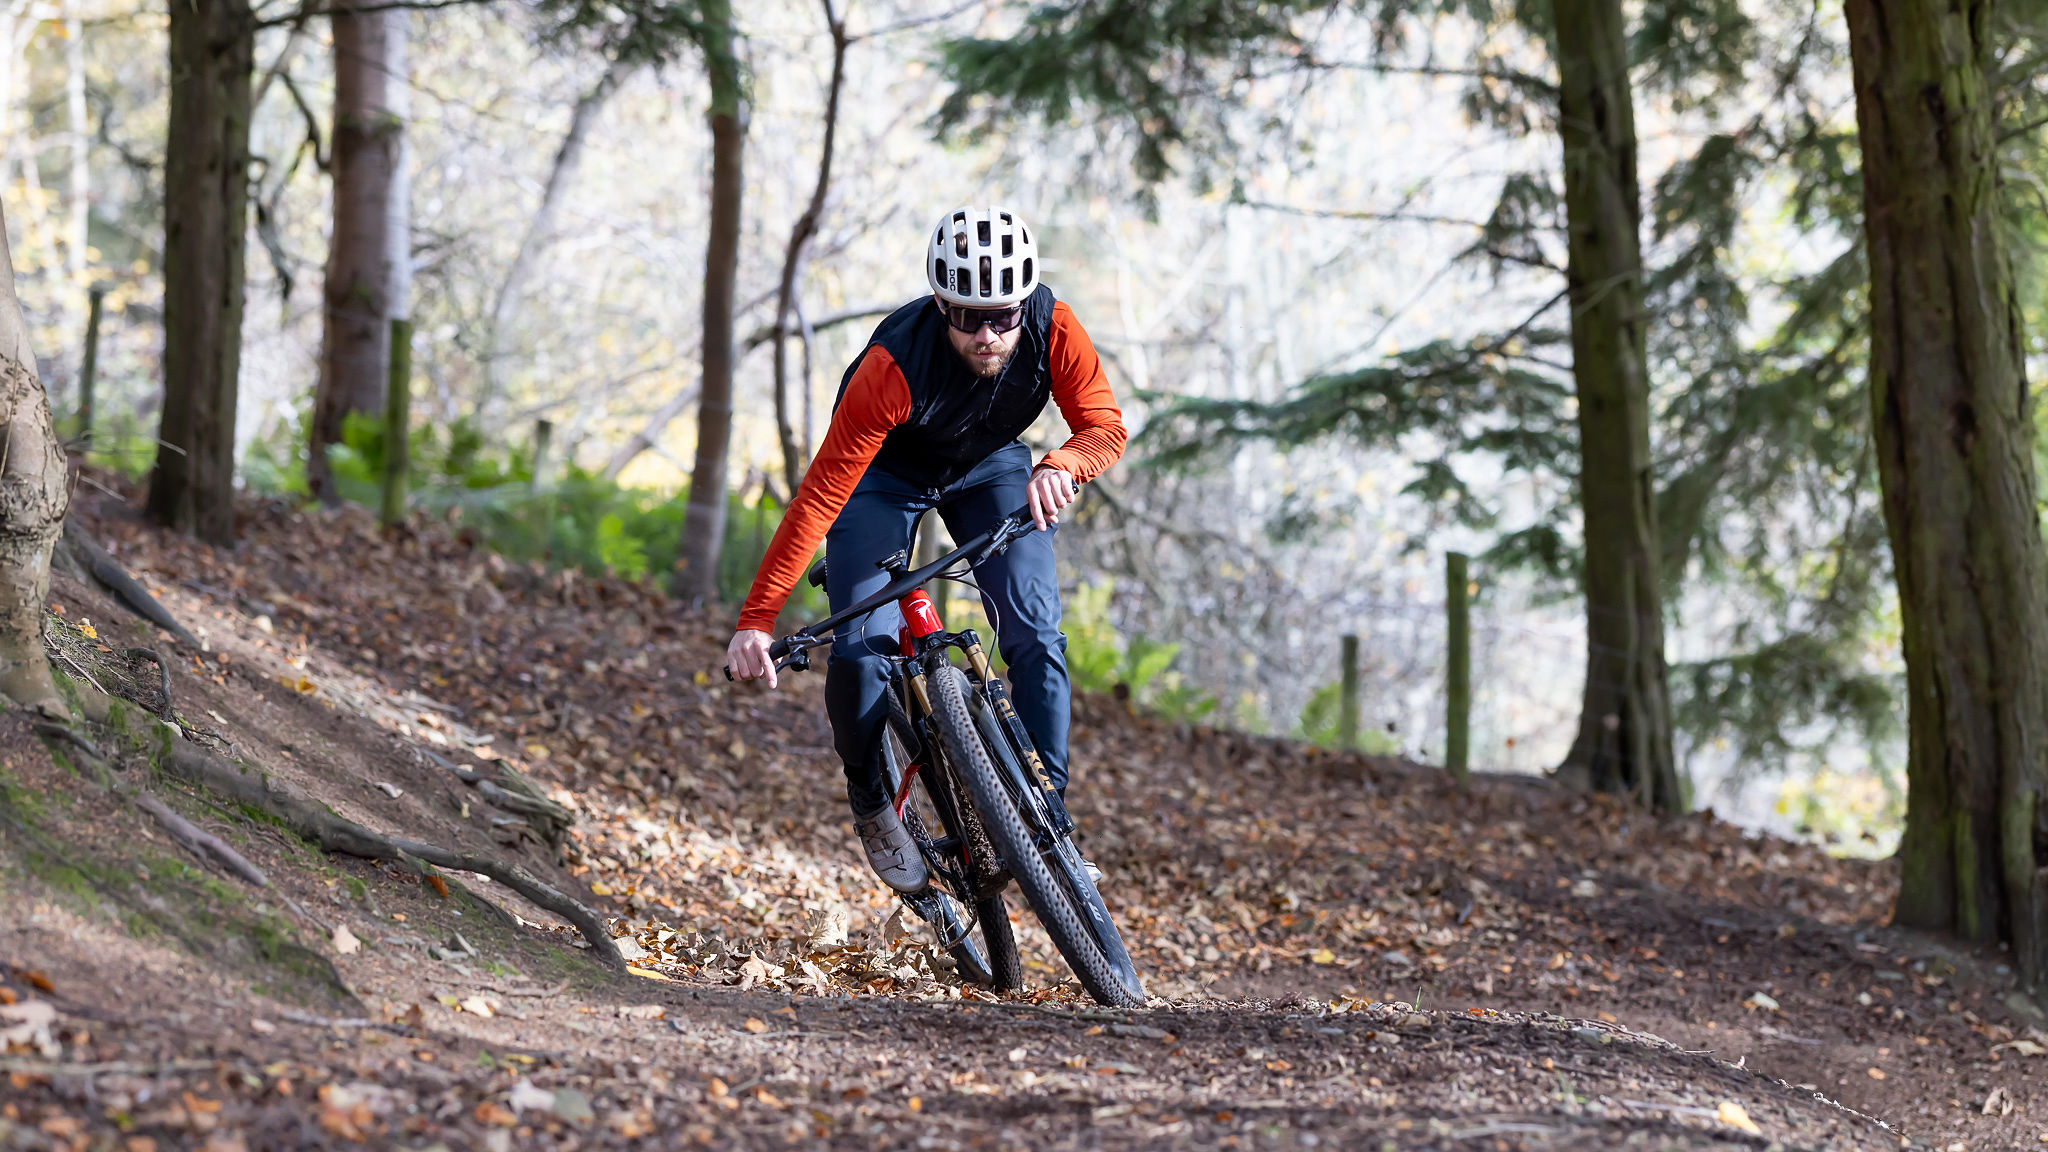
Rigid vs suspension gravel fork – which is faster? Well, the answer is not quite that straightforward
Suspension forks are becoming more common on gravel bikes, but how much difference do they make? We took rigid and suspension forks go to the test track so we could find out more
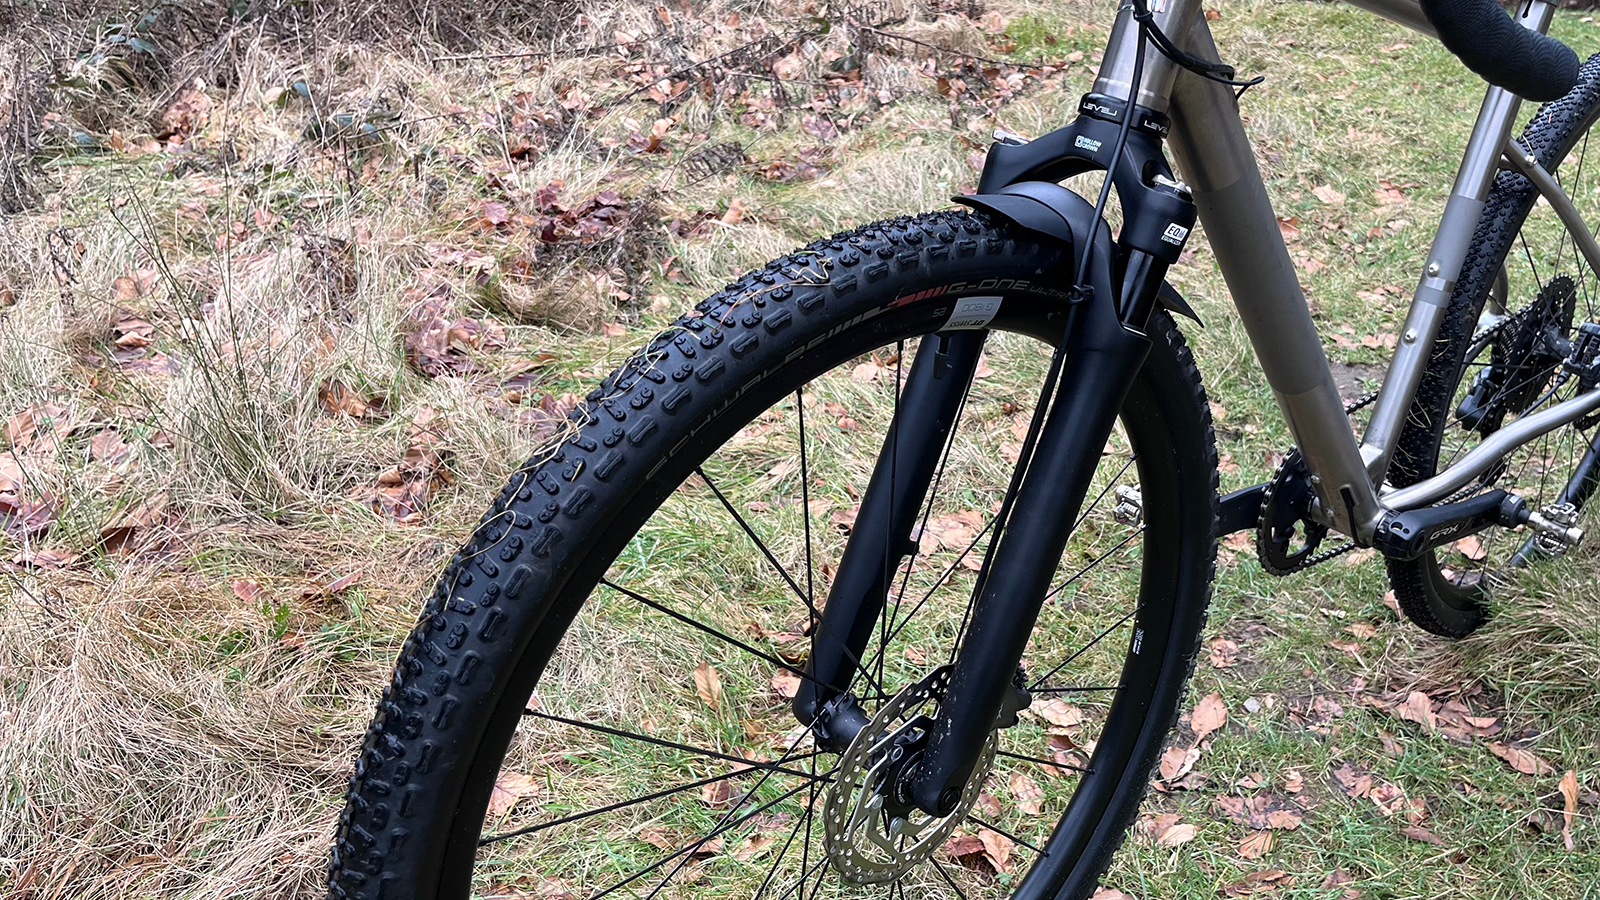
We often hear that gravel bikes are just '90s mountain bikes, and just like back in the day, front suspension is starting to be seen on some of the more adventure/trail-orientated gravel bikes. But, just as back then, plenty of riders claim that the added weight and complexity are unnecessary on drop bar bikes. Having tested the Ribble Gravel Pro Ti with and without suspension, it got me thinking – rigid vs suspension fork, which is actually faster, and does the added comfort from a short travel fork provide a tangible benefit on the trail?
You may be thinking that being faster doesn't really make any difference to you or that it's not in the spirit of gravel, but I like to think of it in another way. For me, it's about making the most of my limited power to get the most from each ride. So a small gain in efficiency for an hour ride might not matter much, but it could mean on a long ride or multi-day bikepacking trip that you've more energy left to build a better shelter, or be able to ride further each day and get to see more on your trip.
The test setup
The gravel scene has exploded in recent years and has started to split into various genres and use cases. Gravel can mean very different things depending on where you ride and what you like to do. For me, a gravel bike is for the mellow trails that are quite frankly a bit boring on my XC bike and the occasional bikepacking adventure. With this in mind, I’ve decided to test both setups on a local loop with a variety of hardpack but reasonably smooth surfaces, with occasional rocky and loose sections, sweeping corners and some steep and mellow climbing gradients. The mix of terrain is a good representation of the kind of riding I like to do on a drop bar bike and is easily handled on any gravel bike.
I will time both loops, but crucially I will be using a power meter to ensure the effort I put in is the same for both setups. A power meter measures your output in the form of watts and gives an extremely accurate overview of the effort you are putting in and isn't as easily impacted by external elements as your heart rate can be. For example, a change in temperature or an exciting section could cause your pulse to rise or fall, whereas the power you are pushing out is a constant; it's the reason pro road and XC racers have used it as their main training metric for the last 20 years.
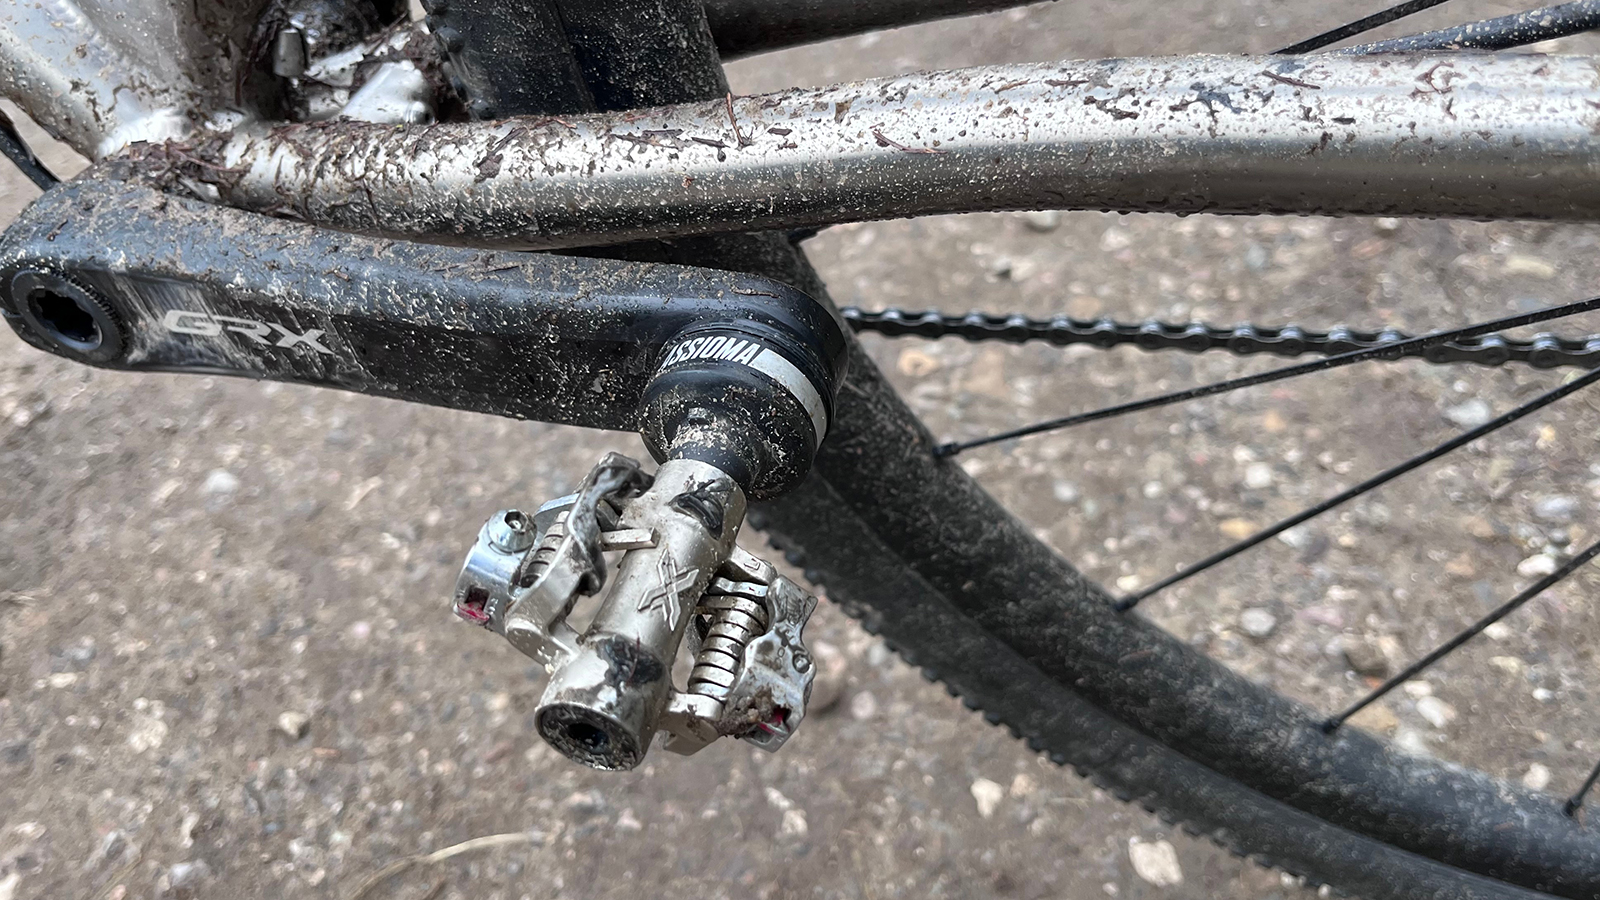
I have adapted a set of road pedals to use an SPD interface so I can measure my power output using my normal gravel shoes, basically a homemade version of the latest Assioma Pro MX SPD power pedal I put together using a pair of road pedals and adapting them to work with an SPD pedal body. I will ride the loop whilst maintaining a steady output of 180 watts. This is a level I can hold with a reasonable amount of effort, but it's also repeatable, so it should give a fair comparison between the rigid and suspended setups. I will keep the rest of the setup the same, so the same wheels, tires, and pressures. This will isolate the use of suspension as the only difference so I can see whether or not that makes any difference to my time, speed, and effort.
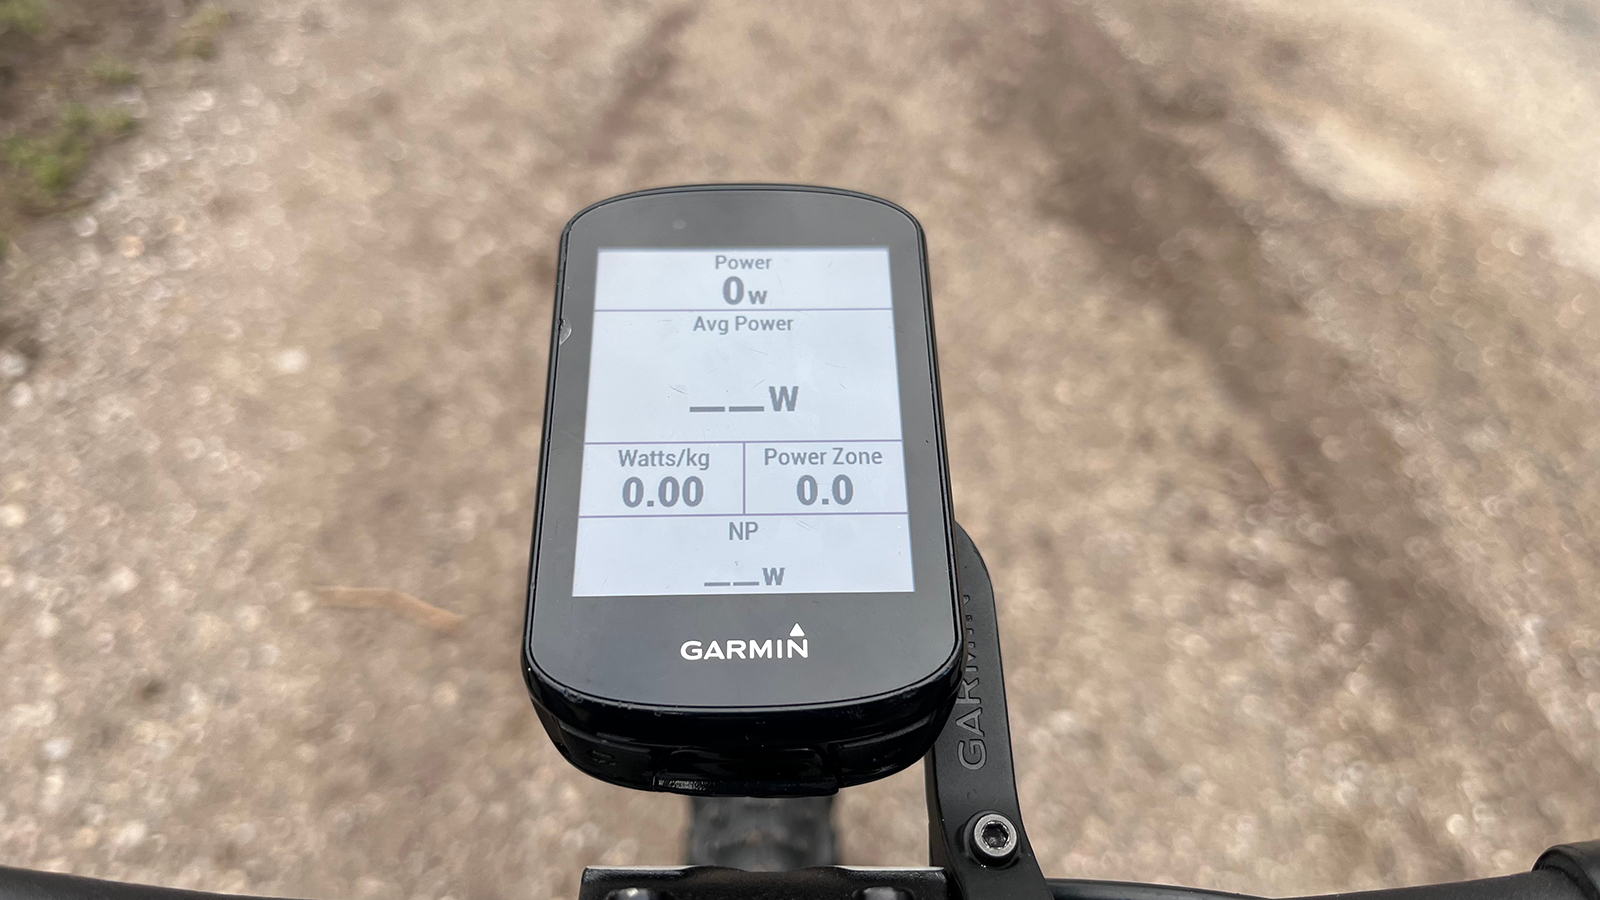
For the ride, I am keeping the info shown on my Garmin 830 GPS computer as minimal as possible. Firstly, it can be hard to read on rough sections, so keeping the key metric of power and average power in sight is important. I've opted not to show my ride time, too, as I don't want any carrot-chasing of a time in front of me to affect the results.
The loop
I am using a well-known local gravel route around Ladybower Reservoir in the Peak District National Park. It's local to me and a route I have ridden countless times. It has a good mix of smooth gravel, some rough sections, and some asphalt with a reasonable amount of climbing but nothing too steep. It's not the most technically challenging, but its simplicity makes it easier for me to ride to a controlled power output for the entire route, and I think it is a fair representation of what most folks consider gravel.
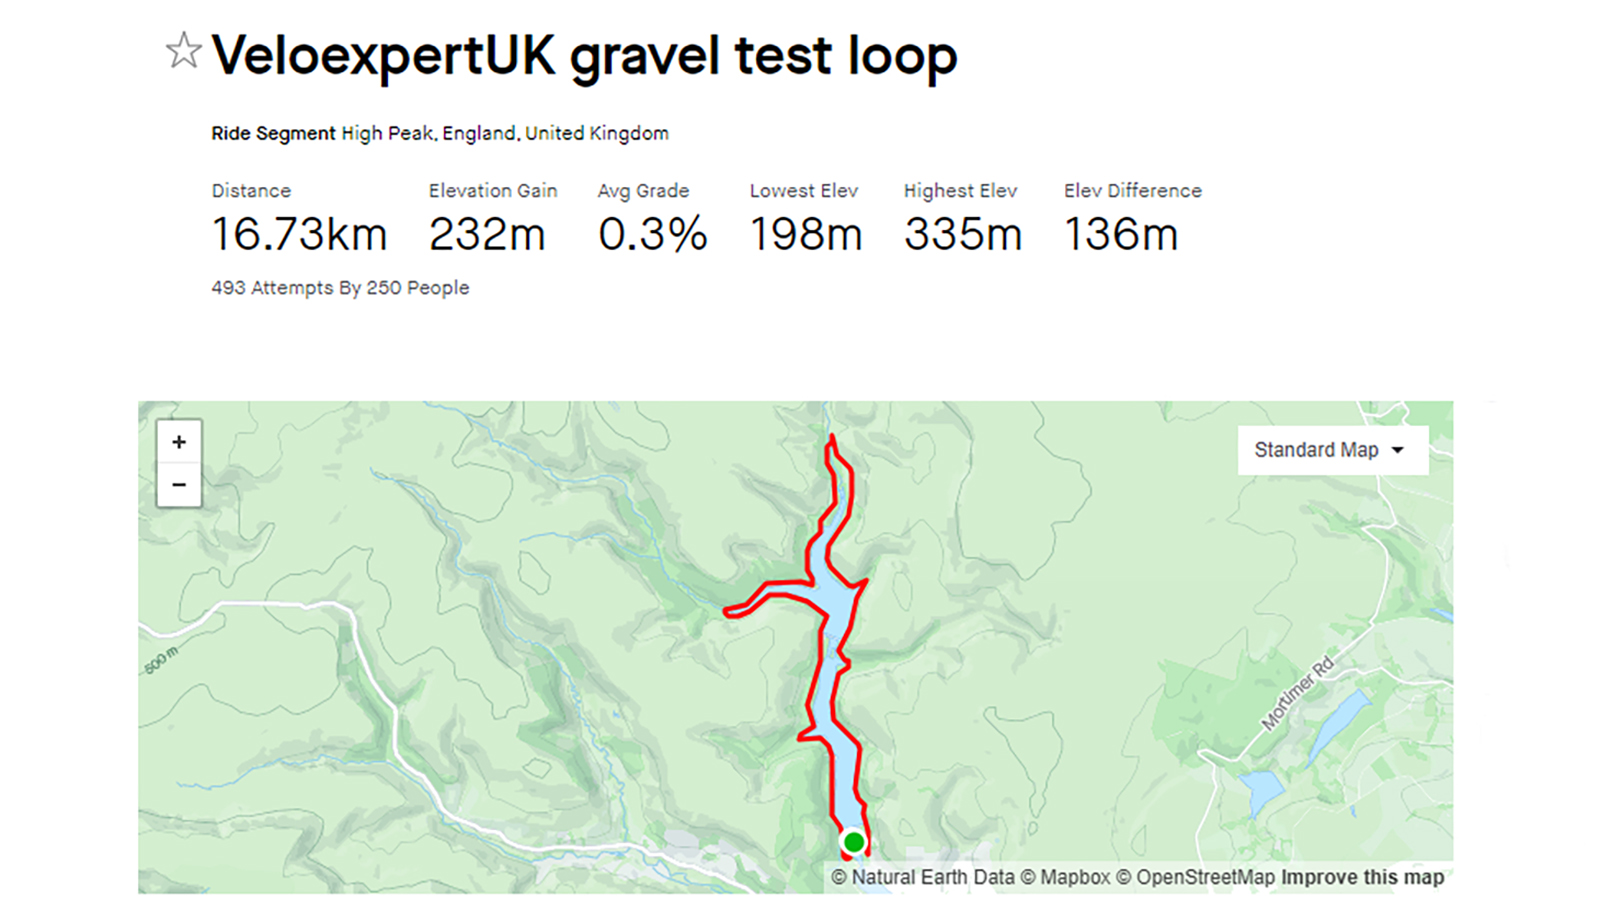
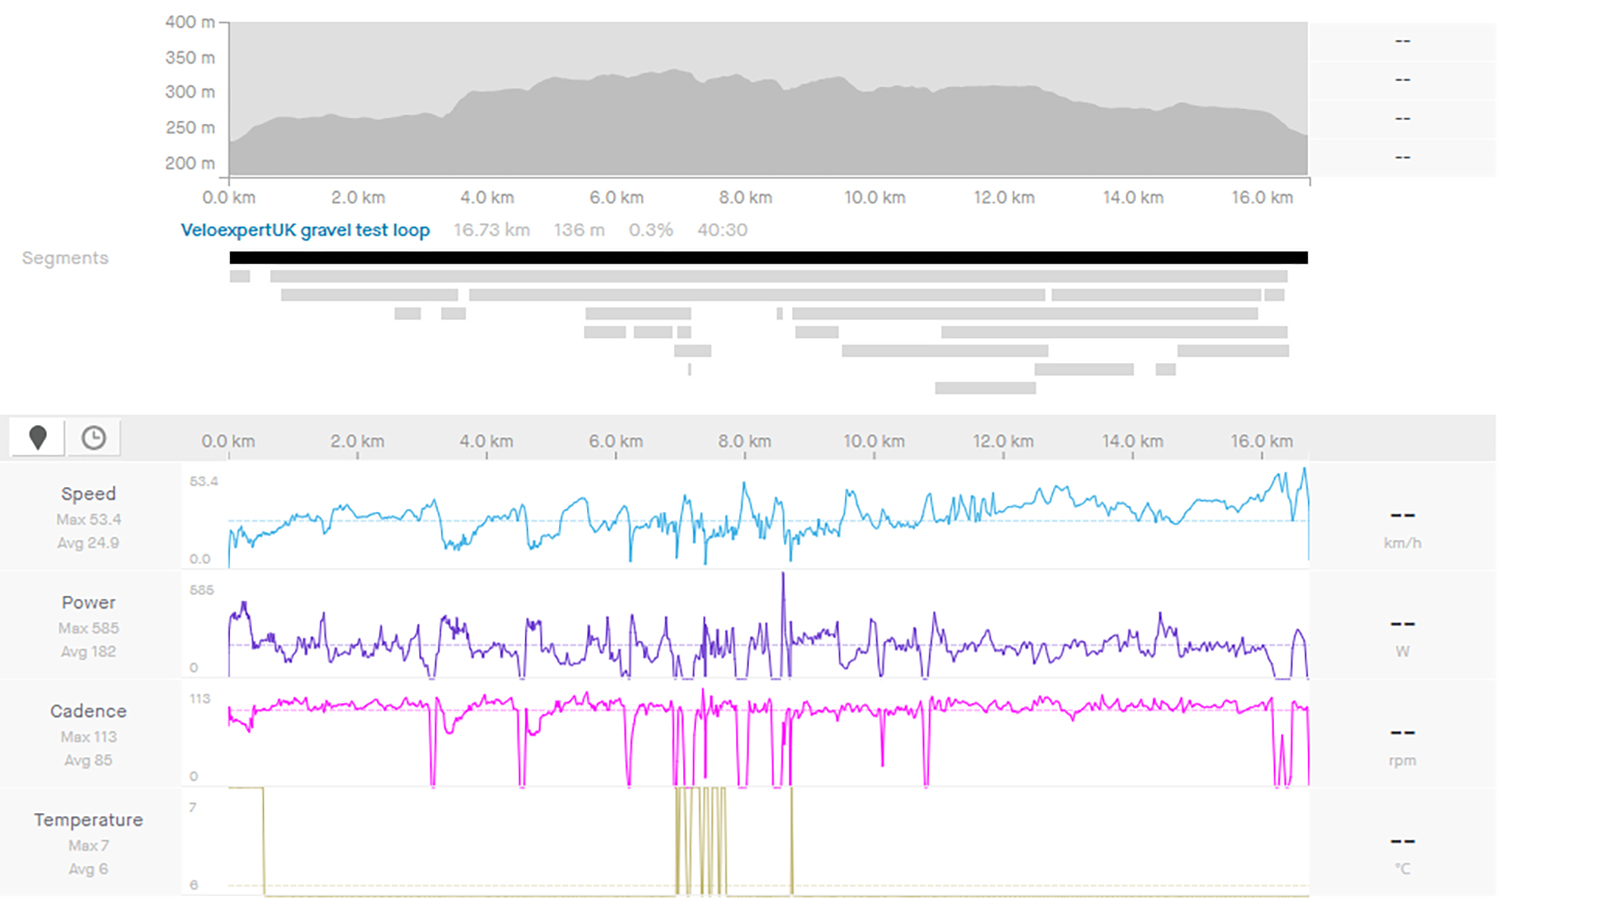
It is 16.7km / 10.4 miles long with 198m of elevation. It is not exactly mountainous, but there is enough climbing to make a difference with a nice mix of short, steep, and more gradual and mellow gradients. It is saved on Strava as Veloexpertuk gravel test loop if you want to check it out.
The bike
I've decided to go with the Ribble Gravel Pro Ti that I tested last year. It is a great bike that I loved reviewing, but crucially it's one of the few bikes I've tested that has come supplied with a rigid carbon fork but also as a limited edition version specced with the RockShox Rudy fork. For the test, I will be running the bike as supplied but with a change to the DT Swiss G1800 with a combination of a Schwalbe G-One Ultrabite tire on the front and a less aggressive G-One Bite on the rear. This wheel and tire combo is well suited to my local trails at this time of year and gives a good mix of grip and rugged dependability on the wet and occasionally rocky terrain on the test loop.
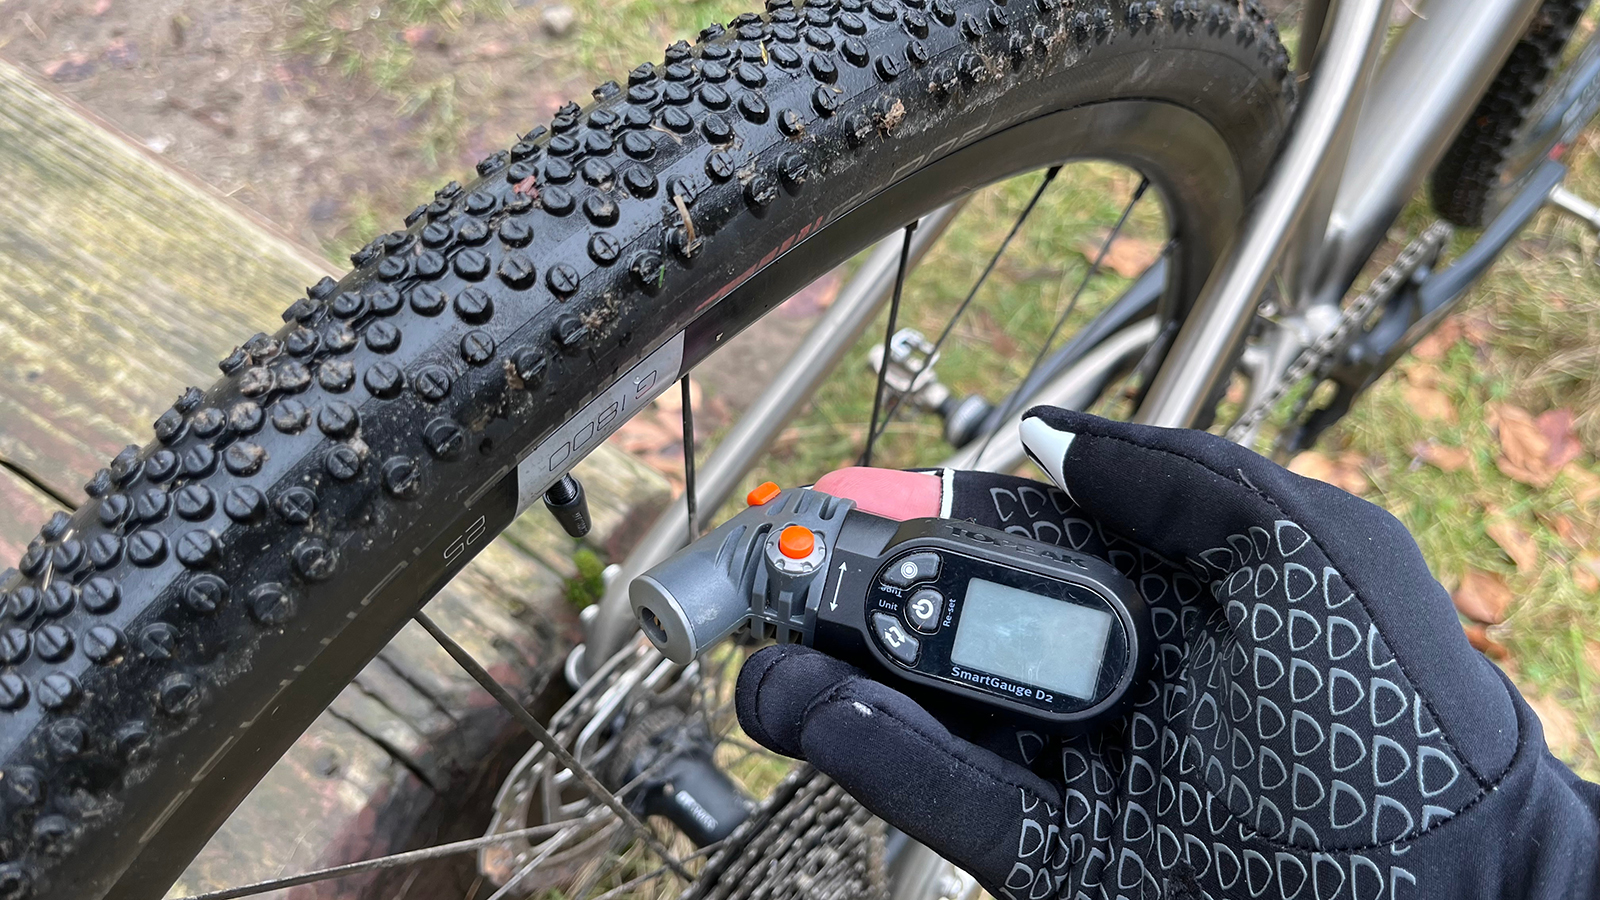
Suspension-wise, I will be using the Suntour GVX SF24 fork I tested previously. Though not the lightest, it is a solid performer that fits the bike well and, in its 40mm travel setting, doesn't lift the front of the bike too much to upset the handling. As it is a fork I've ridden before, I won't need to waste any time adjusting it or getting used to how it handles, which hopefully gives a fairer representation of the difference it may or may not make to my speed.

The ride
First lap – suspension fork
I rode the first lap with the Suntour fork, mainly because I hadn't removed it since I completed testing. The fork weighs 1,628g – which is over a kilo heavier and makes a noticeable difference when heading uphill compared to the svelte carbon rigid fork. The loop starts with a smooth but reasonably steep climb, and on these sorts of out-of-the-saddle efforts, the weight and movement from the fork are most noticeable.
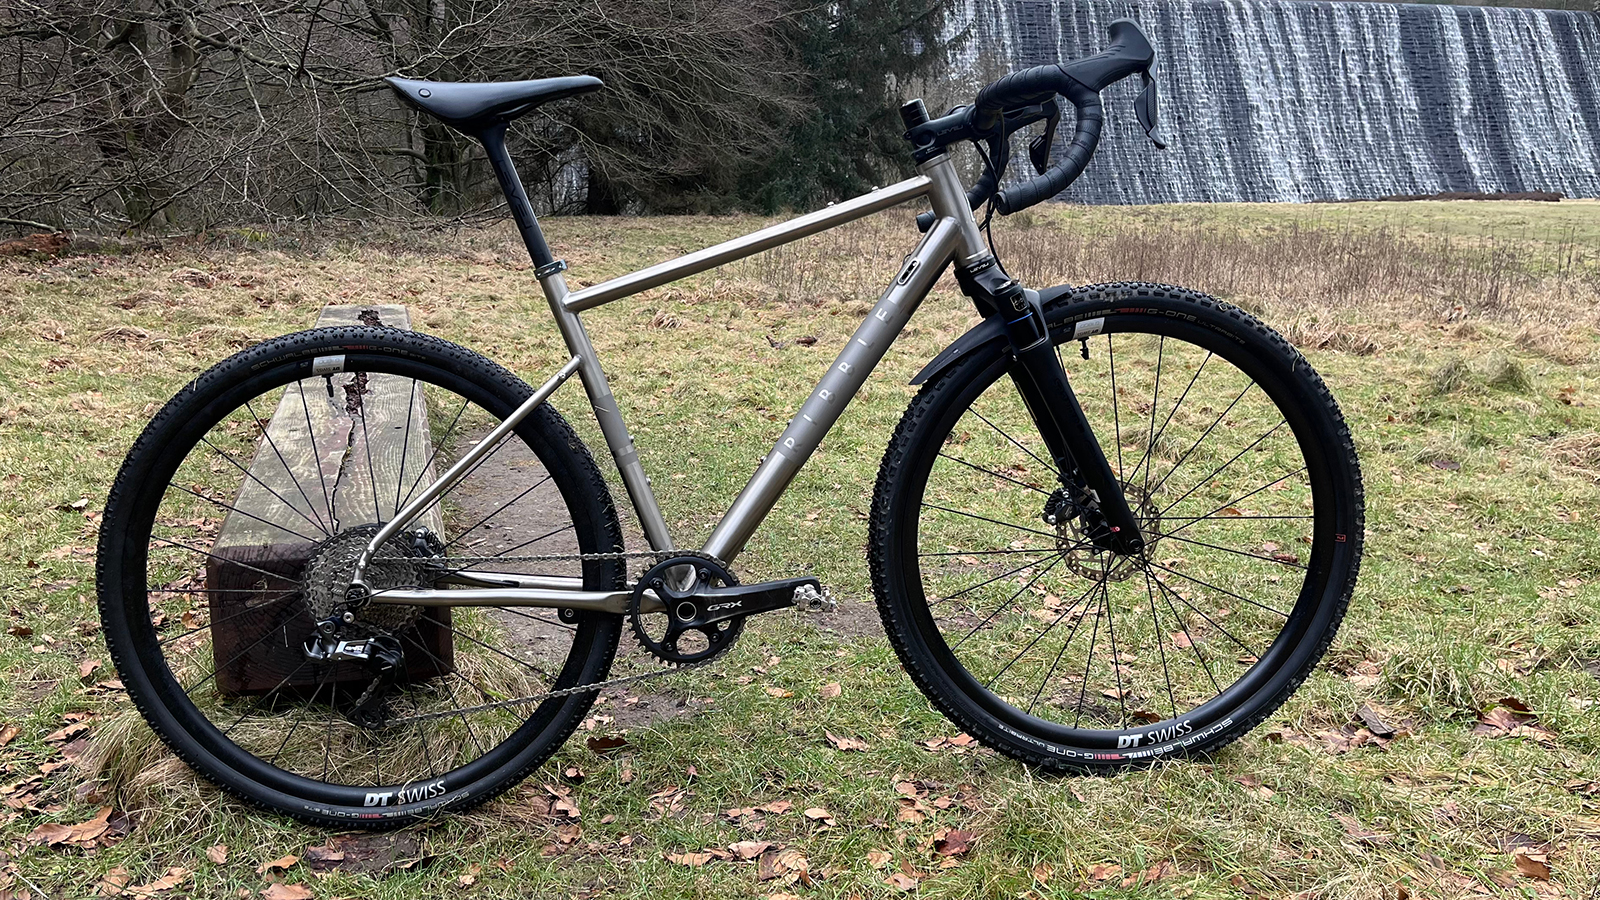
The lap is mainly on a wide fire road, but after a long wet winter, there were plenty of large potholes, and recent wet weather had caused lots of debris and ruts in some of the corners. These caused me no problems at all, and despite only having 40mm of travel, the fork and robust front tire did a surprisingly good job of smoothing out the ride and letting me concentrate on keeping to my target wattage output.
Second lap – fully rigid
After a quick snack and a coffee, I set about putting the rigid fork back in the Ribble. Luckily, the carbon fork has a built-in headset race, so swapping only required some Allen keys and was easy to do in the visitor center car park.
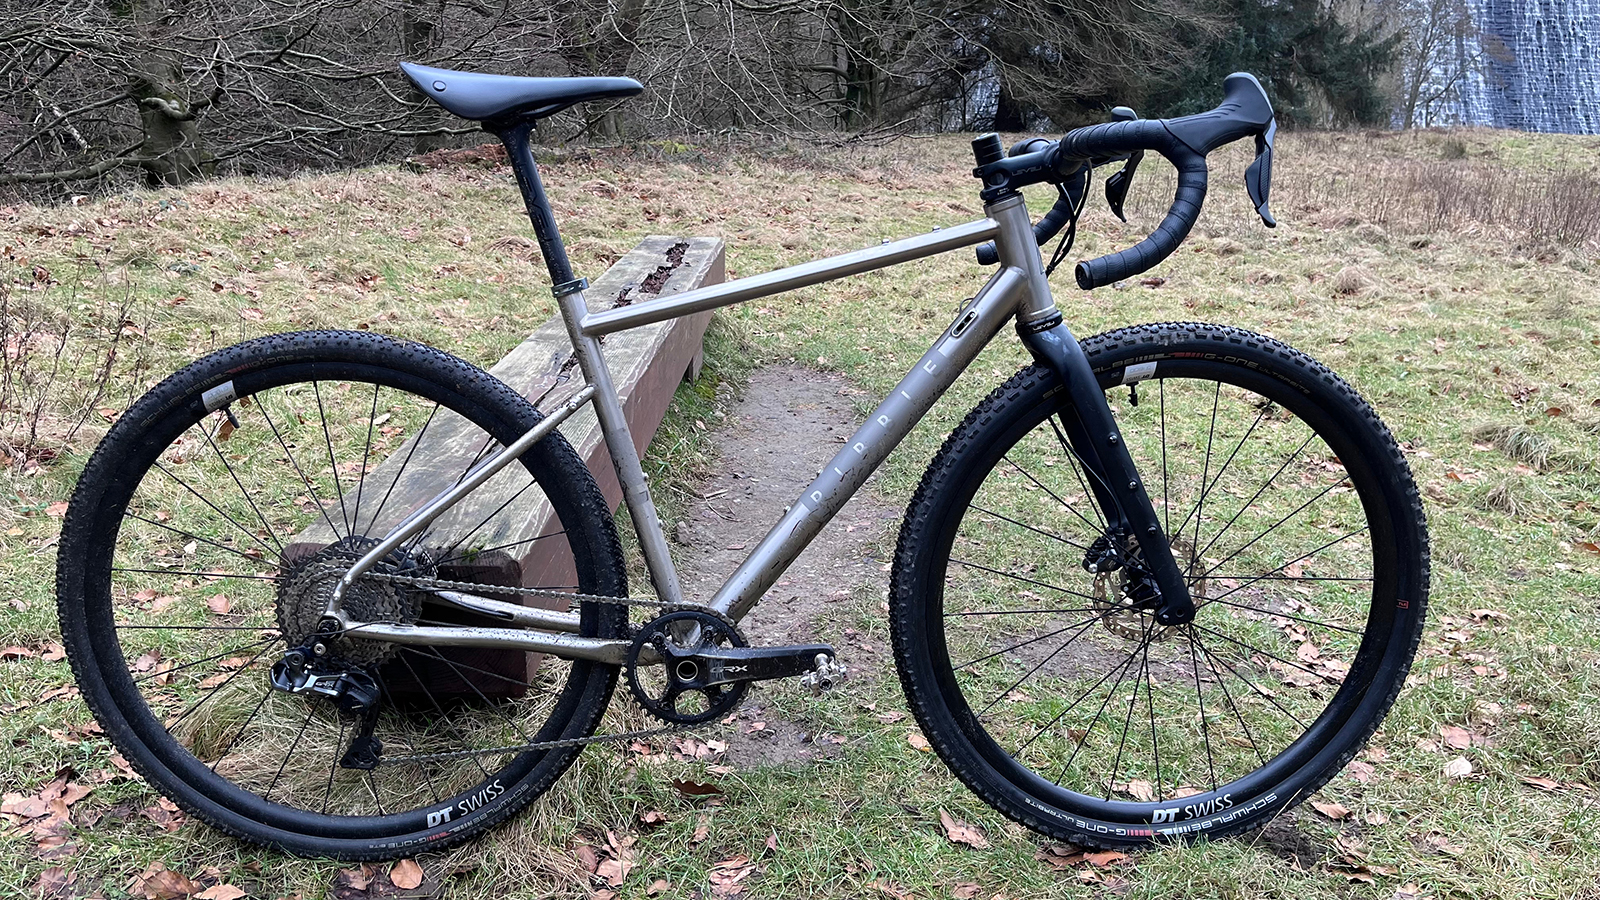
As I set off, the weight reduction was noticeable, giving the bike a much more urgent feeling on the first smooth climbing section, and holding pace on the following flat gravel section took far less effort. The first big difference in feel came on a sweeping gravel corner, not particularly tight but with a high entry speed and a loose surface. It was no bother at all suspended, but with the carbon fork, I had to correct the steering several times and really had to wrestle it around the bend and lost a considerable amount of exit speed into the following steep climbing section.
I had a similar feeling later on a section following a descent; whereas previously, I could let the bike go and concentrate on my line choice, without any additional damping I had to pay a lot more attention to what the front wheel was doing, and take smoother but less quick lines. This really interrupted my flow and momentum, and my Strava data confirmed this. On the Sandy section E.side segment with suspension, I managed a top ten and was eight seconds quicker. Now, in the grand scheme of things being a few seconds quicker on a Strava segment means little, but the difference in time was interesting, considering I was putting out the same amount of physical effort.
The results
Thanks to a misspent youth riding road bikes, I am good at managing an effort and controlling my wattage over a distance and was rather pleased that I was within two watts on my average power over both loops. I managed to hold 179 watts with suspension, and 181 for the second lap on the rigid fork. Both far from pro-level outputs but a hard enough pace for a decent comparison and close enough together to be relevant.
Now the important bit, which was quicker? Well, it was surprisingly close, with the rigid setup being only five seconds faster at 40 minutes and 40 seconds. So that's that then, rigid is faster, end of the discussion, right?
Well, no. As is often the case, it's not quite that simple once you dig into the numbers. Apologies in advance for the boring power chat, but here goes. My average power was close on both rides, but there was actually a bigger difference in my (Nominalized Power (NP) and my Training Stress Score (TSS).
NP is a power averaging method that's used to compensate for changes in ride conditions; basically, it gives you a more realistic effort reading as it ignores the sections you are freewheeling. TSS is worked out using your NP, the intensity factor, and ride duration, and it is a widely used metric amongst pro riders and coaches to measure how hard they are working. Without suspension forks, my NP was 5 watts higher at 209, and my TSS was also higher at 30 compared to 28.6.
If the power analysis has caused your eyes to glaze over, then maybe a different metric might help. A power meter also registers your total output in kilojoules, and one kilojoule is super close to 1 calorie of exertion. The rigid ride was also higher at 441kj compared to 437kj. Again, there is not a huge difference over a short loop, but it would add up over a multi-day bikepacking tour.
So what does that all mean?
My time on the rigid setup was faster, but I had to work harder to get there. The suspension, though only minimal at 40mm of travel, meant I could pedal on rougher sections and maintain a smoother output for more of the loop, whereas without it, I had to pedal much harder on the smoother sections to maintain my average. On a short loop, the difference in fatigue was minimal, but if you spread that out over a four or a five-hour ride, it adds up and could be the difference between putting your tent up in darkness or daylight if you were bikepacking.
As is often the case with gravel, your choices of equipment are largely dictated by the terrain you ride and your expectations. If you ride on smoother trails with a good chunk of asphalt riding, then a rigid setup will serve you well, but if your riding is on the rougher end of the spectrum, then a suspension fork will improve your ride with a considerable saving in effort over longer rides. For those who like long-distance, some bounce would also be a worthy addition. There's the obvious additional comfort, but the efficiency savings are noticeable enough to make an appreciable difference.
Neal has been riding bikes of all persuasions for over 20 years and has had a go at racing most of them to a pretty average level across the board. From town center criteriums to the Megavalanche and pretty much everything in between. Neal has worked in the bicycle industry his entire working life, from starting out as a Saturday lad at the local bike shop to working for global brands in a variety of roles; he has built an in-depth knowledge and love of all things tech. Based in Sheffield, UK, he can be found riding the incredible local trails on a wide variety of bikes whenever he can
