
You don't need to spend a ton of money to massively improve your bike and how much you enjoy it. Looking at top-scoring reviews and 'best MTB upgrade' guides it's easy to think you have to spend hundreds or thousands to improve your bike.
Behind all the hype and latest 'must have' gear there are a whole load of parts that are truly vital to making your bike feel great and most of them are really affordable price. Our experts have put together their top ten of low-cost, high-value kit that'll make you and your bike feel like a million dollars and they're all easy to fit yourself too.
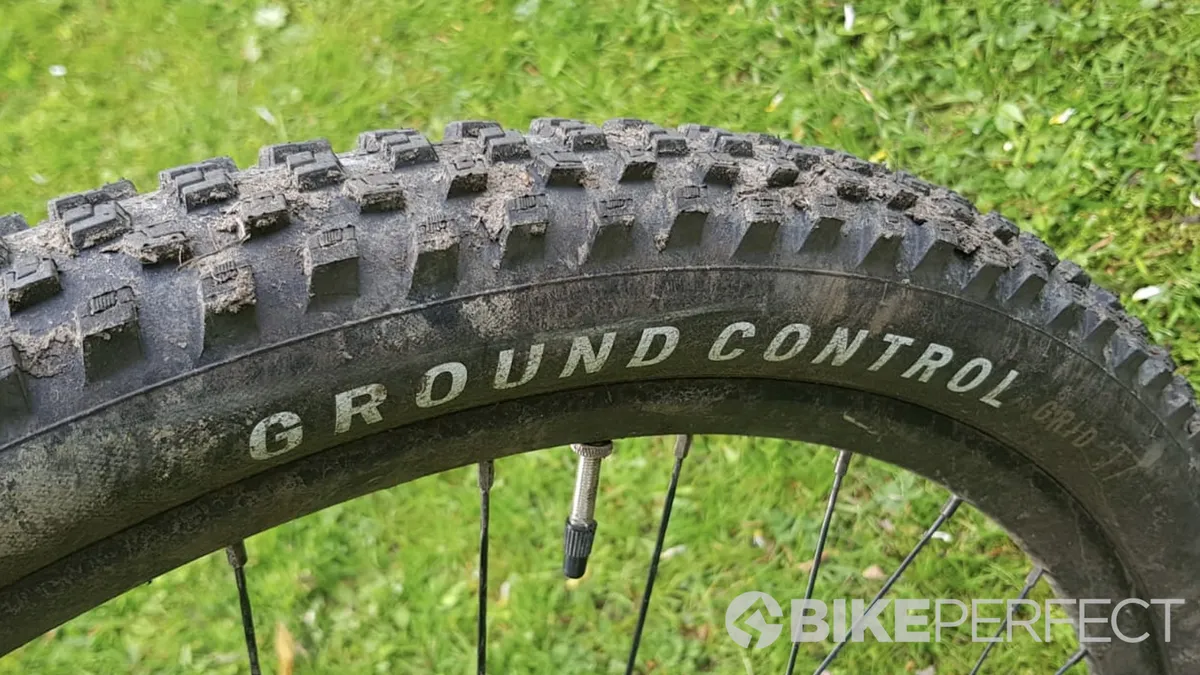
1. Fit better tires
Top performance tires aren't cheap, but you don't need triple compound rubber or ultralight construction for regular riding. Some of our favorite tires like Hutchinson's Griffus are relatively affordable and absolutely rip and Specialized have dropped the prices of all their MTB tires in the UK making them a total bargain for British riders.

You can really change the character of your bike with tire choice too. A well-damped, high traction front tire can feel like you've got a whole new suspension fork. A quicker rolling rear tire can instantly make you faster than a month of training. Or maybe you're trying to ride in swamps on tires designed for deserts? Fed up with mending punctures? Get a heavy-duty pair of tires (or even just a back one) and save yourself a lot of pumping, cursing, and wasted ride time.
Whatever it is that you don't like about your bike right now, changing tires can almost certainly help a lot or even totally cure it.

2. Go tubeless
If you're happy with your tires but sick of getting thorn or cut punctures or having to run high pressure to keep your inner tubes safe then you need to go tubeless. Thankfully, nearly all bikes now come with tubeless-ready rims and tires as standard but if yours cost under £500/€600/$600 then double-check. All good? Then you need to seal the rim with the best tubeless tape, fit tubeless valves, and swill in some of the best tubeless sealants.
Alternatively, lots of brands produce a complete 'tubeless conversion kit' that has all those things in a convenient box so all you have to add is some time, patience, and some mopping up of spilled sealant afterward. The rewards in terms of puncture proofing, and lower pressure freedom (because there's no inner tube to pinch) that improves traction and bike feel are very, very obvious though. That puts it right up in our cost-effective upgrade rankings too.

3. Find a saddle that suits your rear
More people hate riding their bike because of the saddle than for any other reason. Getting rid of the pain in your ass doesn't have to involve flashing a ton of cash though. Almost all the best mountain bike saddles with carbon or titanium rails will have a cheaper spec relative on steel runners but with the same shape, padding, and comfort levels.
We always write our reviews to explain what kind of butt they should work best for but only you really know what's going on down there. That means we'd always recommend trying to borrow saddles from friends for a few rides, or experimenting with your saddle setup before shelling out for a replacement. Alternatively, pick a seat from a brand like Bontrager, Fizik, Repente, or some others who give demo models to their dealers or offer a returns guarantee if their product and your rear end don't get along.

4. Fit tire inserts
If you rarely split a tire or dent a rim and take kerbs with care then you can skip this one. However, if you're always trudging back from a ride with a flat or your wheels taco-ed then you really should be using an insert. It's a 3D, shock-absorbing strip that goes inside your tubeless tire to protect them and your wheels when you slam so hard the pointy bits of the trail would normally hit your rim.
There are loads of options available from brands like category starters Cushcore or Huck Norris and you can get them to fit any tire size from gravel to fat bike. Plus while they might seem expensive for a bit of foam, the tire and wheel damage they can save will soon repay that. If you're worried about extra weight, being able to run a lighter tire can compensate too.

5. Upgrade your cables
Yeah, most of us would love wireless shifting but life isn't fair so we're stuck with making things happen between the handlebars and our gears with wire cables. You can massively improve the quality of that connection - and therefore the speed, accuracy and reliability of gear shifts – with decent upgrade cables. Don't think this only applies to cheap bikes either as lots of manufacturers save a few dollars by sneaking basic wires onto an otherwise boutique specs. That means adding stainless steel or slick coated inner wires can dramatically improve life under your thumbs for less than a coffee and a cake. Not only can fresh wires make your gears feel almost wireless smooth, but you can even add some color to your ride with complimentary or clashing outer cables if you want.
Just be sure to leave a guide wire in place for re-threading before pulling out existing internal routing. That's because while some brands like Santa Cruz fully line the cable routing, others are free-range between entry and exit holes and be a right fight to re-thread.

6. Use proper chain lube
This one is dead simple. Whatever level of transmission you've got it'll feel absolutely rats and run a lot less efficiently after a ride or two in the mud or dust with no lubrication. In fact in the UK, just one ride in winter (which is basically ten months out of twelve) can turn your chain into a rusted, rigid mess that it'll struggle to recover from.
The answer my friend is choosing the best chain lube. Not just any lube though, but one that suits the conditions you're riding in and matches your maintenance habits. In other words, wax lubes that need scrupulous cleaning and then leaving overnight to set are fine if you're that fastidious. For most of us though, something like Peaty's lube will work its way into the chain, chase out the filth, and replace it with squeak, drag, and rust-proofing goodness.

7. Change your brake pads
Want to maximize the power and/or longevity of your brakes then changing disc brake pads could well be the answer. That's because whatever system they're fitted too, the compound and quality of the pads can make a big difference in how they work.
That's particularly true on cheaper brakes where you'll often find soft resin pads fitted. These are quiet and smoothly controlled in the dry and generate less heat on long descents – protecting brakes that might otherwise struggle in real mountain situations. Using a sintered or hybrid pad will give more bite in the wet though and last a lot better than a softer pad in dirty conditions. Make sure you replace your disk brake pads with the right type to fit your brake though and bed them in thoroughly to get their full potential.
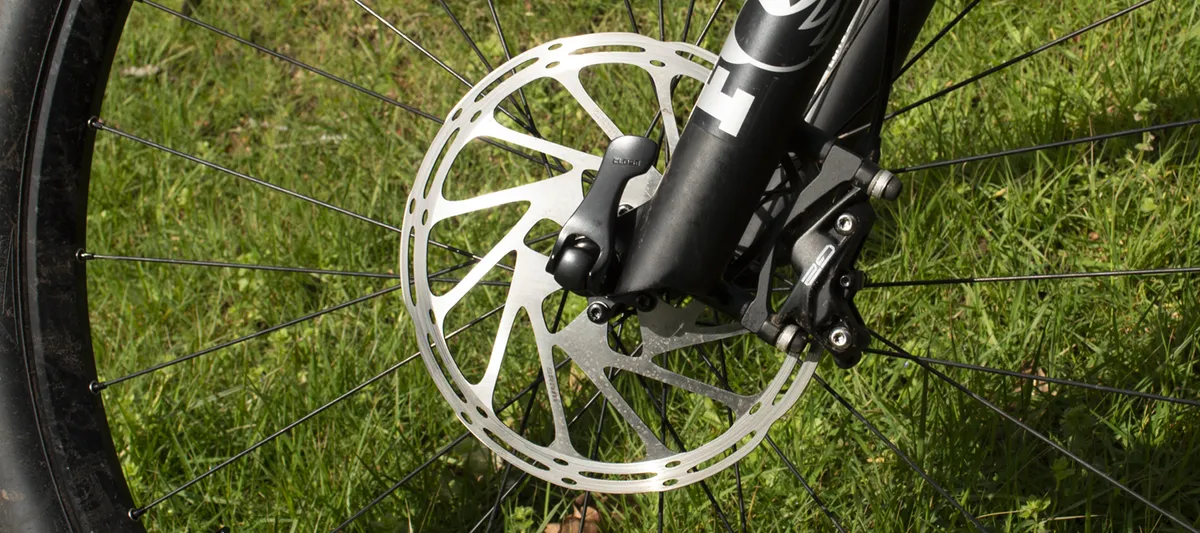
8. Upgrade your rotors
If you're short on power with your current MTB brakes or want to save some weight from the system then don't assume you have to look to buy the best mountain bike disk brakes. Simply fitting a different-sized brake rotor might be the easy and very economical answer.
Bigger rotors increase power and reduce the amount of heat build-up so you can pull the brake for longer before it starts to cook and lose power. That makes moving to a bigger rotor a smart move if you're heading to the mountains or just struggling to stop on your local trails. A bigger rotor obviously adds some weight though, so if you don't need all the power you've got then switch to a smaller rotor.
Make sure you don't go below the minimum or maximum rotor size for your fork and/or frame though. You'll probably need a new spacer/bracket kit to bridge between fork/frame and brake if you're moving up in size too.

9. Try a new stem
"We'd suggest you fit a shorter stem for more responsive handling" is probably our most used bike test sentence. To be honest, now most original stems are around 50mm, not between 90 and 70mm, it's not generally as crucial as it was a few years ago, but it's still a change we often make during review rides. That's because a shorter stem can lighten up the steering feel for more accurate line corrections and sliding traction catches. Longer reach frames with slacker steering angles mean you can go shorter on the stem without making the bike feel too cramped.
The great news is you don't have to spend a fortune either. Simple forged stems start around $25/£20 and apart from adding a few extra grams they do exactly the same job as fancy machined pieces four or five times the price. Actually, that's not true, cheaper forged stems with a bit of fat left on them are nearly always totally bombproof however bad the landing or cartwheeling the crash. It's those sculpted stems with potential sharp-edged stress risers or paper thin walls that generally crack and fail during testing.
Paying less also means you can experiment with different lengths – or have options for different trails/conditions without bankrupting yourself.

10. Switch your grips
Having the best MTB grips are way more important than you might think when it comes to bike feel. Fat ones, thin ones, hard ones, soft ones in all sorts of different patterns, or even ergonomic shapes can really change how you feel your bike and the trail. They can also significantly impact how long you can comfortably hang on on descents or whether you'll get blisters or wear out gloves. Single clamp, double clamp, and glue on designs create further choices in terms of soft-ended comfort, belt and braces security, or ultimate lightweight performance.
Even just getting a really good color match or getting bike brand-specific or favorite rider signature grips can give you a warm fuzzy feeling when you get hands-on with your bike.

