
Winter can ruin your bike in hours if you don’t protect it properly, but with so many products and hacks to choose from picking the right one can be a nightmare. Here’s our expert guide to stopping filthy trails and grim weather killing your bike and your ride vibe.
And if you want advice on keeping the riding stoke alive until spring, see Guy's stop winter killing your ride vibe article.
1. Lubing is life
The winter mix of water, grit and corrosive minerals like salt can ruin a chain with rust in hours. Our experts have rated the best winter and all-weather chain lubes here, but make sure you pick one that suits your riding and maintenance schedule.

Wax based lubes help repel dirt and grime so theoretically they provide the cleanest protection. They need time and care to set up properly though so you generally can’t top them up mid ride. They can cost a fortune too and a lot of them don’t actually last that long in dirty trail conditions so beware reviews written by roadies.
Old school sticky oil lubes use more grease than wax to help them cling onto your chain and they’re easy to apply. They can get really dirty in drier conditions and create more wear than they solve though.
Spray lubes like WD-40 are cheap and tempting for stopping rust, but overspray can easily contaminate brake rotors or dissolve grease in bearings. Residue will significantly reduce the performance of lube you put on top too. They do work well for cables though, as they flow easily into the outer housing and the teflon coating reduces stiction.
Don’t just dump more lube on a dirty chain. Always clean your chain properly after a ride before re-lubing so the fresh goodness gets to the right spots and doesn’t get contaminated before you even start riding. Some lubes like Peaty’s All Weather are even designed with a penetrative carrier oil that flushes the filth out as the lube flows in, making them ideal for lazy cleaners or mid epic ride top ups.
Expert tip
I prefer to use a hybrid wax / oil lube that stays clean on the trail but is still easy to apply in a hurry if necessary. Always be sure to shake the bottle before you use them though so you’re getting the correct mix of different ingredients.

2. Plug your holes
Getting water and dirt in your frame adds weight, means bearings are attacked from their less protected sides and they can accelerate unseen wear caused by cable movement against fork steerers or the frame itself. That makes plugging any holes in your frame crucial.
Look for unused gear cable entry and exit ports on wireless gear bikes and use a a small piece of gaffer tape over the top to seal them. Seal any unused bolt holes for racks/tools etc and if you’ve got an e-bike that can add lots of opening that need plugging too.
Seatpost slots and collars can let water in too, so consider slipping a section of old inner tube down over the post to cover the junction and provide extra protection. Make sure you pull it up between rides to clean the area and let it dry though. Some internal storage hatches leak really badly so consider sealing them with tape for winter, or at least open and empty them between rides to help your frame dry out.
Expert tip
Presta valve caps are a neat fit for a lot of cable holes, but make sure you don’t lose them inside or the rattling might drive you insane.
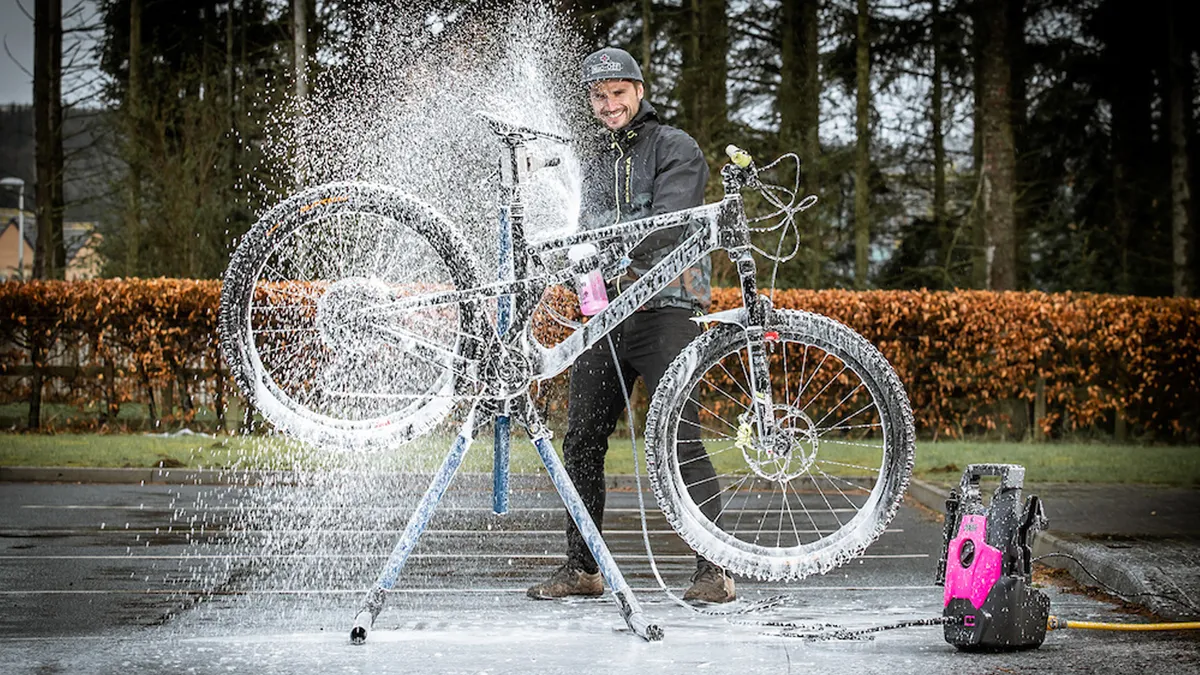
3. Cleaning is caring
There are all sorts of tips and techs for bike cleaning, but here are the basics. Nothing will get your bike sparkling clean faster than a jet wash. However, nothing will blast past seals and wash vital grease out of your bearings faster either, so DON’T DO IT. However primitive it feels, a bucket of water or gentle hose and enough brushes to get into tight spots is ALWAYS the best option. You’ll also get a better idea of what feels or sounds rough as you spin pedals and turn bars too, so you can lube and service sooner rather than too late.
Don’t forget to gently clean around the outer seals of your fork, rear shock, suspension pivots, lower headset bearings and wheel bearings. Make sure you dig out any grass or solid gunk from cassettes, gear wheels and side plates of chains too. Use a degreaser here to speed up the process, but don’t go heavy duty unless you’re deliberately stripping grease out of bearings. You can buy fancy bike brush sets in specific shapes but old washing up brushes, sponges and toothbrushes will also work fine. Just make sure there’s no sharp edges or embedded grit that can scratch your frame. Bike cleaners can also help shift dirt faster than pure water but always mix according to instructions and always rinse your bike with clean water afterwards.
Expert tip
You’d be amazed how much water pours out of some test bikes when I rack them up after a wet ride or wash. So bounce your bike around or hang it nose up then nose down to let trapped water drain out of the frame so it’s not rotting components between rides.

4. Winter workshop
Santa’s elves shouldn’t be the only ones busy in the workshop before Christmas. Keeping on top of your bike servicing during winter when your bike is under serious attack is vital for it’s ‘elf too.
Servicing suspension and dropper posts sounds super scary but follow the official instructions carefully and keep everything super clean and a basic strip down and re-lube is surprisingly easy. It makes a massive difference to lifespan and performance too.
Brake pads can vanish in one ride if conditions are really bad, so always check after a ride. Clean disc brake calipers and pistons regularly too, but leave the rotors unless they're obviously coated in baked on filth. If you’re on rim brakes, check the wheel rims aren't getting scooped out or scarred, as it’s really dangerous if they wear through and split.
Be sure to clean and dry any electrical components too, as whether it’s SRAM AXS batteries or e-bike head units, dirt and water can often cause connection and corrosion issues that’ll ruin a ride.
Expert tip
Most bearings – hubs, headset and pivots – are sealed and designed to be replaced rather than serviced. If you’re dumping them anyway though you might as well try popping the outer seals off carefully and then regreasing the bearings yourself to see if that revives them for a while.

5. Winterproofing upgrades
There are some upgrades really worth investing in to protect your bike and improve your riding.
Most fenders that come with forks are pretty pointless in terms of protection so invest in some proper sized ones that stop crap getting on your bike and you. Crud XL Fenders are our favorite for an instant fit, while RRP do a full range of front and rear fenders for different forks and bikes.
If your bottom bracket/headset/pivot/hub bearings die then upgrade them with a set that are specifically designed for high impact, low rotating speed (compared to normal industrial sets) and filthy weather from a specialist like Enduro Bearings.
More grip is a great idea in winter, but if you’re buying specific winter tires go thinner and spikier to cut through the crap and reduce sliding around.
If you’re after the ultimate winter upgrade, some riders even run an entirely separate bike to save their best bike from getting ruined. That’s a better idea than ever with so many offers around on bikes too, so pick out a hardtail with more basic and/or durable kit on, or grab a frame and load it up with whatever spares you have lying about. You might be surprised how much you end up riding it year round too!
Expert tip
If you’re tight on budget then you can make your own fenders from old race number boards or cut up plastic milk cartons and zip-tie them into place. Dropping pressure in the tires you already have will increase traction too, but don’t go too soft as trying to fix a flat in the wet with frozen fingers is miserable.

